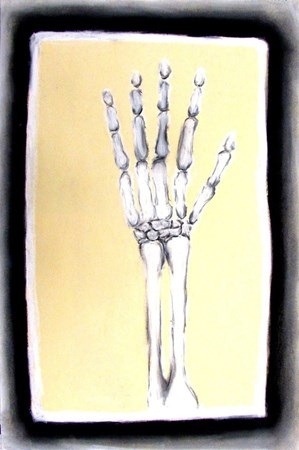
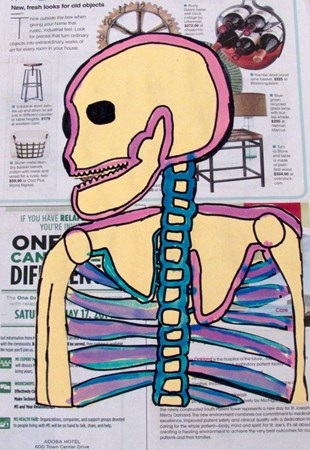
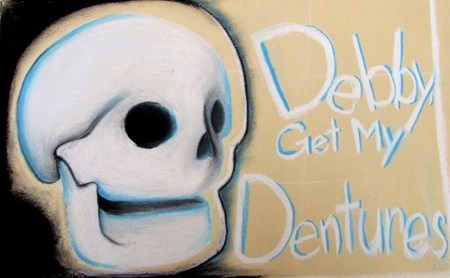
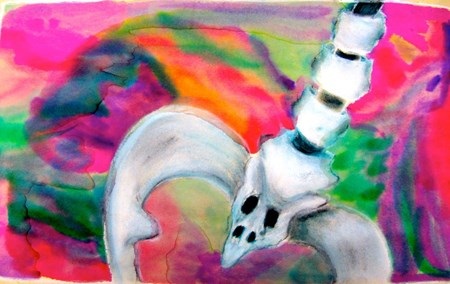
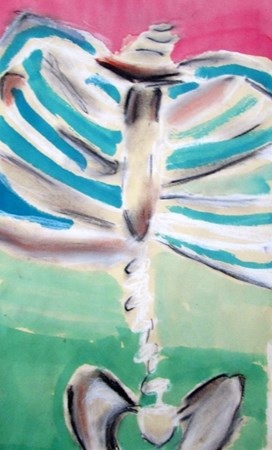
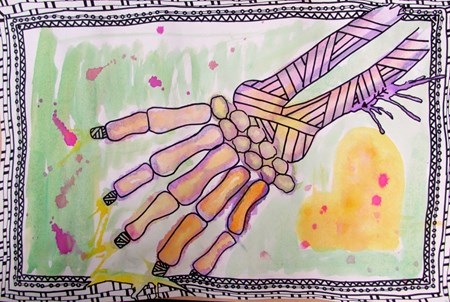
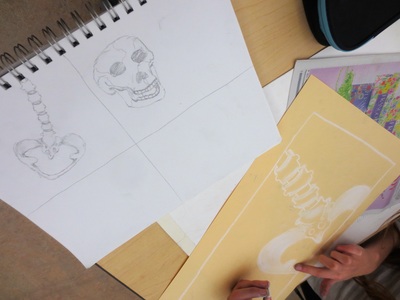
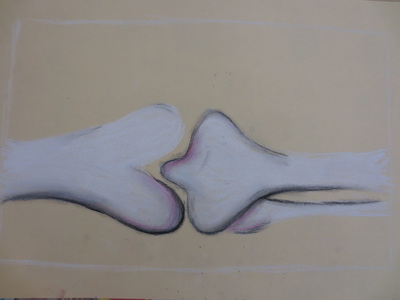
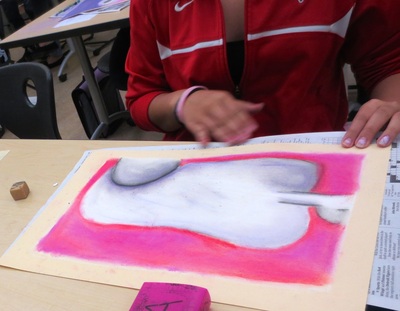
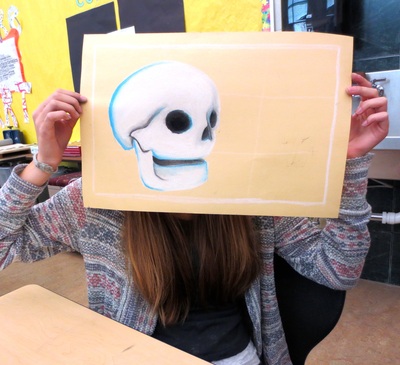
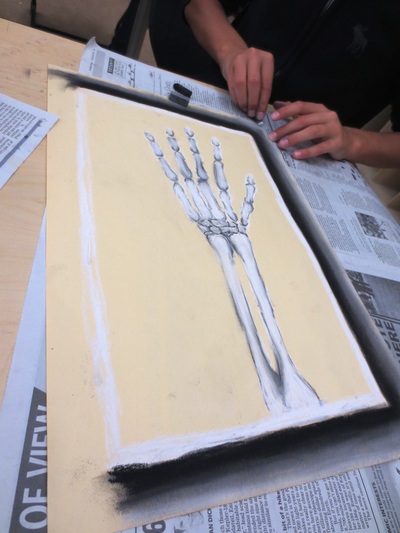
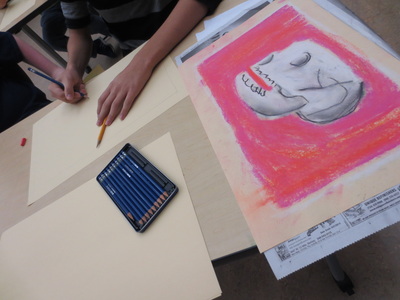
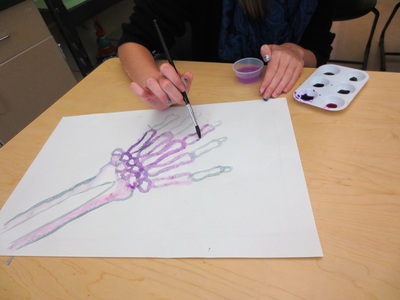
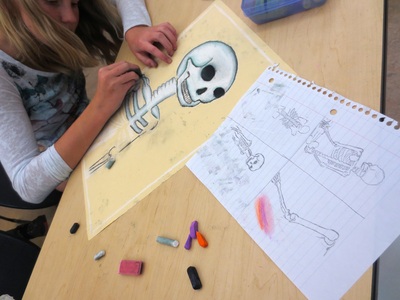
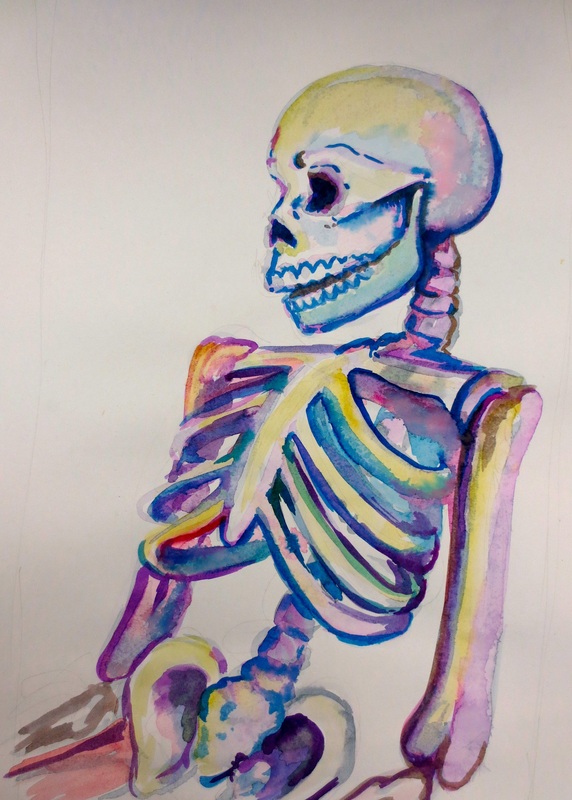
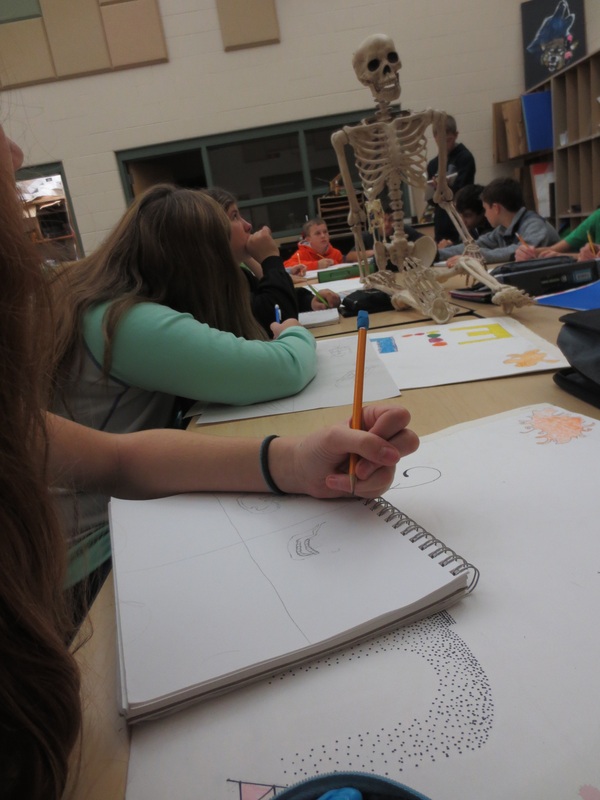
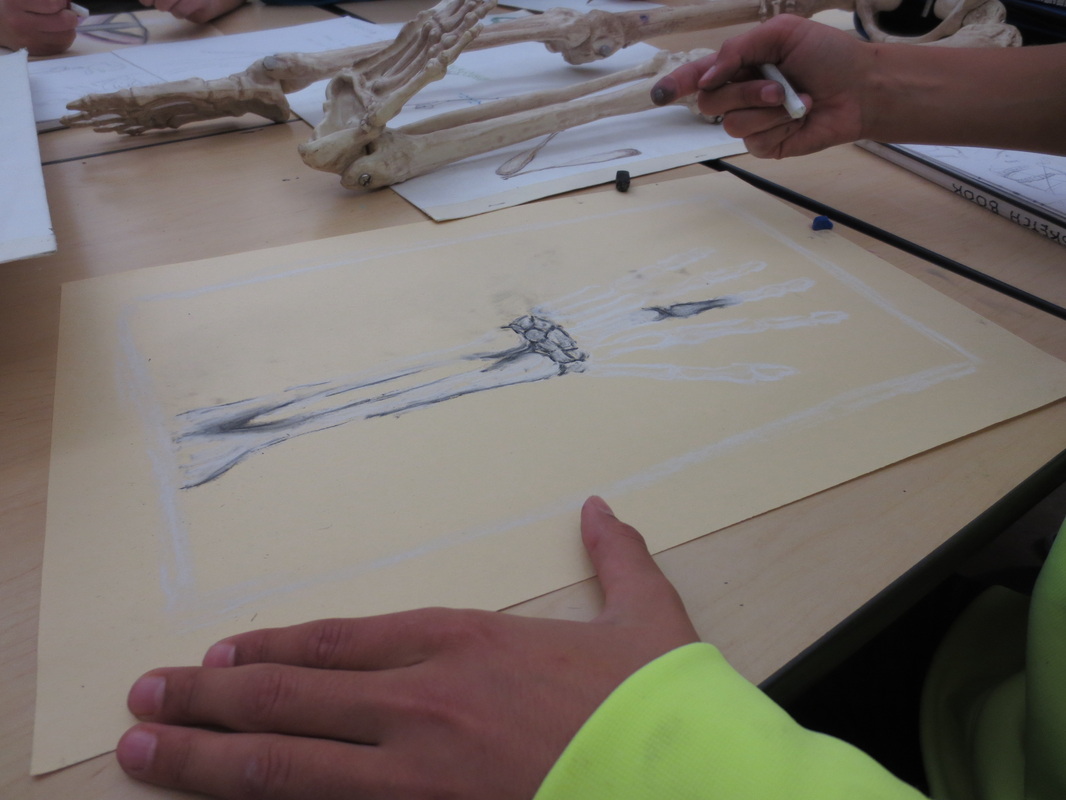
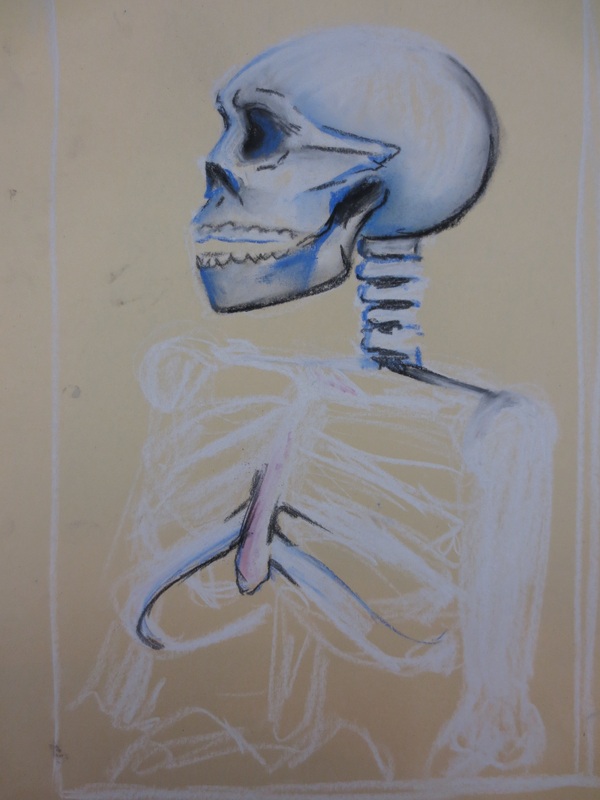
To finish out the semester, 8th grade students had the opportunity to earn the Skeleton Drawing badge and use their observational skills to create the following works:
|
Today is the LAST day of the marking period. I am super proud of the work my students have accomplished this term and even more excited about what is to come in the next chapter we will start on Monday. To finish out the semester, 8th grade students had the opportunity to earn the Skeleton Drawing badge and use their observational skills to create the following works: Even though it was an "extra" activity, I was really impressed with the level of artistry from my students and their statements that are displayed along side of the work on Artsonia. So many students focused on the exploration of media and how they worked through the process of observational drawing. It was also neat to read some personal connections about why they selected various areas of the skeleton. You can see the full gallery here.
0 Comments
We have another student up for Artsonia's Artist of the Week! Please take a moment and vote for Asia. You can vote once, daily, until Saturday. The artist with the most votes by then will be awarded a gift certificate (and so will their class)!
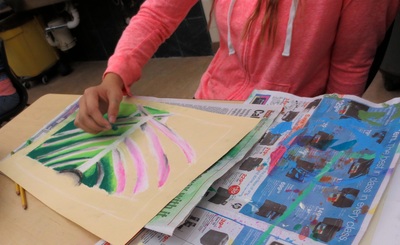
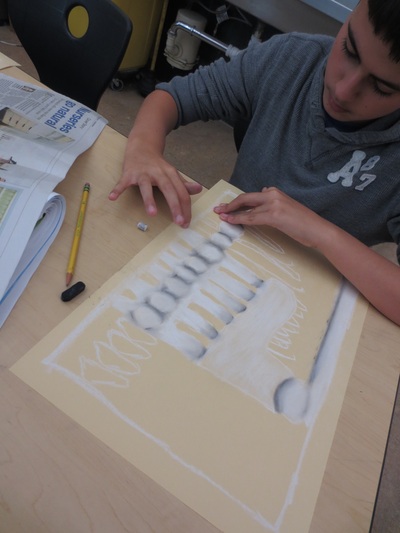
You can also take a moment and vote for Benjamin, from our elementary school, who is also up for Artist of the Week in his grade level. Students are continuing to work on their observational skills as we transition through different media while exploring skeletons. This project fits in perfectly because these same students are being tested on the layout of the skeleton in health class and it is only a few more days until Halloween. I also got to join in the fun and make art, too! Check out the way fab work below:
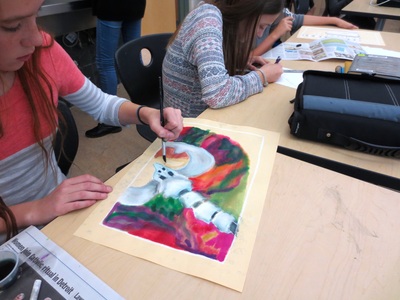
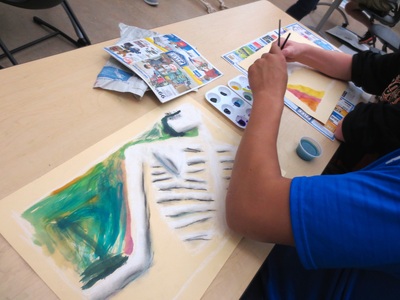
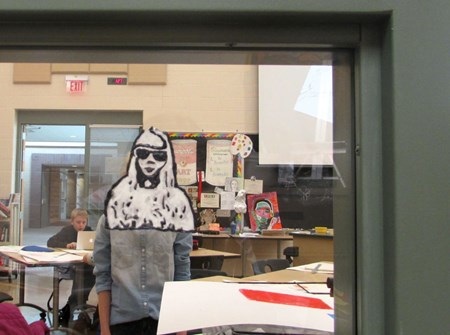
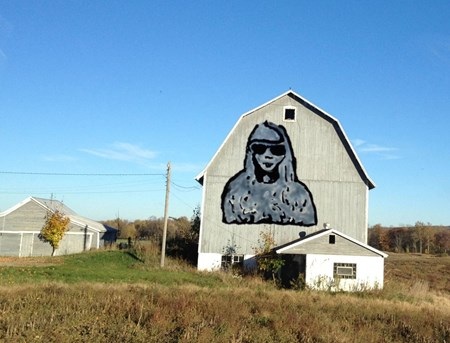
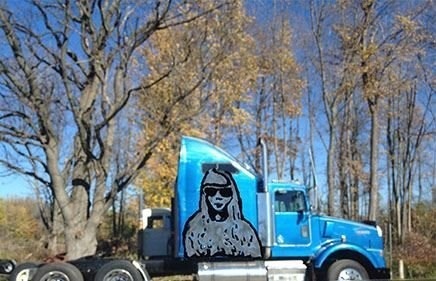
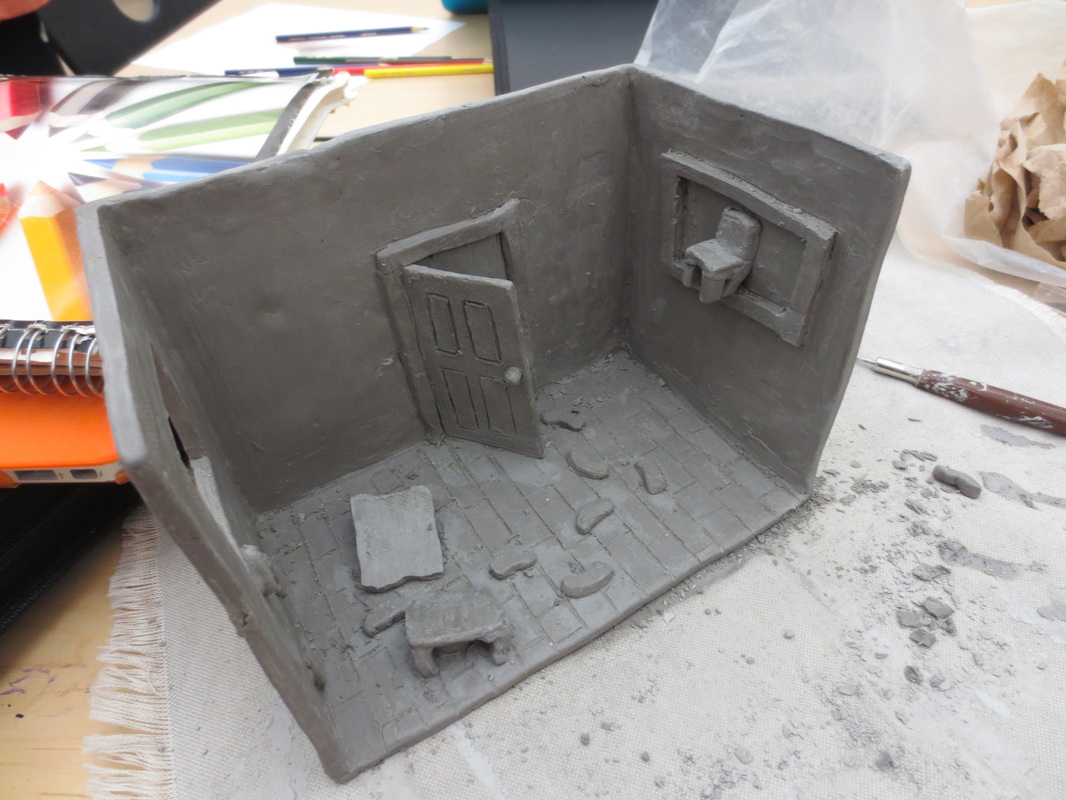
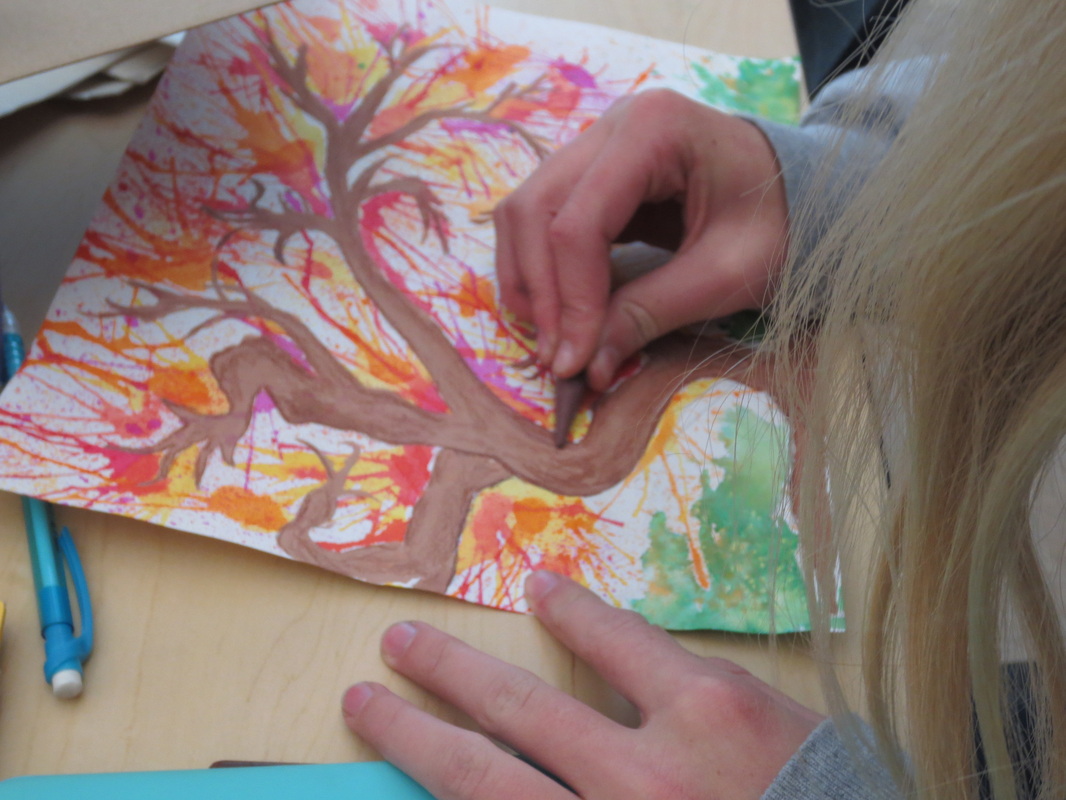
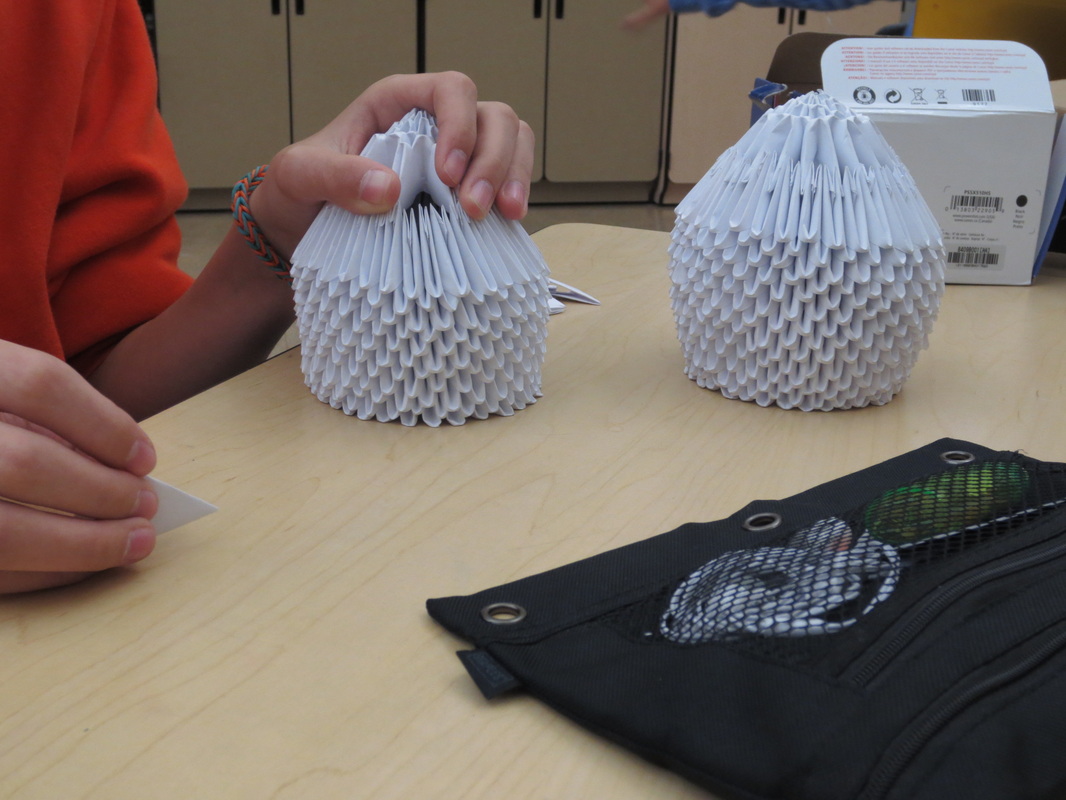
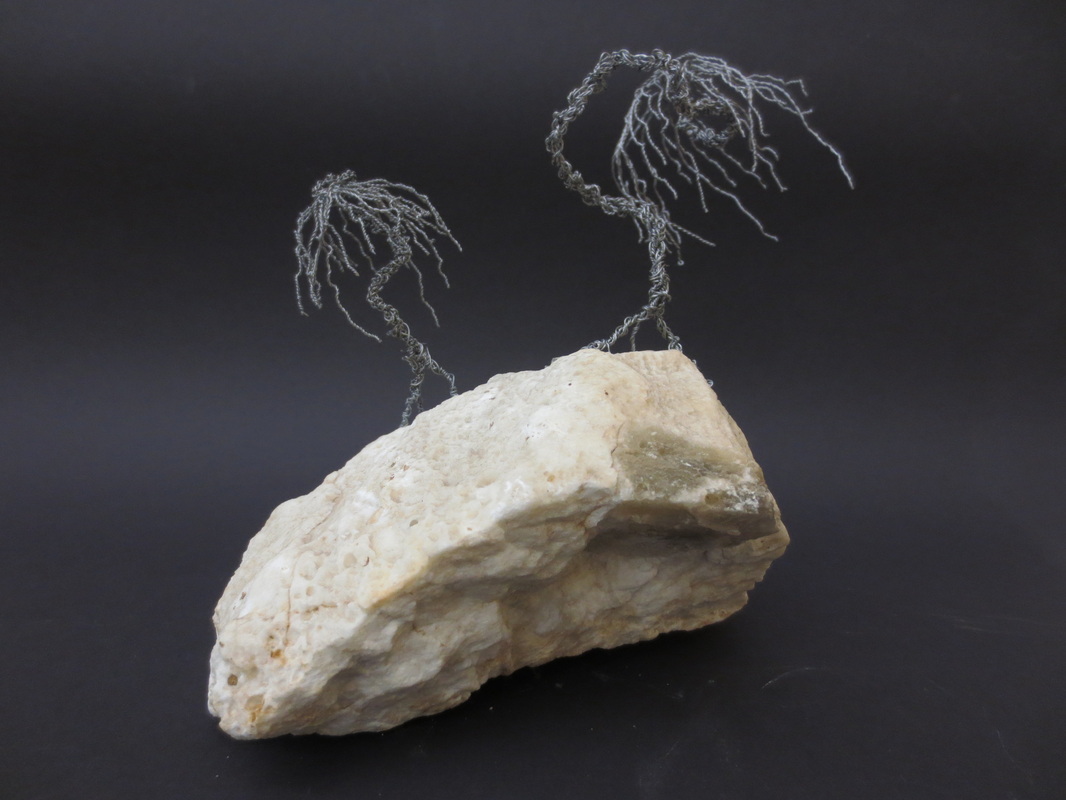
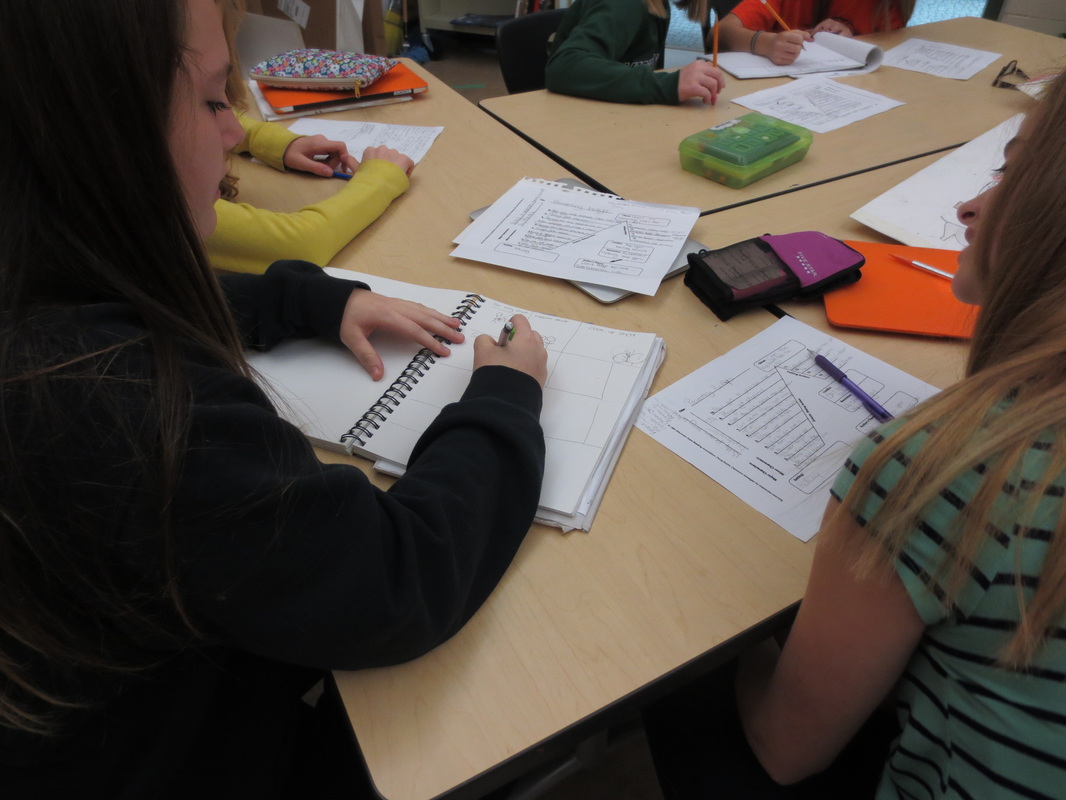
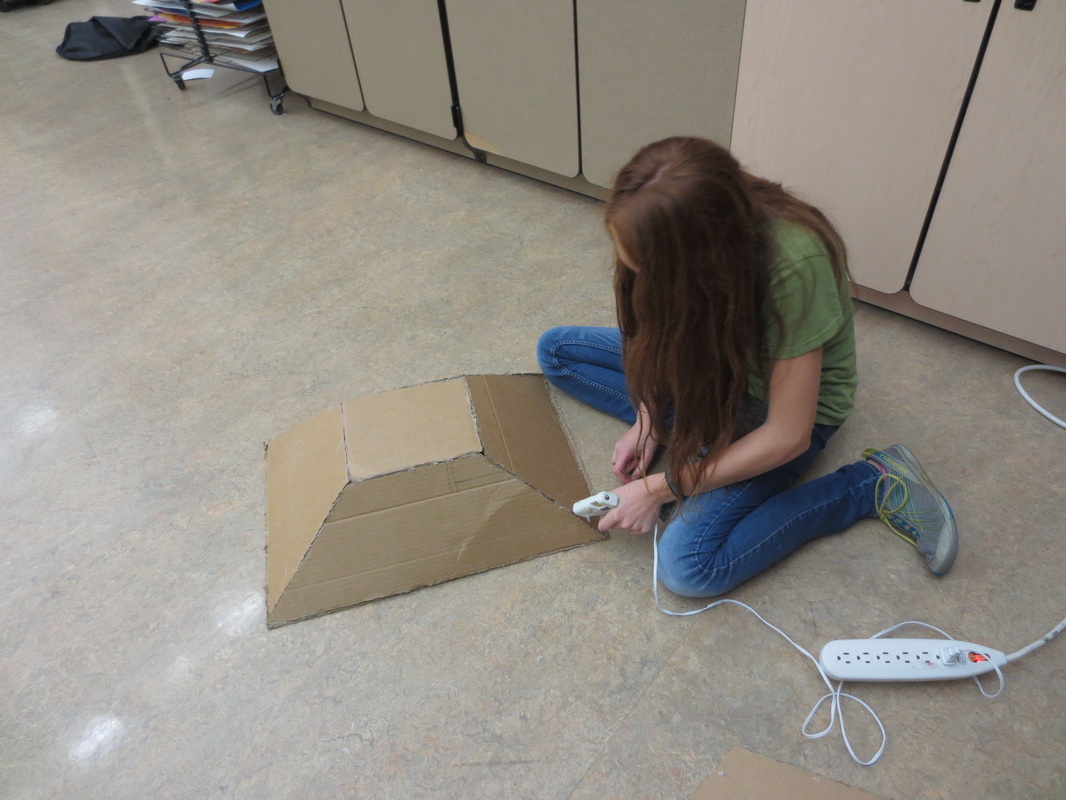
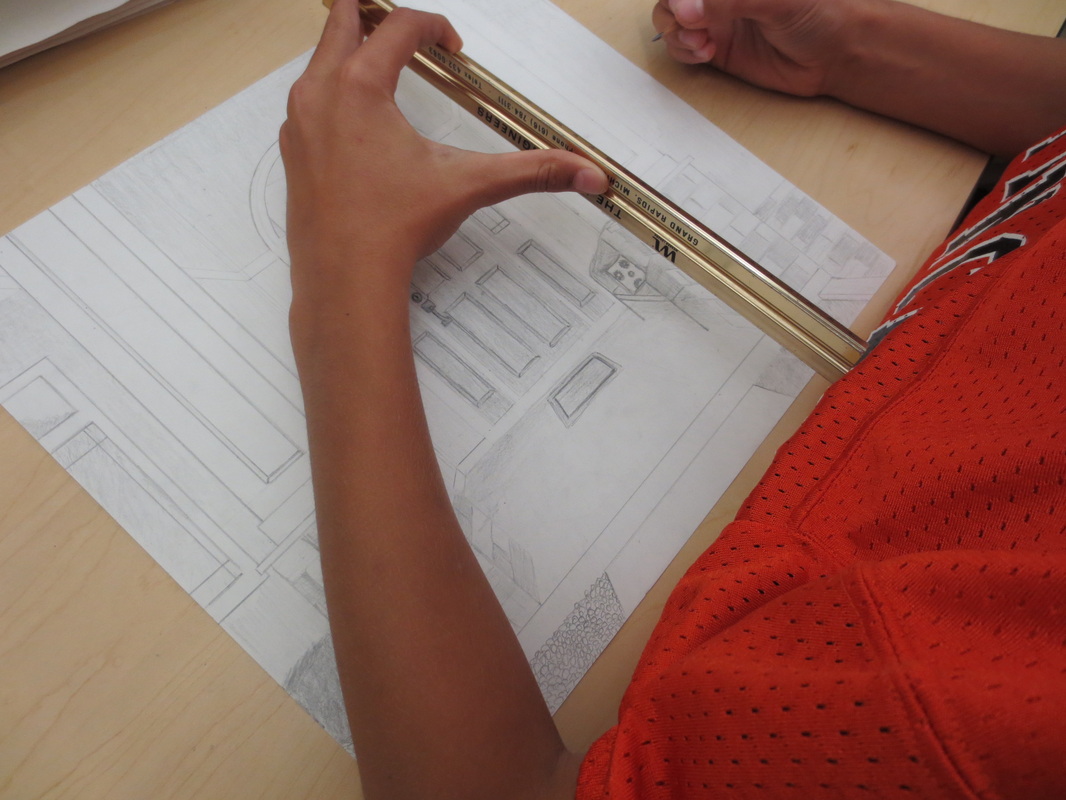
For project theme two, we worked on the concept of Environments, Spaces, and Places. It has been a rewarding experience for me to see the amount of creative ideas and variety of outcomes based on student interested and interpretation of the assignment. Before we move on from this completely, here are some final images created and posted to our online gallery on Artsonia. 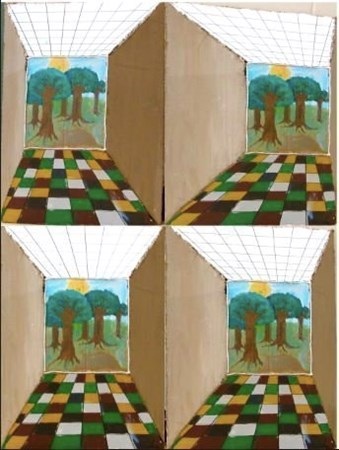 Anna P: I chose to create a 3D perspective piece based on the ArtPrize 2014 entry "Michigan in Motion," by Dominic Pangborn. I was very intrigued by the illusion of depth and perspective created by his piece and wanted to create something similar. While this piece may look flat, it is actually 3D and as you walk the perspective changes. I used images from several different angles here. The center rectangle is supported up by the walls. I used cardboard, hot glue, and paint to make my composition because they seemed like the most sensible materials to use to make this easily and realistic-looking. I chose to checkerboard the floor and ceiling to make the illusion harder to see through by making them look like they are going back into space. There are two other sections, or hallways, to this composition that I was unable to finish in time. At the end of the middle hallway was going to be a city and the last panel was to depict a destroyed city. This progression is meant to represent the past, present, and future. I hope to be able to complete these panels with as much success as I did this first one. 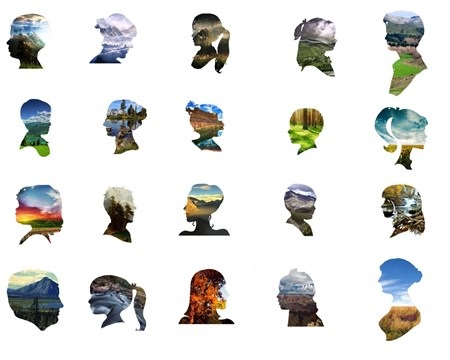 Keegan D: In order to build this project I used Photoshop and some images from Google. It has many elements of design. One of which is the rule of thirds I tried to place my fav pictures in the places where the would be more noticeable. After doing this it is supposed to show that our environments are a reflection of us. I also alternated the way that the faces were pointing to try to create a small variation between each. 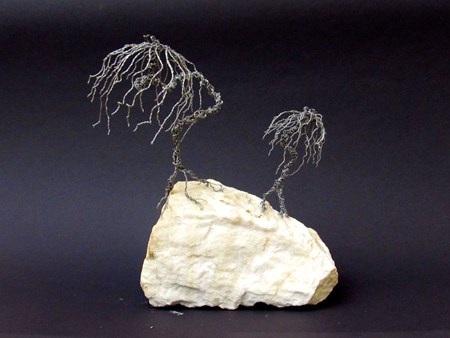 Jon Z:This piece was created out of silver wire placed on a rock and a pair of pliers (along with the mind of me, the artist). I choose this bright white rock as my base because it would contrast with the dark, spooky, and twisted, eery trees. The concept of halloween and the deforestation of trees to make this work. The piece communicates how ugly, and dead it would be without nature. 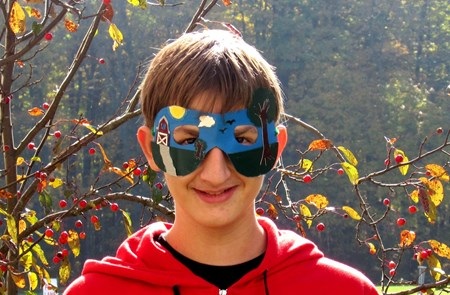 Harrison K: I Made this mask for two reasons- one is because I love masks, and the other is to show that the environment you are in can change who you are and your identity, and depending on the different environments you are in, your personality or behavior itself may change. Again I chose to use the idea and create it into a mask, because mask are the easiest way to represent identity, which was an important role in the idea. 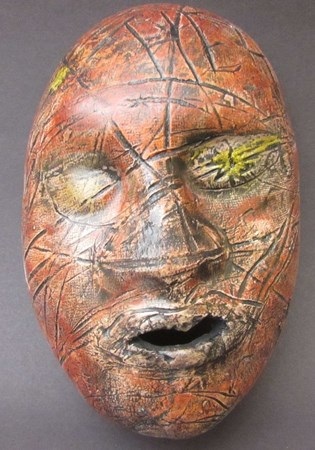 Kat w: This projects theme evolved around our environment (space and place). As one of my projects I decided to do two clay faces. One face represents what nature would look like if we if we constantly took care of it and kept it clean. Therefore the other face represents what happens to nature when we treat it like trash. I wanted to use clay because I felt it makes it easier to show the textures and small details of the faces. I also thought that by using faces it would make the viewer realize that when we don’t take care of our outdoors it also affects us. If we keep harming the organisms that give us oxygen, food, water, and shelter…then what’s going to happen to us if they all go extinct, because of how poorly we took care of them. I used a new technique to give this face color. I used oil red, orange, and yellow oil pastels to color the face, and then I used, watered-down, black tempera paint to give the face a dirty, antique look and feel. I wanted the other face to, not be perfect, but look more clean and elegant. I used glaze and followed the carvings in the face. I wanted the messiness to portray that there are going to be things wrong with nature, but if we take care of it it’s still beautiful. 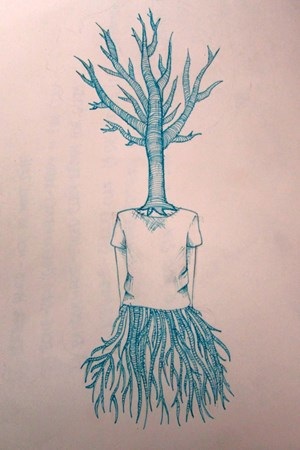 I used pen do draw this piece. I used pen because I wanted to be able to get all of the little details into my drawing. I used crosshatching to shade the shirt and the arms. I used lines to shade the tree and the roots. I think that this represents people as one with their environments. People need to get off of their phones and computers and go outside and enjoy nature sometimes.  Jordan C: For this project, I used photography and a window cling I created to represent the environment and how it can impact a person. I decided to use the window cling because it added a twist to my pictures. My mom and I drove around Byron Center and placed the cling on the car window so it appeared to be on signs, barns, and in so many more locations. This project was a lot of fun because I was able to explore different compositions and angles. I also had to experiment with the rule of thirds and many different perspectives. The window cling had to be placed in a certain way, so it fit into the picture just right. The techniques I used included using different positions and camera angles. When I was taking these pictures, I had to pay attention to space and unity. The window cling is reminiscent of where I’ve been and how Byron Center has impacted my life. In conclusion, this project made me realize how blessed I am to live in a town with so much scenery and such a small town atmosphere. 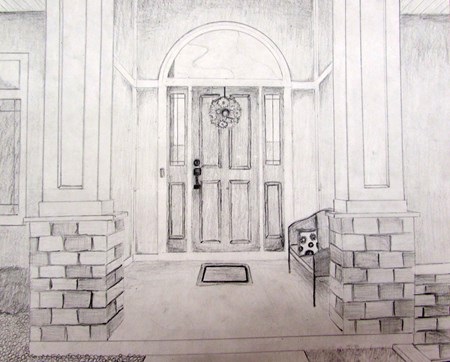 Nolan B:This perspective drawing of the front door of my house represents environment in a variety of ways. I decided to use a pencil to create my work because it allows me to make more of a realistic and dramatic effect on my art. When people think of old they think of black and white. The black and white of my pencil helped me show that houses are environments that go back to the beginning of human kind. A home is an environment that should be it's owner's safest place to go. Since the place you sleep in at night is your house, you better trust that it will keep you secure. I used value in my art to show the places in the image that aren't exposed to as much sun as others. This gives a real look to my drawing. Also, I put emphasis on my front door by making it in the center of my piece and slightly darker than the rest of my art. Overall, this image of my front door represents environment in many ways. I cannot believe how quickly these first nine weeks of school have gone by! It seems like only yesterday that students were first entering the school and getting their hands dirty with clay and paint. I am really excited with the progress students have made so far this year, but also sad because we are to the half-way point of our time together. Rather than start to cry over it now, here are some great process pictures from Friday and today along with some finished examples. 8th grade Environments, Spaces, and Places8th grade Skeleton Extension Activity7th grade Movie Making8th grade students are still exploring the theme of Environments/Spaces/Places this week and will be wrapping up their efforts tomorrow by publishing all of their work to our online gallery on Artsonia. As you can see from the process images above, there are some very exciting progress being made by students engaged in a variety of media and methods. The images below are some examples of work that has been posted online, along with their artist statements: 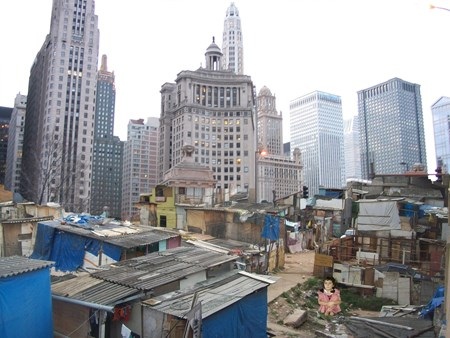
Blake H.: My photoshop picture is a part of Africa, the bottom, and Chicago, the top, to show what we live in and what Africa has to live in. I used my materials as pictures and objects by composing them together and making a whole new picture. I used this technique to show what we live like and what people live like but into one picture as if they are in the same country. The principles of photoshop that i used are to show a statement of what people don't get that they need our help.
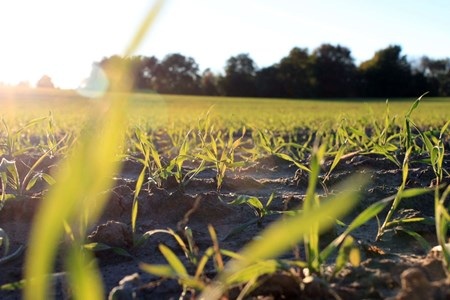
Austin W. : In this picture, I like how the sun is seeping through in the corner of the photograph. I laid on the ground and took the picture even with the ground. The little seedling is blurred, making the piece look so intricate and detailed. I used a camera with high pixels to take this picture showing all the little details and the beautiful look of all of the little green plants just sprouting in the fall sunset.
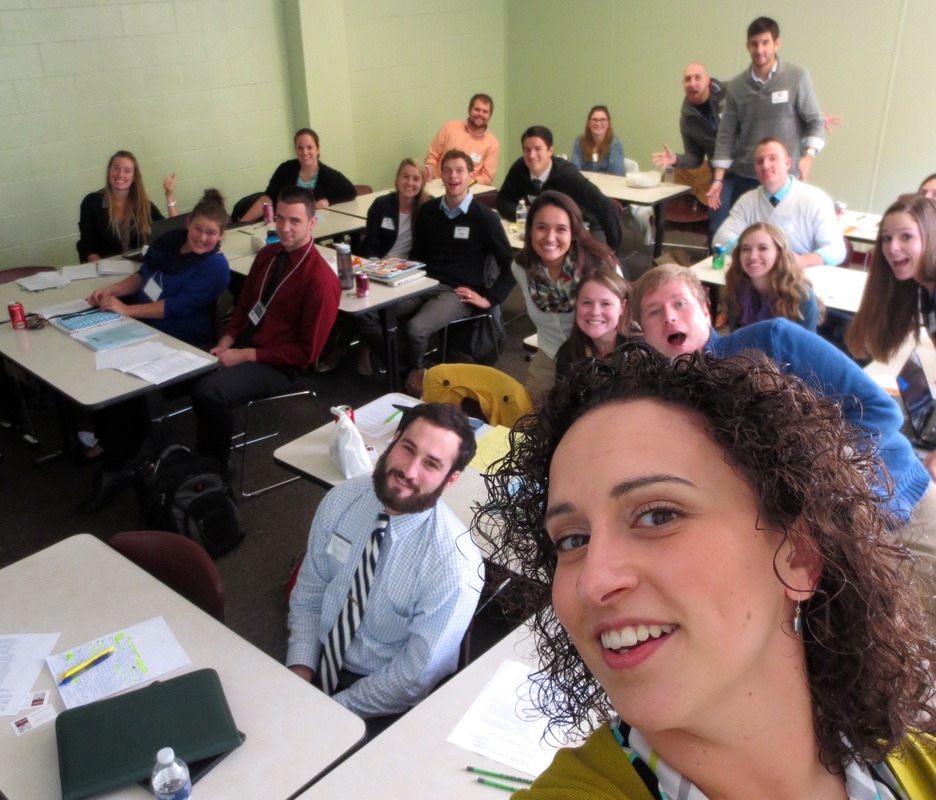
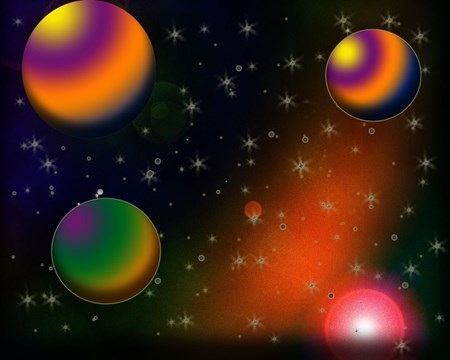
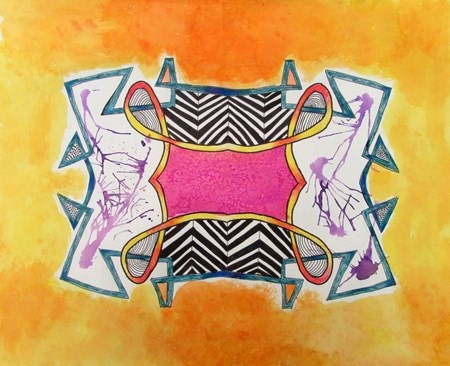
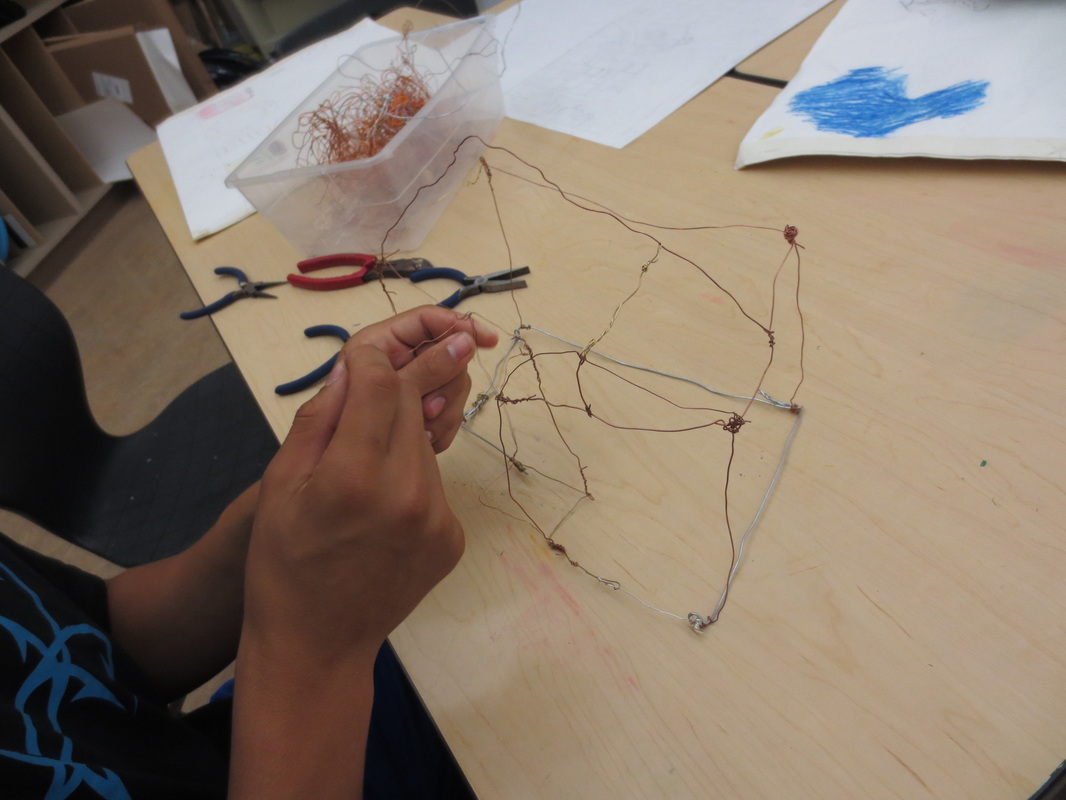
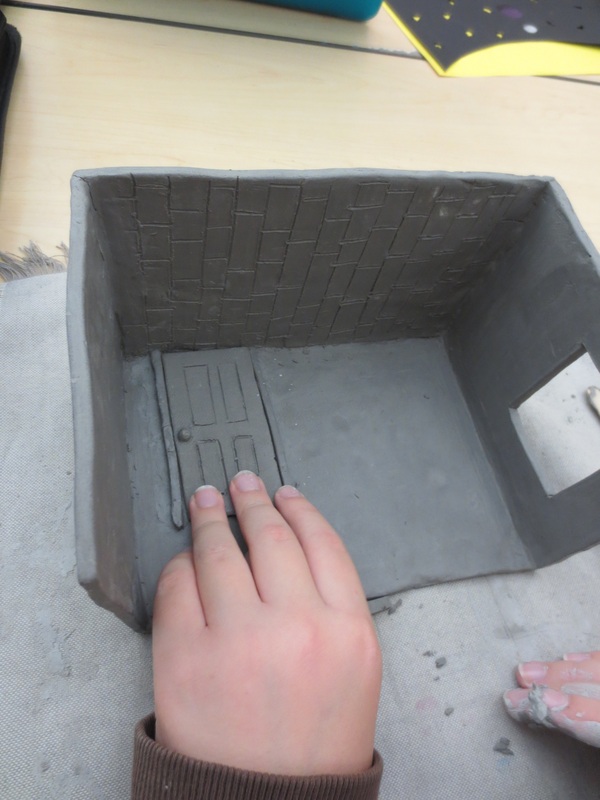
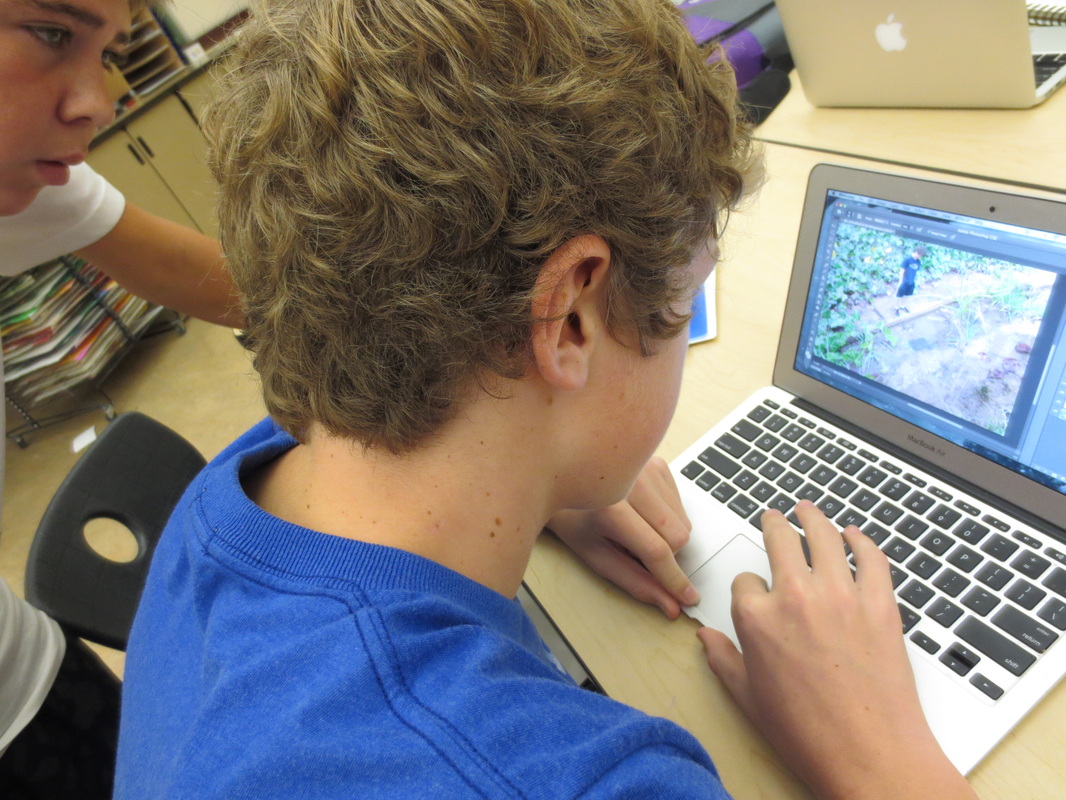
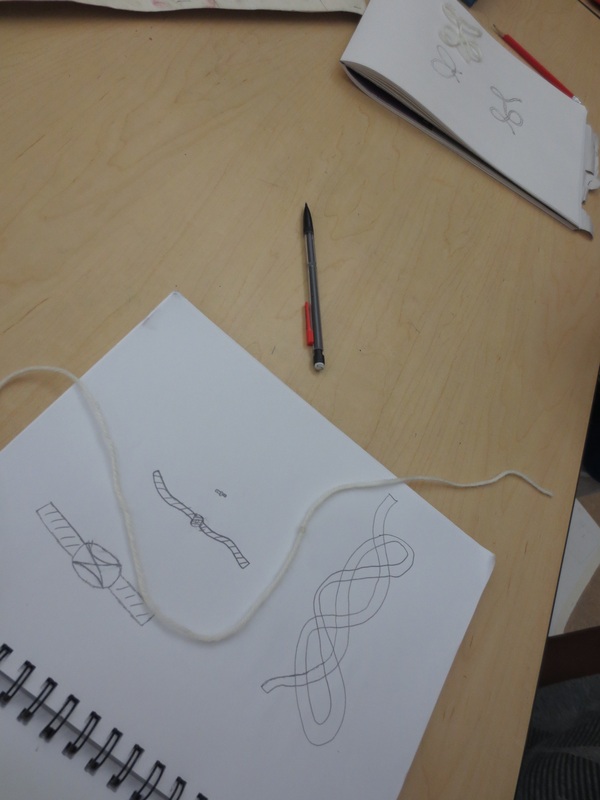
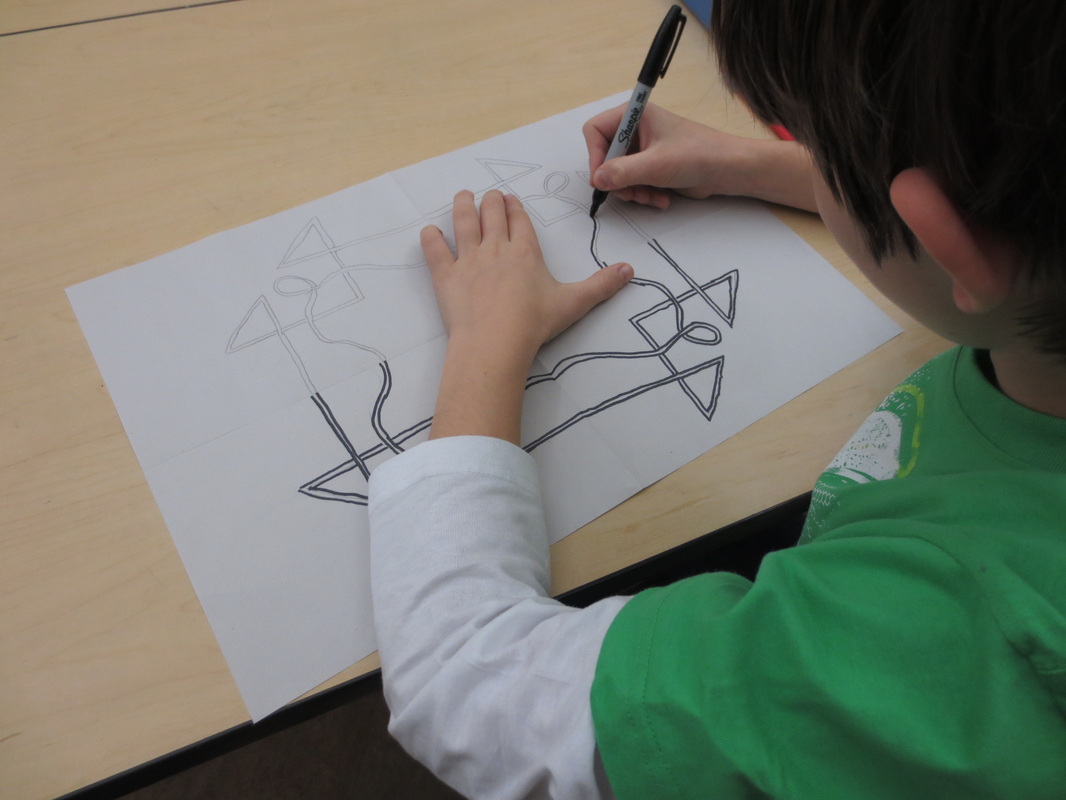
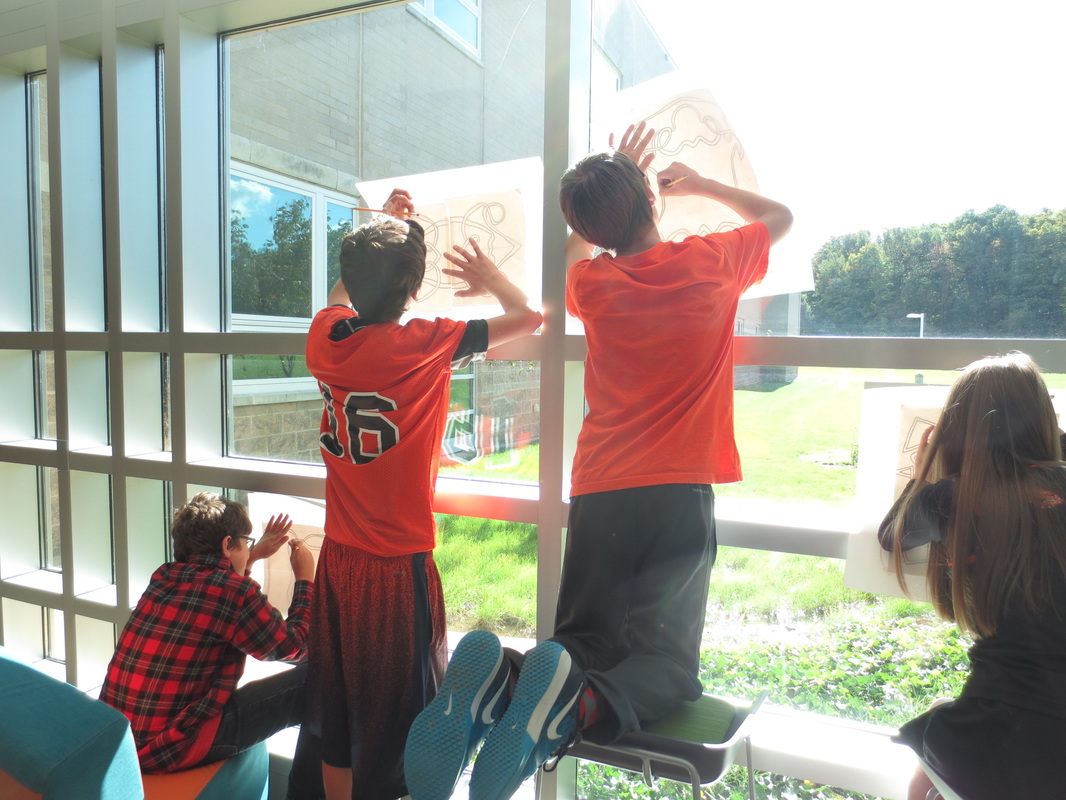
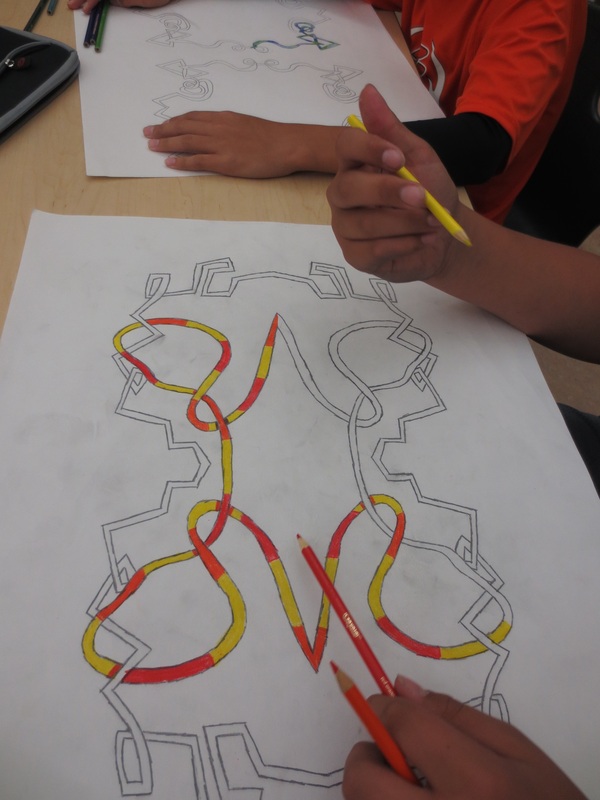
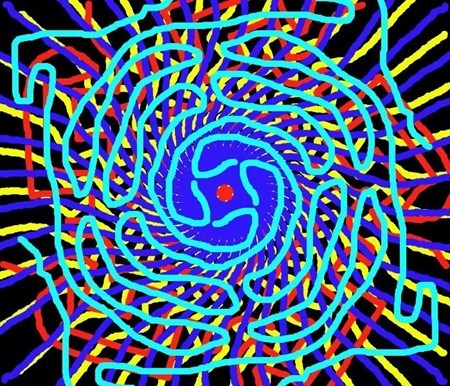
Thursday and Friday and Monday was spent away from my students. When this happens, I feel bad, but I was hard at work each day working on educational issues important to my field. Thursday and Friday was spent in Lansing. For the past two years, I have been working with a team of Visual Arts Educators in the State of Michigan on the Michigan Arts Education Instruction and Assessment Project. This project is offered to Arts teachers as a solution for implementing and developing high quality programs and assessing those programs and students within. I am very proud of the work I have been able to do, although it does require some time away from my students to work in Lansing with the other teachers and project management involved. On Monday, I had the honor to present to Student Teachers at the Fire Up! conference at Aquinas College. It was really fun to share the amazing things my students do with the power of technology and how we integrate our learning in many ways and break down classroom walls to engage globally. Here is a picture of one of the groups I had the pleasure to present to on Monday (and as you can see, they were a fun bunch): Even though I was away, students have been hard at work making loads of art. My 7th graders have finished two major projects in the past few days and my 8th graders are starting to wrap up their Environment/Space/Place projects. Here are some pictures of what has been accomplished since last time: 7th grade Space Projects Ian Sands (a High School teacher in NC) posted this tutorial a while back and it has been an amazing resource for my students and I in learning new ways to use basic Photoshop tools. Thanks again, Ian - I owe you another scone at NAEA in March. You can see a full gallery of results on Artsonia, but here are few: 7th grade Knots Students have been working on these colorful knots for the past week or so. they have learned about line, symmetry, color, and various application techniques of colored pencil, watercolor, and Sharpie. It was fun to see the results as students made choices about how to construct their design, color it, and add finishing details. 8th grade process pictures Each of the following students is working with similar subject matter (home, interior/exterior space), but attacking the visual representation in very diverse ways. It has been fun to see how students interpret this assignment and the plans they have made in their sketchbooks be realized in their work. I am getting really excited and a little nervous as we finish up this theme; nervous because I am worried about time and some students waiting until the last minute to get their work in and excited to see if this all turns out as amazing as I know it can be! I will post some finished examples tomorrow and as they start to roll in from students.
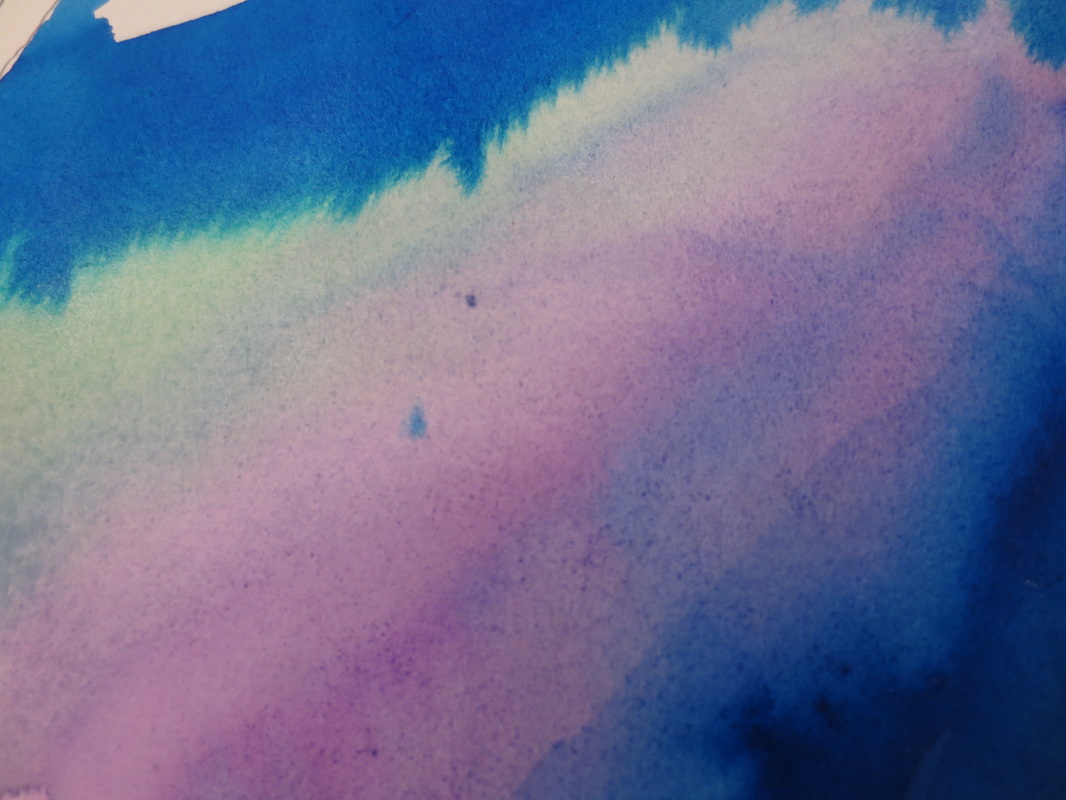
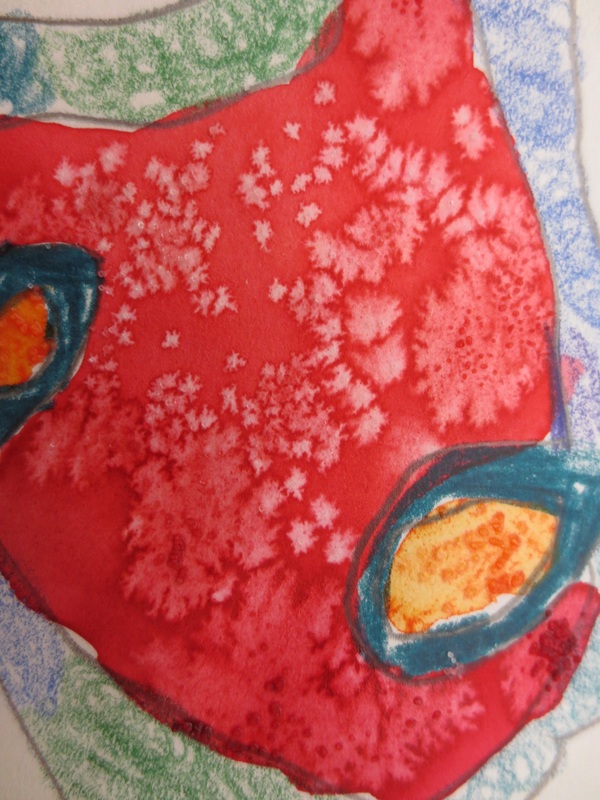
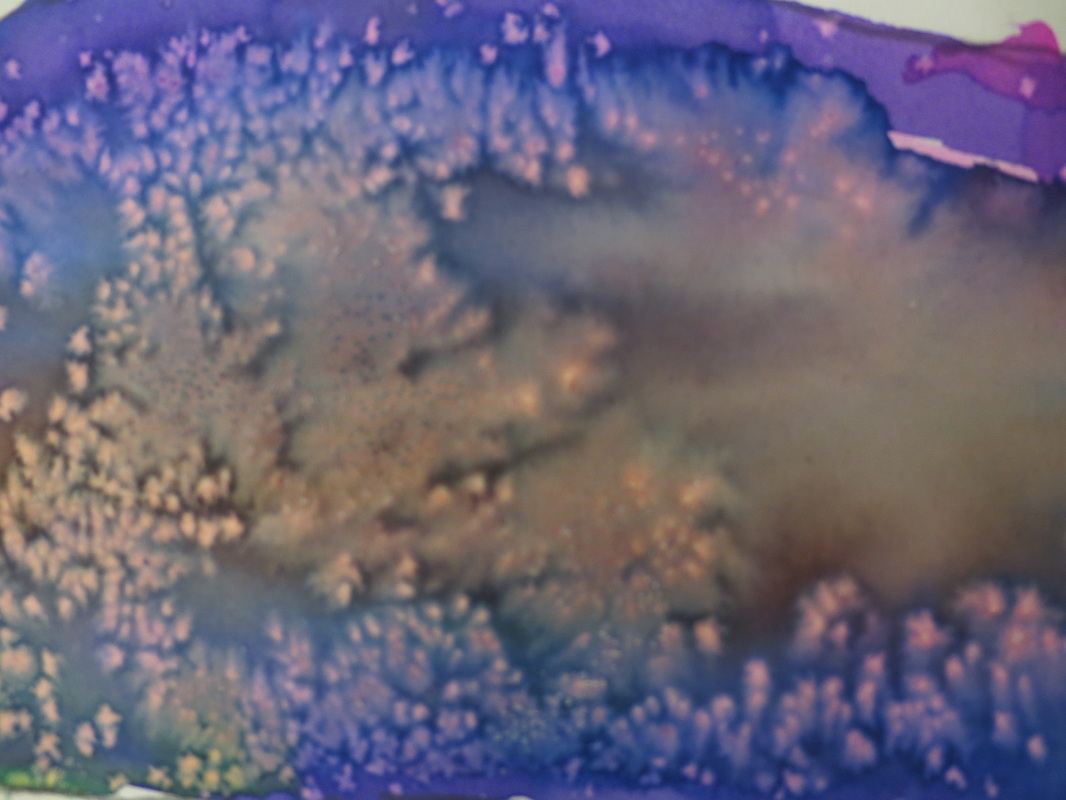
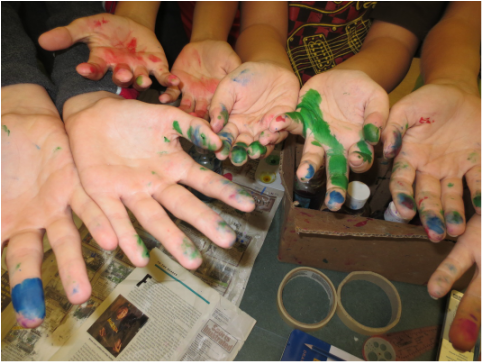
One of the best parts of teaching Art, especially at the middle school, is the amount of time dedicated to discovery. Students worked through media today to figure out what could happen when different scenarios arose. Here are the results from another day of work. 7th grade students primarily worked with paint to start this week as we filled in the space of their knots. I showed them basic methods and color theory before challenging them to explore color and media in their own way. The results have been exciting, as you can see from close up images below. 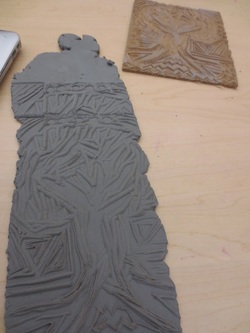 8th grade students are still working on their environmental works today. The image to the right was created through the use of a print block that was carved out. I encouraged the student to create the slab print before moving onto more traditional means of printmaking with ink. The student below was inspired by Fiddle Oak, the teenaged Photoshop sensation. He took pictures of his classmates and decided to use the power of Photoshop to shrink them down like the movie, "Honey, I Shrunk the Kids." I think the bottom image says it all for today - you know it has been a good day in the Art room when your hands end up looking like this. It means you were in the mess and a part of the making. No sitting on the sidelines when it comes to making discoveries or art - you must get your hands dirty at some point.
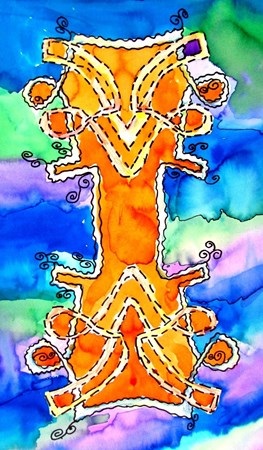
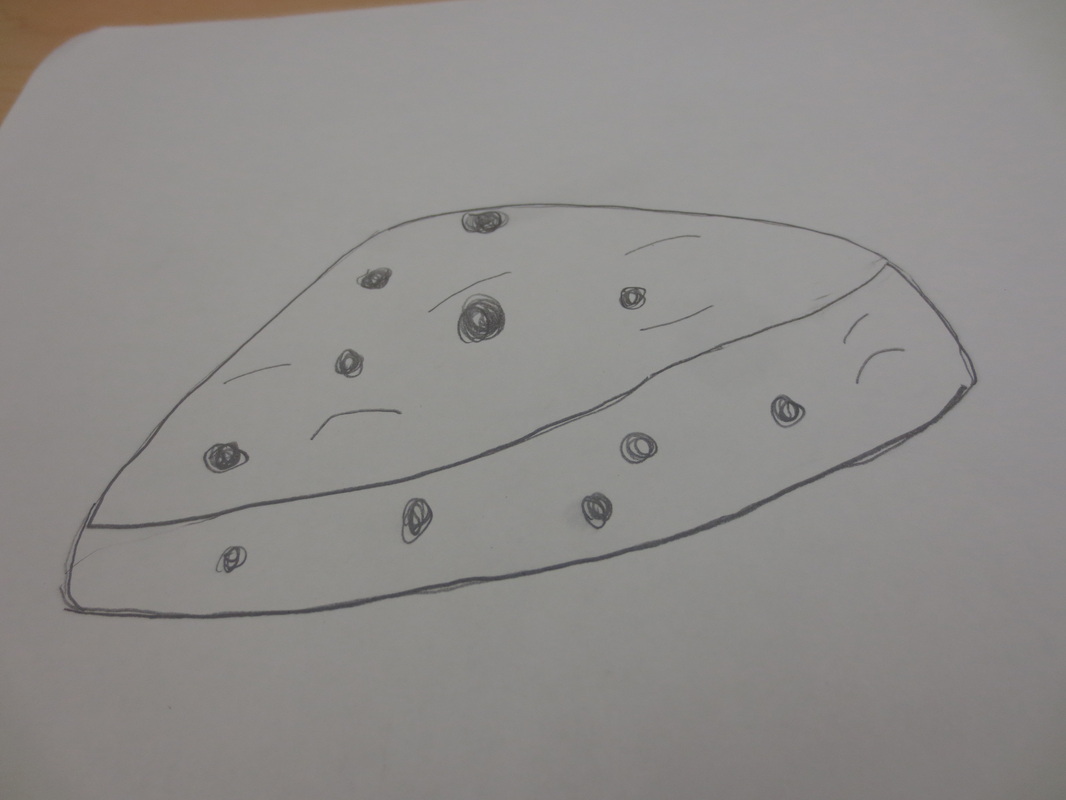
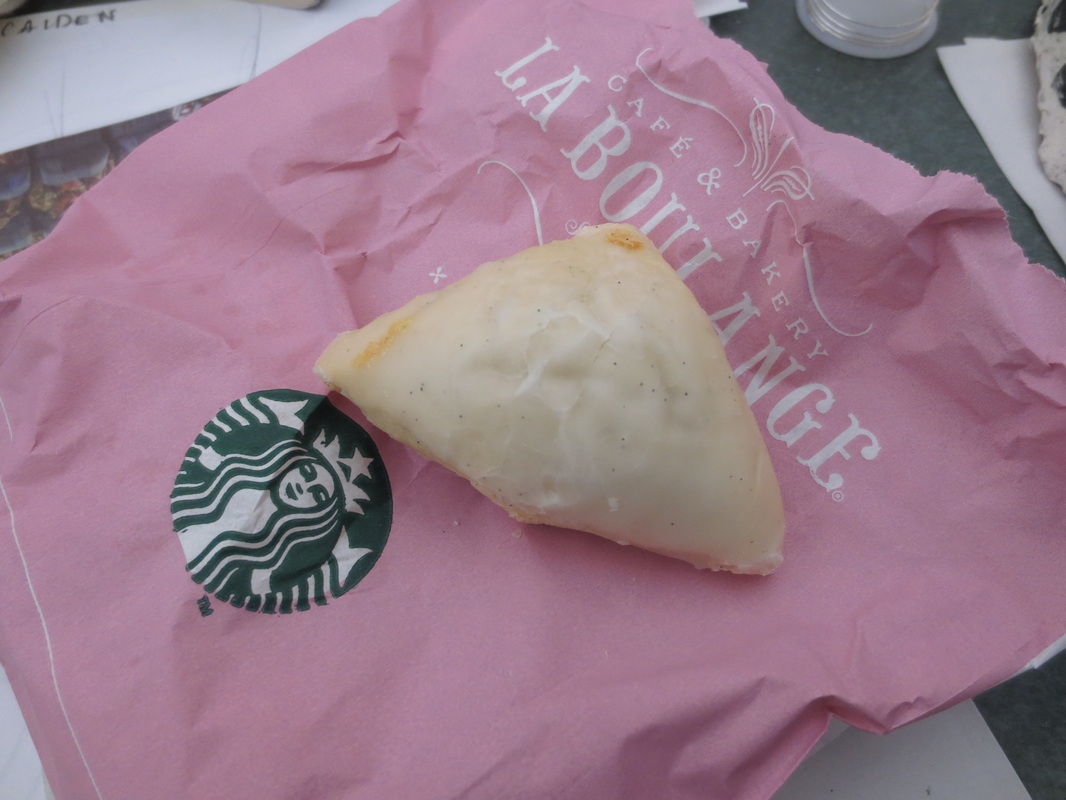
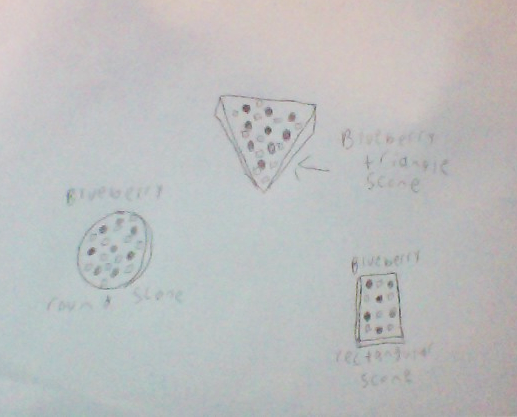
7th grade students worked on knots this week in many ways. We will be finishing up this work next week with paint and some reading as we look to the Celts and their use of line and shape in their work. Happy Scone Day, boys and girls - more specifically, Happy International Bring a Scone to Art Class Day! With our pretty strict "no food" policy this year, I did not make scones to share with students, nor did I organize students to make these delicious treats to share with the class. Instead, one student decided to celebrate the day with a simple scone drawing that you can see below. I think she is going to earn a Scone Day Participation badge for this effort! Now, onto some more work as we wrap up the week. 8th grade students are continuing to work on their projects as we also participated in a mid-way critique. It was fun to look around the room and have students respond to each other's work and ask the tough questions like, "What does a decorated duck have to do with environments?" I look forward to finding out the answer to this question and more as students start submitting work to Artsonia and writing out their statements to explain. Here are some of the process photos of our work from today. Update:The Scone Fairy visited my classroom this afternoon and left some lovely lemon poppyseed scones on my desk (thank you whoever you are, they were delicious!). I was also delighted to find an email from a student that included this illustration and recipe, which was a perfect way to finish out this super fun celebratory day! Thanks, Eli! Here's My Drawing and below is a recipe:
Simple Scones Ingredients Original recipe makes 8 scones Change Servings 2 cups all-purpose flour 1/3 cup sugar 1 teaspoon baking powder 1/4 teaspoon baking soda 1/2 teaspoon salt 8 tablespoons unsalted butter, frozen 1/2 cup of dried blueberries 1/2 cup sour cream 1 large egg Directions Adjust oven rack to lower-middle position and preheat oven to 400 degrees. In a medium bowl, mix flour, 1/3 cup sugar, baking powder, baking soda and salt. Grate butter into flour mixture on the large holes of a box grater; use your fingers to work in butter (mixture should resemble coarse meal), then stir in blueberries. In a small bowl, whisk sour cream and egg until smooth. Using a fork, stir sour cream mixture into flour mixture until large dough clumps form. Use your hands to press the dough against the bowl into a ball. (The dough will be sticky in places, and there may not seem to be enough liquid at first, but as you press, the dough will come together.) Place on a lightly floured surface and pat into a 7- to 8-inch circle about 3/4-inch thick. Sprinkle with remaining 1 tsp. of sugar. Use a sharp knife to cut into 8 triangles; place on a cookie sheet (preferably lined with parchment paper), about 1 inch apart. Bake until golden, about 15 to 17 minutes. Cool for 5 minutes and serve warm or at room temperature. |
Archives
August 2018
Janine CampbellTeaching Visual Arts since 2004 and making images since picking up a crayon. Categories
All
|

 RSS Feed

