BCWMS VISUAL ART & DESIGN
Follow me
  • Creations
  • 2011-2018
  • ArtPrize Entry 2017
  • ArtPrize Entry 2018
  • Souper Stuff

Challenge 1: Biography/Autobiography

10/15/2020

2 Comments

 
Picture
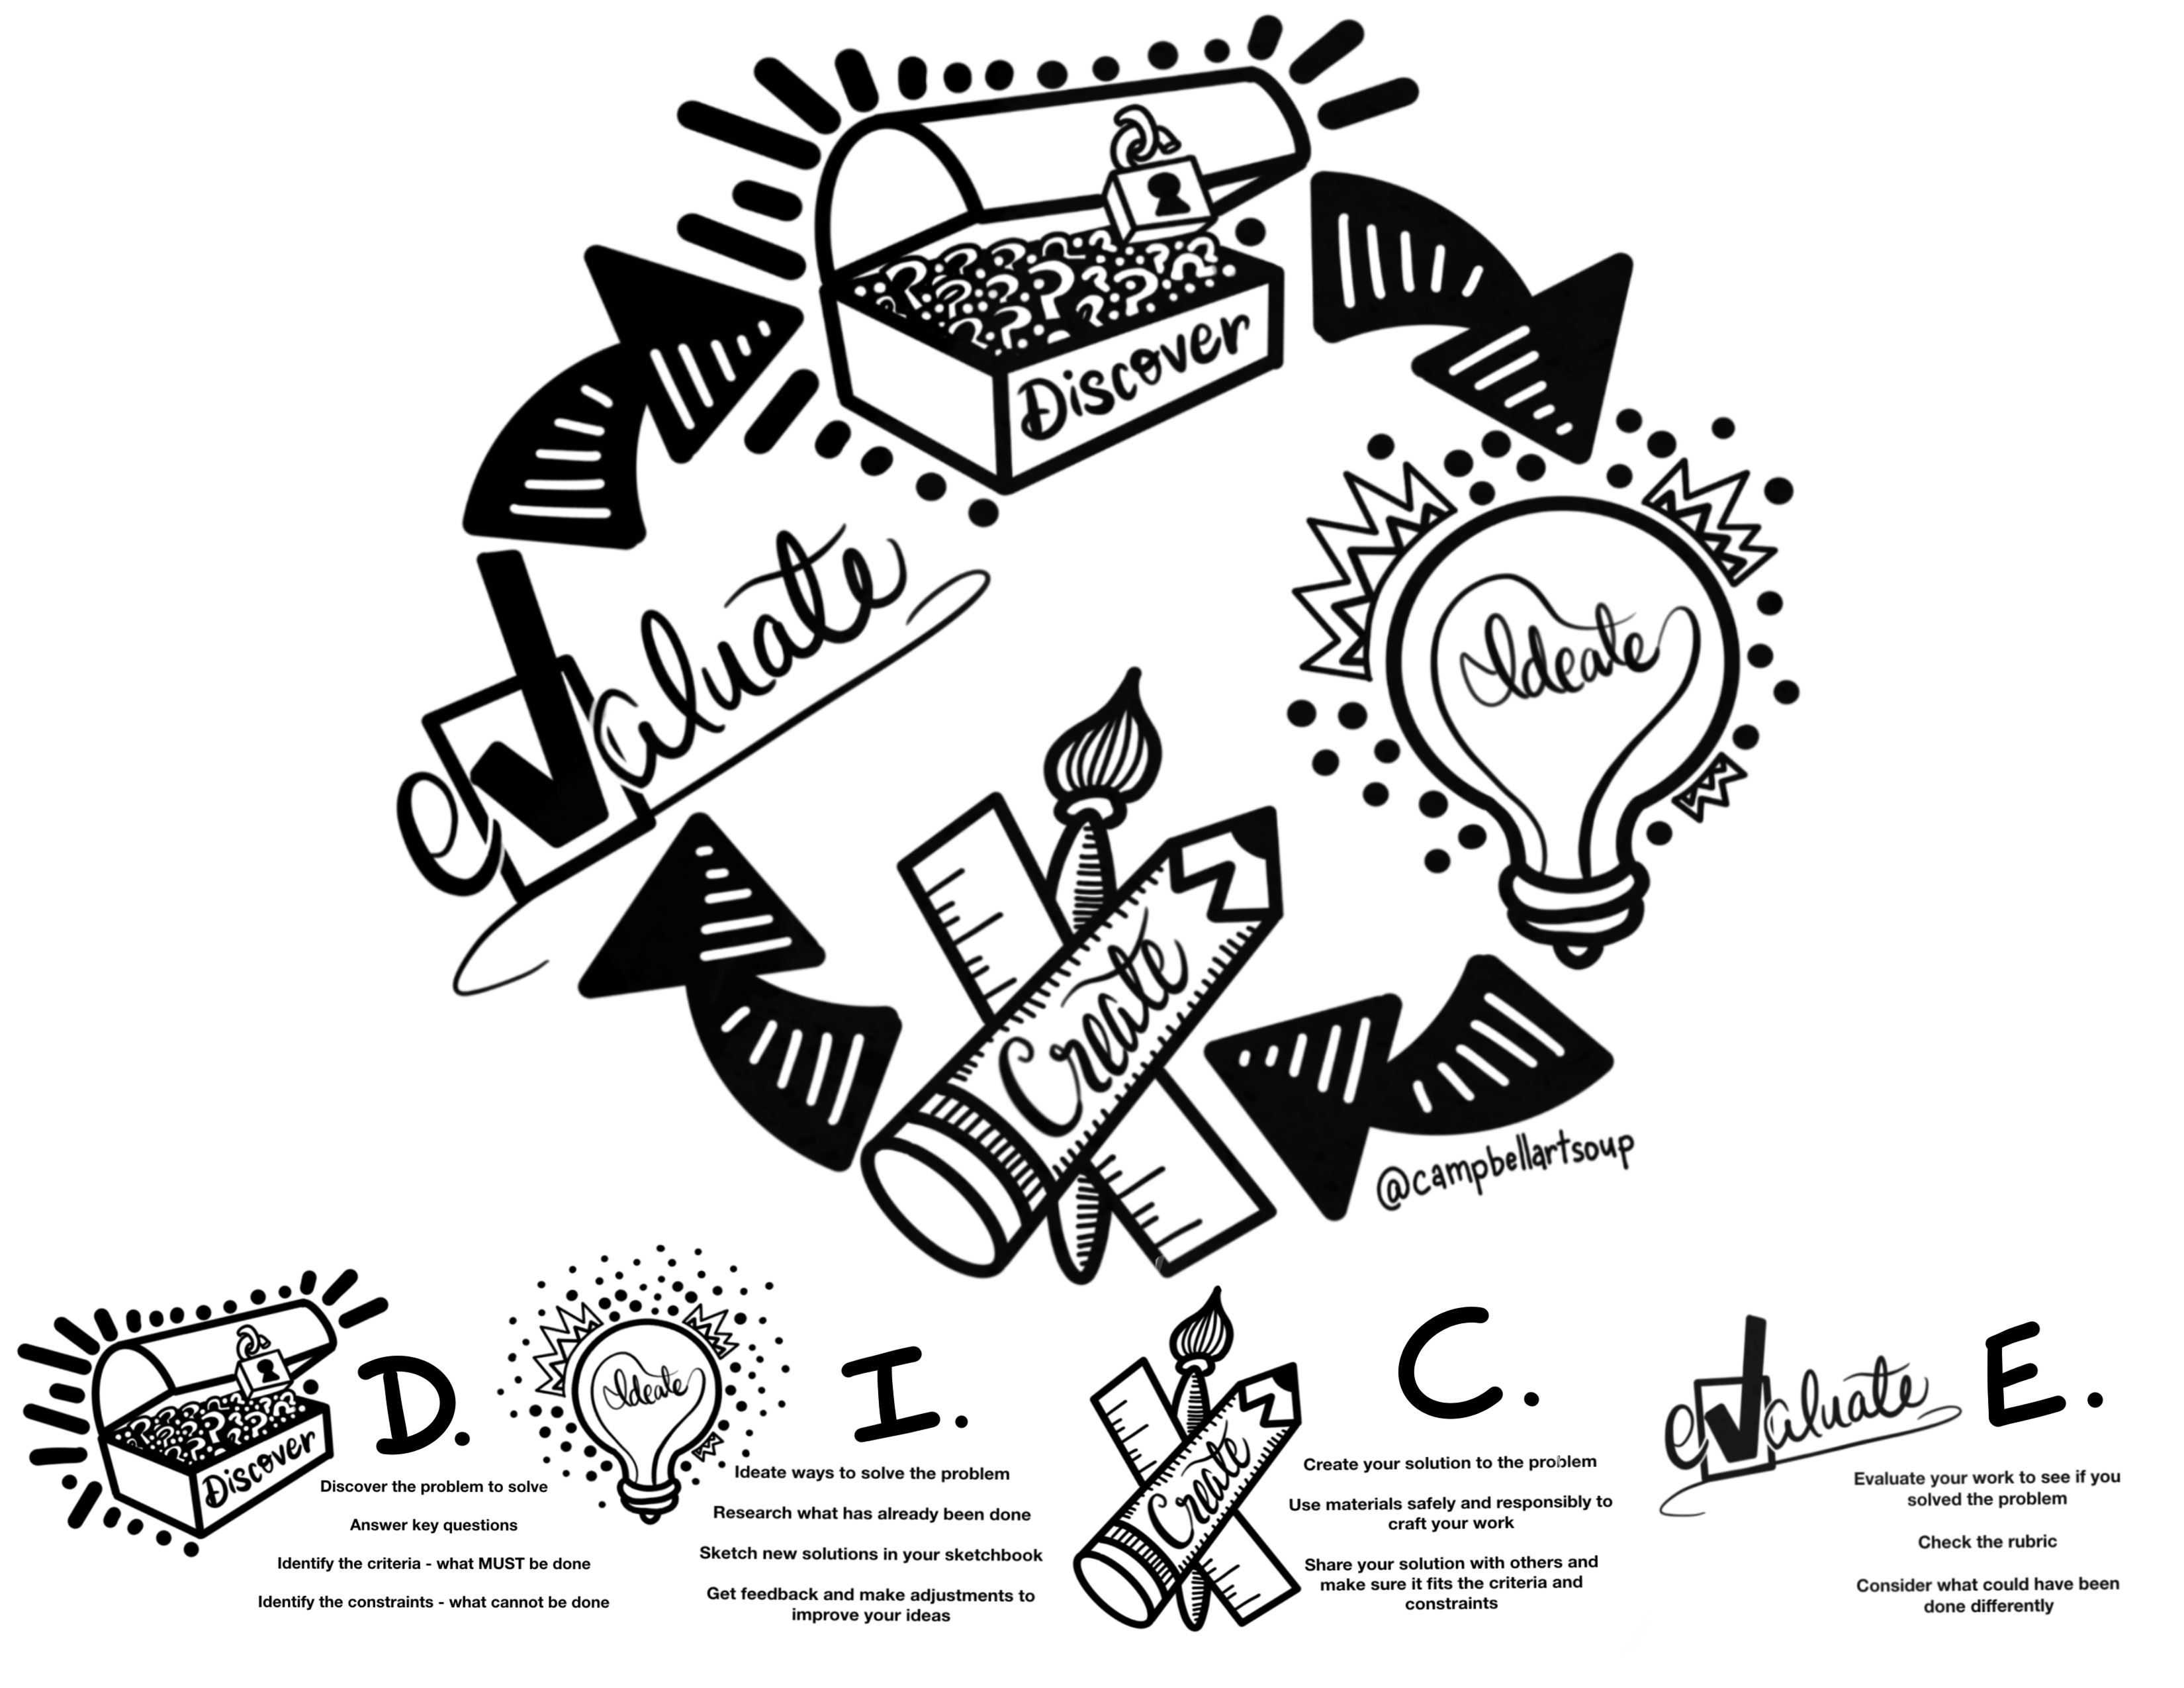
The last time I shared on here, I gave away some of the "secrets" to how I structure lessons in my class using Design Thinking. This was all shared before getting started with teaching this school year. 

Our school decided to start the year in a hybrid model, but it was very much a back and forth for weeks worth of meetings before landing on that option.  

To save myself from the inevitable stress of trying to figure out how to teach half of my students in person and the other half at home, I decided to plan everything like we were learning remotely this year. That way it works no matter what the learning situation is for a student and is stable and predictable for students, parents, and me. 

I took some of the things that worked best during remote teaching and learning this past Spring and added some additional ideas, tools, and other things, too. There were still some problems I had to find solutions for, and for the most part, I think I have. 

So, one BIG hurdle I had to figure out how to clear was organizing ways for students to get a chance to learn a variety of media. Usually, if I wanted to introduce a media or concept to students, we would do a round-robin experience of students getting to use the media (often in partner work). Now we have to do it in a way where we did not share supplies and it was safe. 

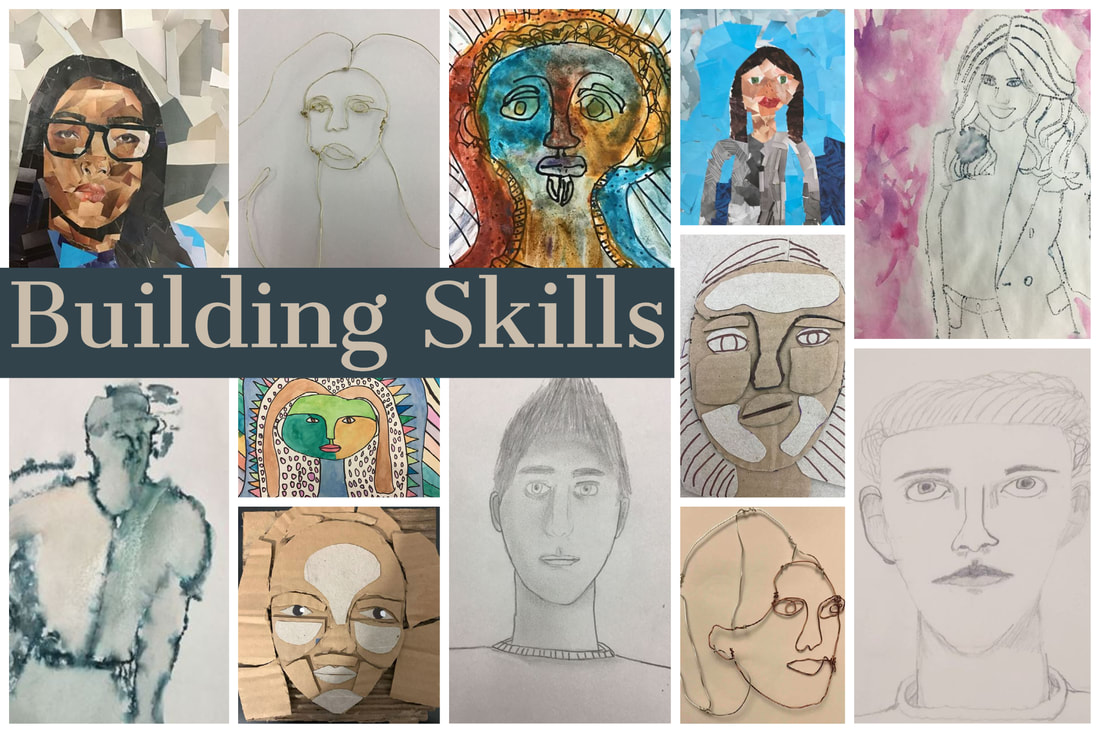
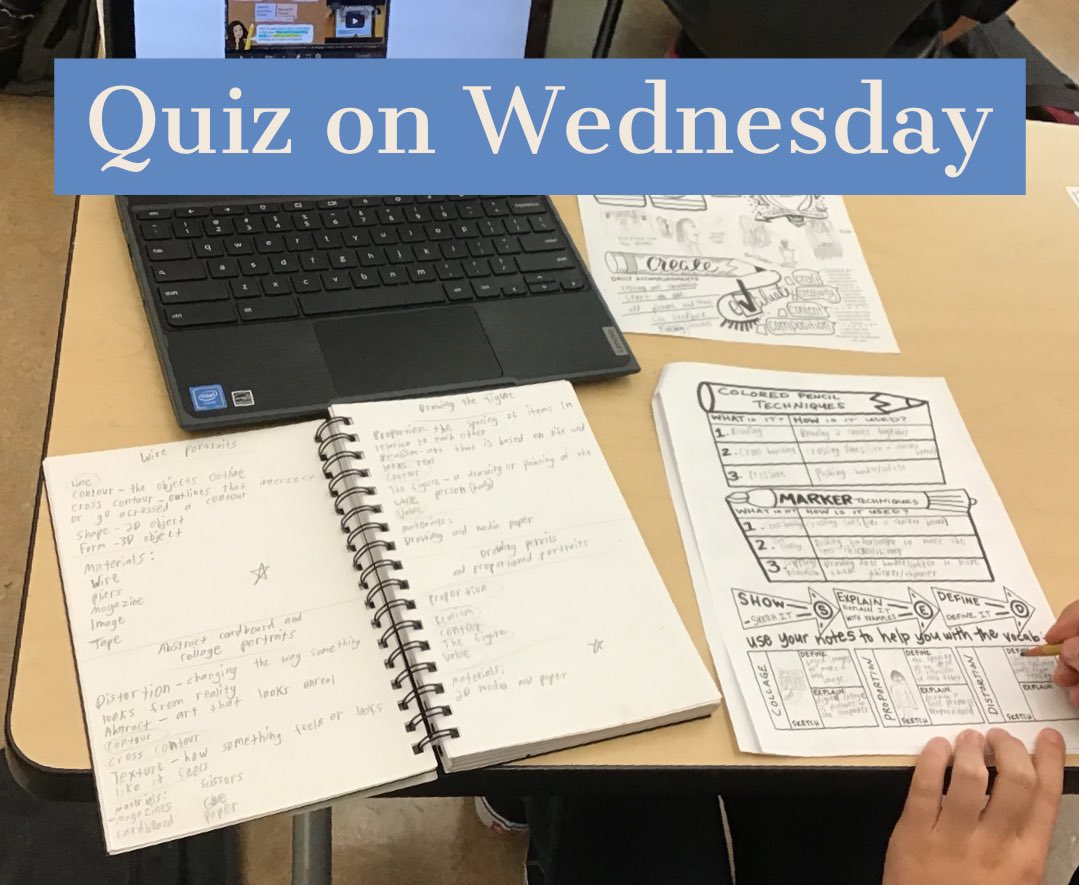
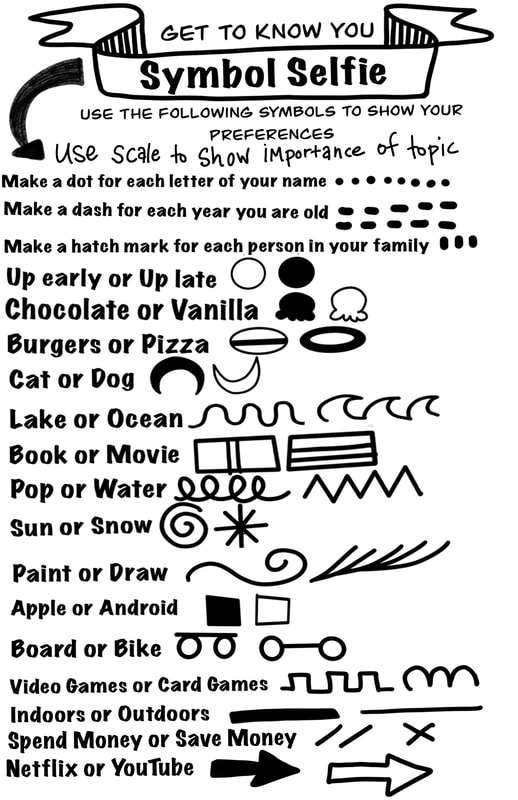
The solution was the interactive skill builder you see below. This tool (made with Google Slides) allows students to select from a variety of choices and create work that will help them gain and build skills. 

In addition to picking one from each set, students took notes on all concepts in case they might use them later. This skill builder is a lead-in for our first challenge, which many students create portraits or images of people because of the theme. 
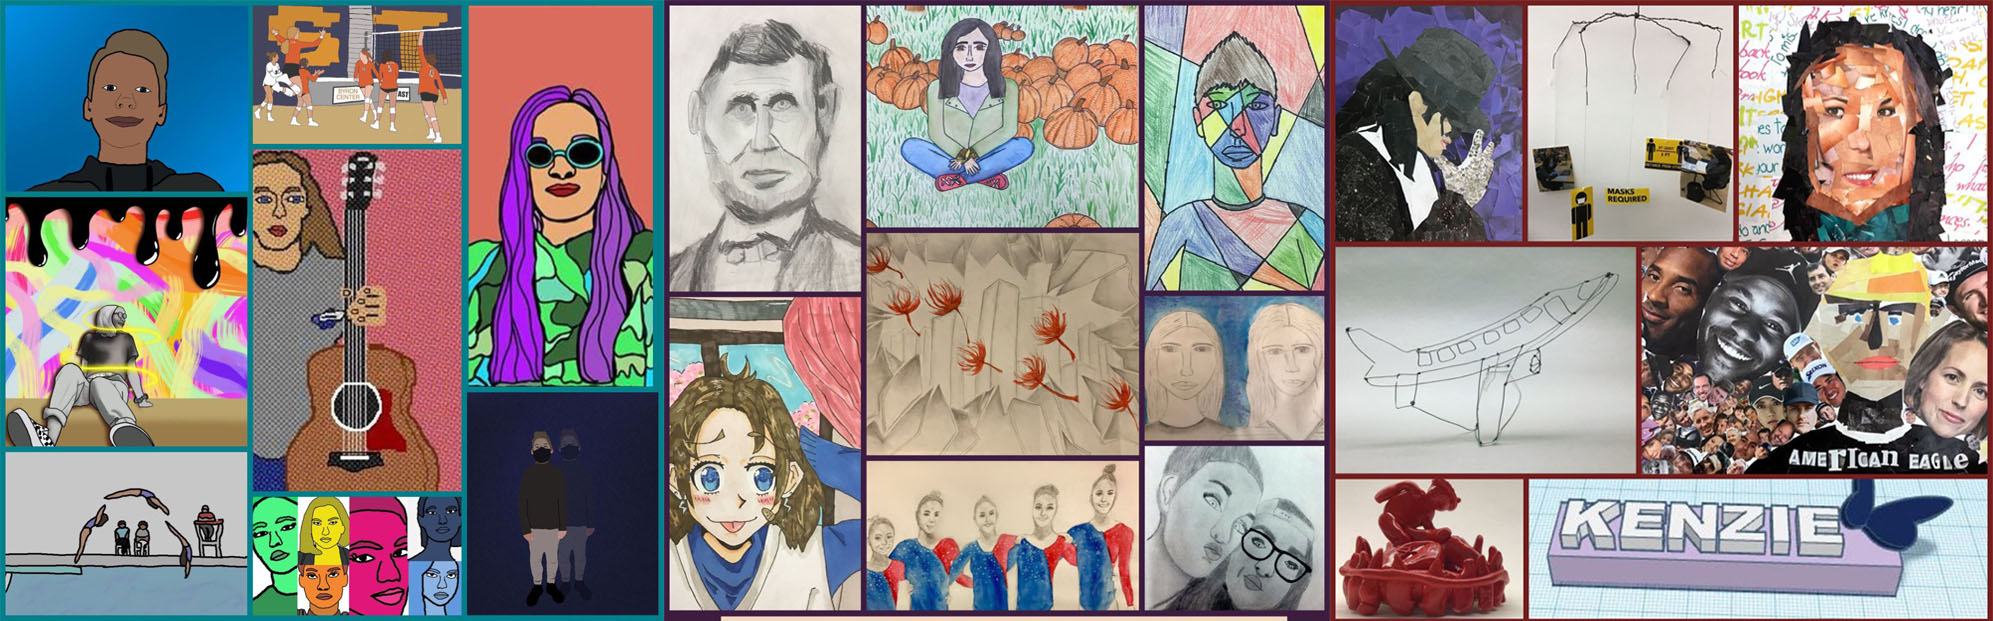
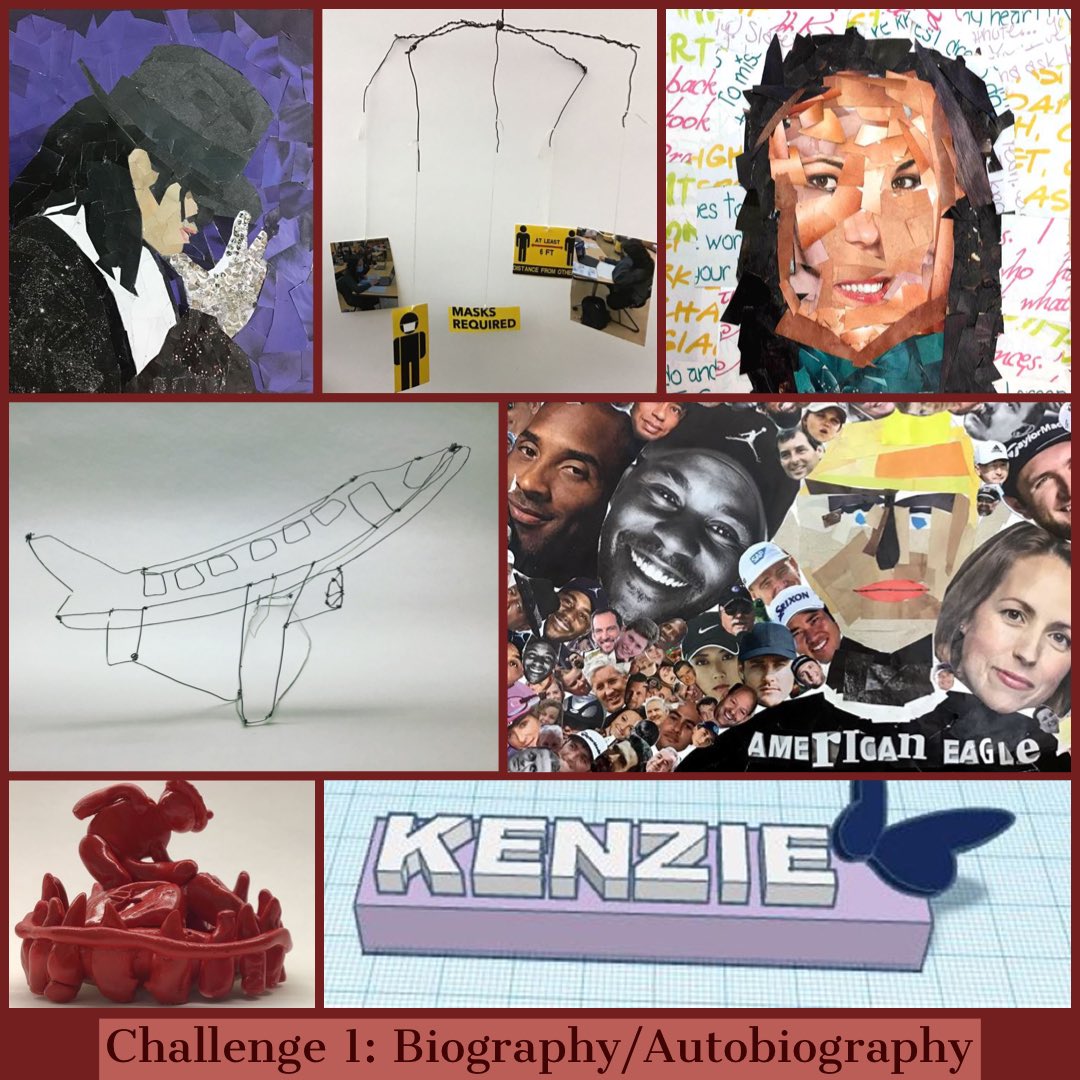
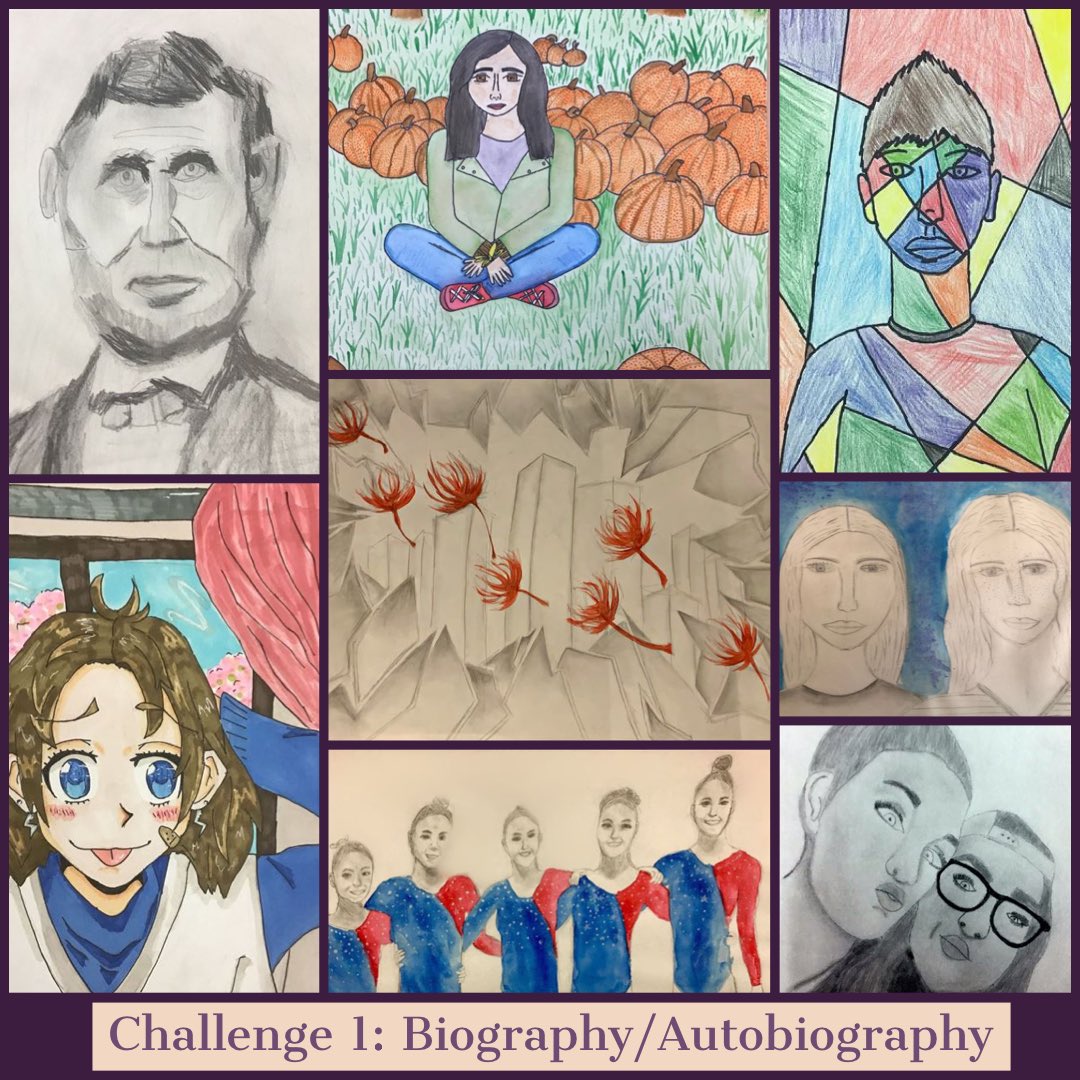
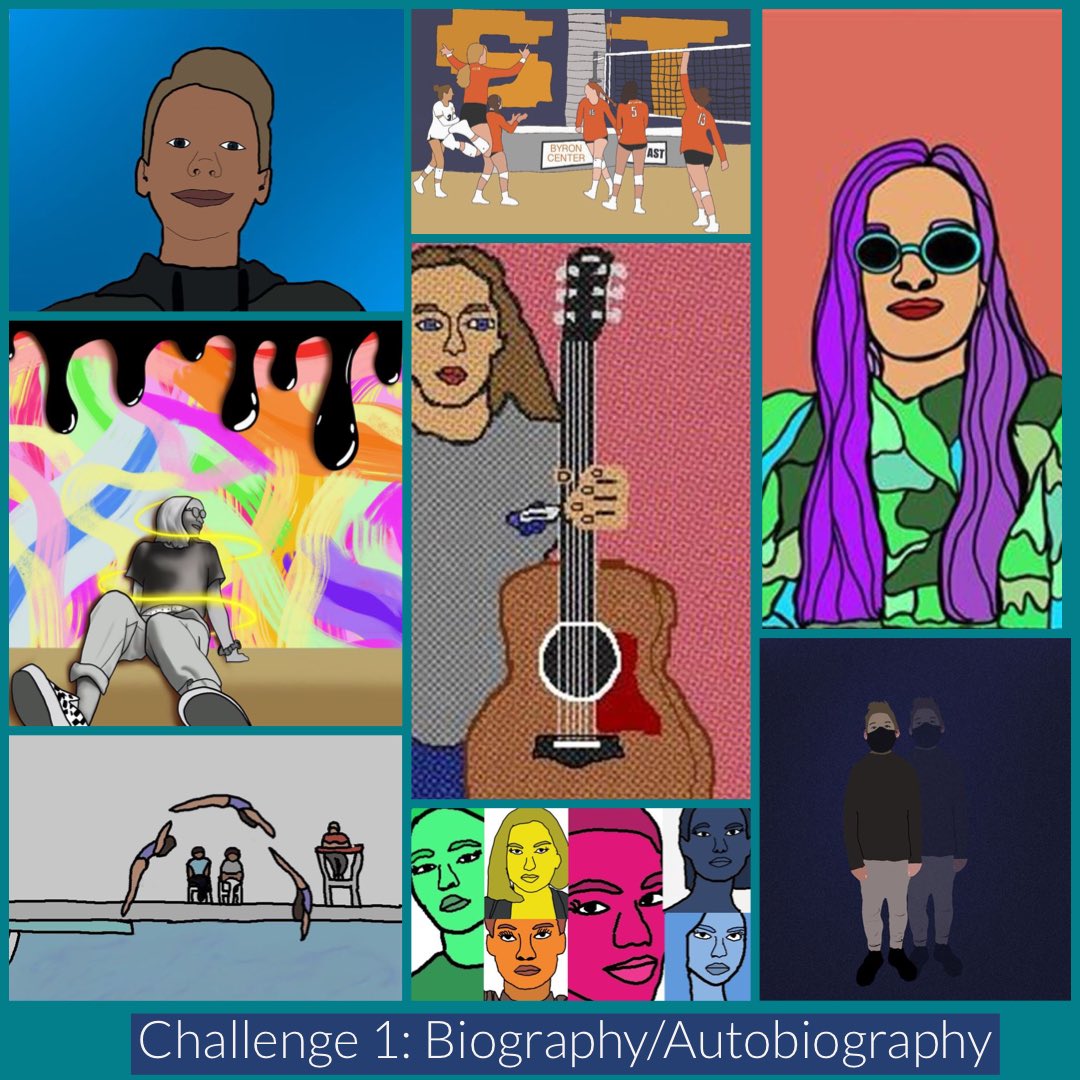
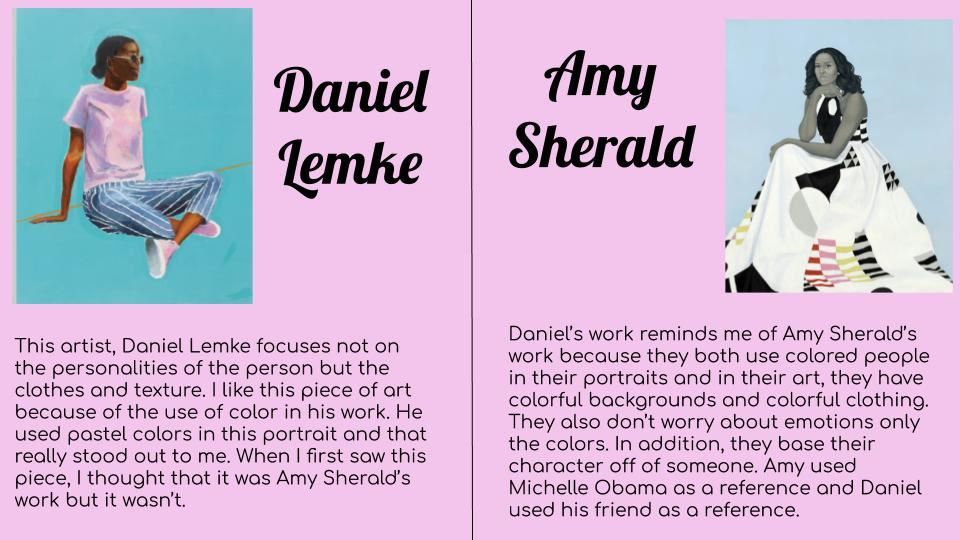
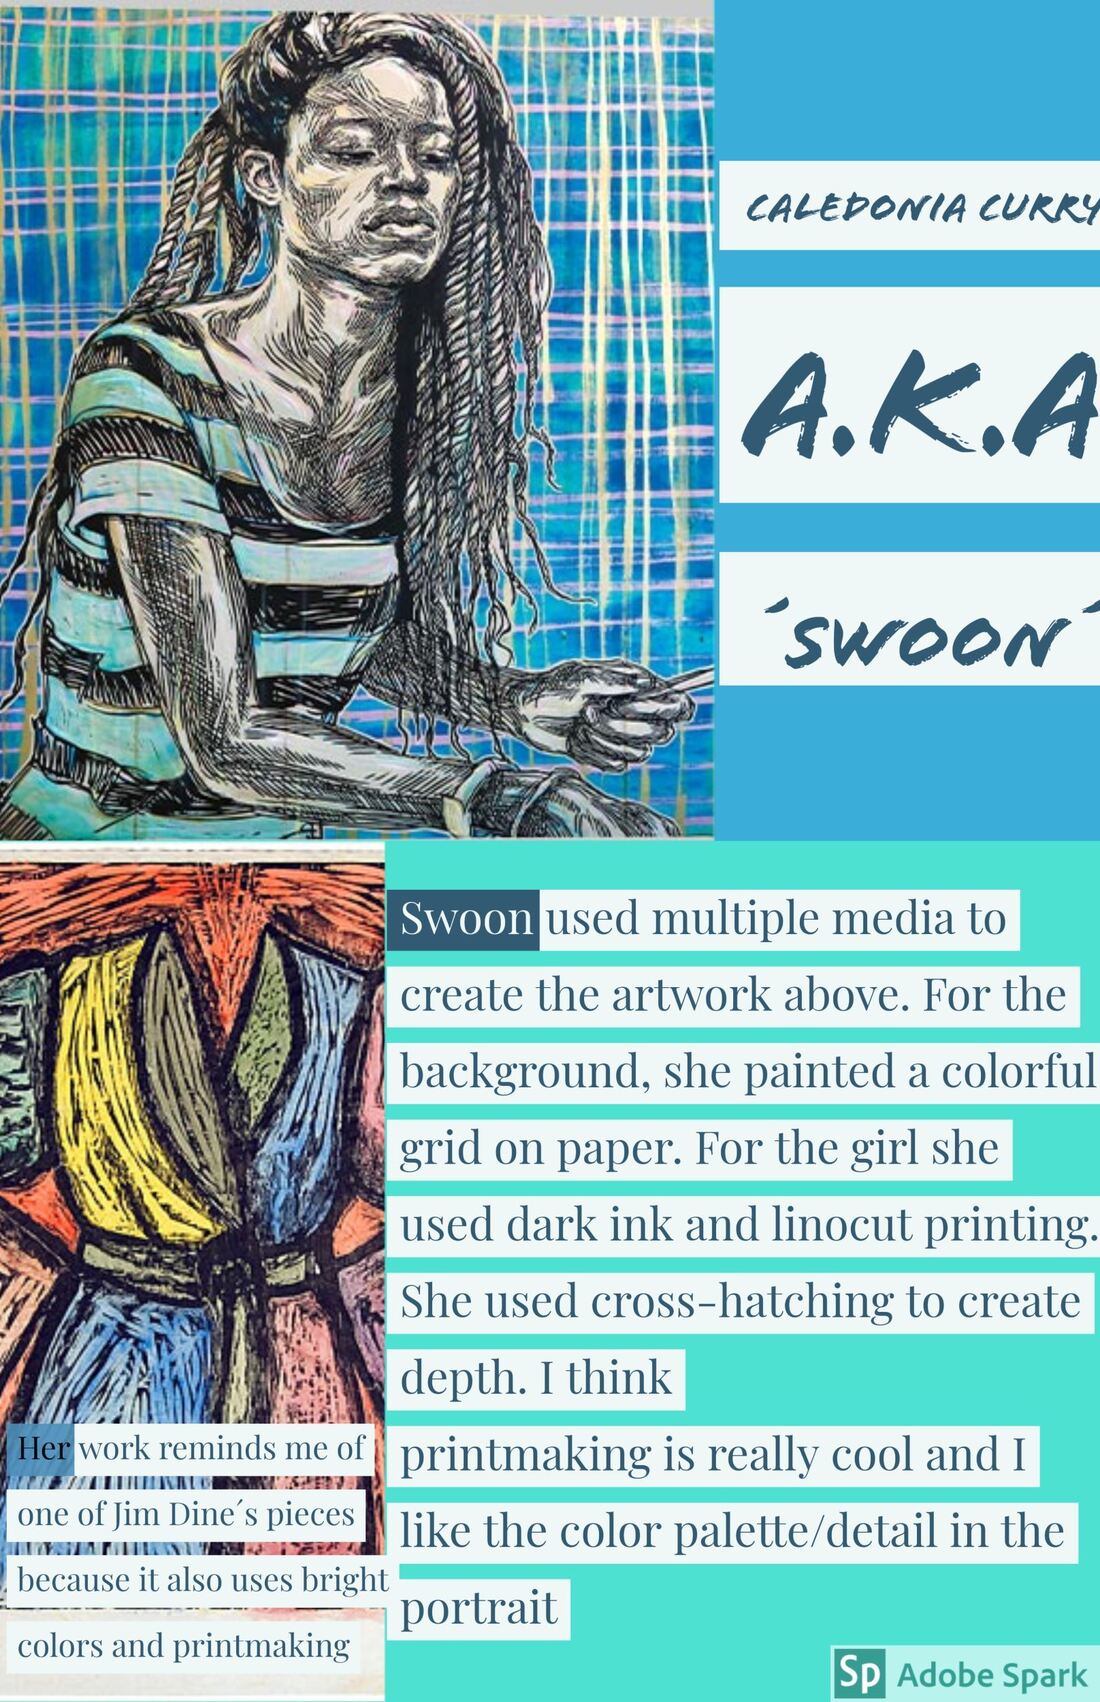
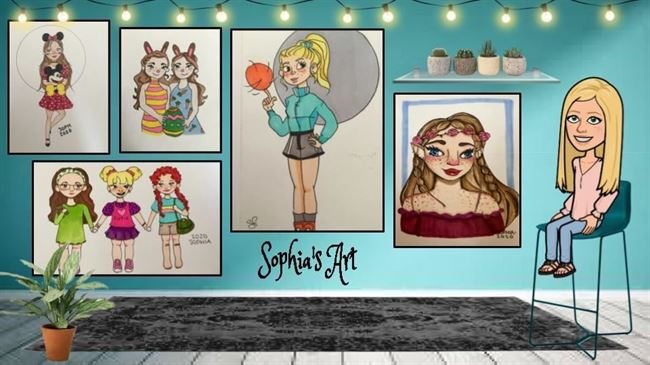
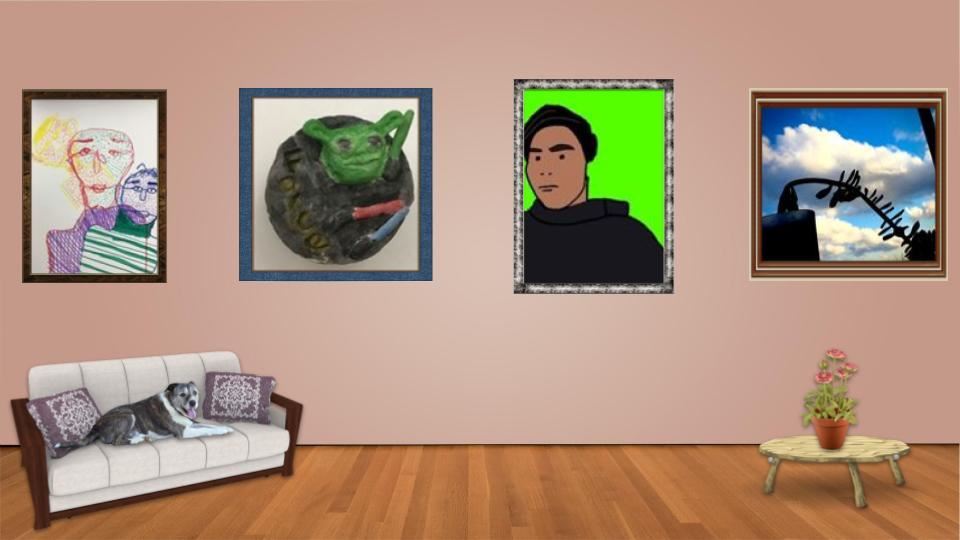
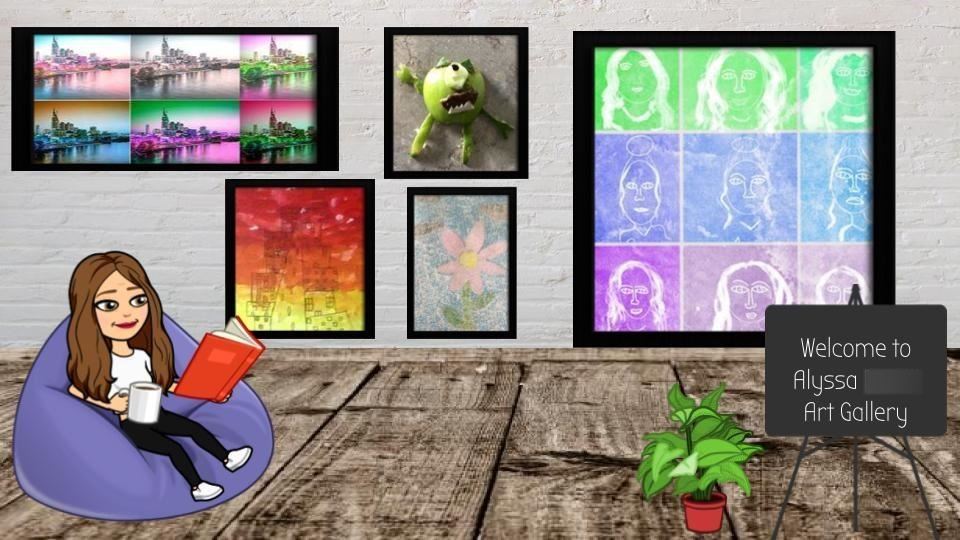
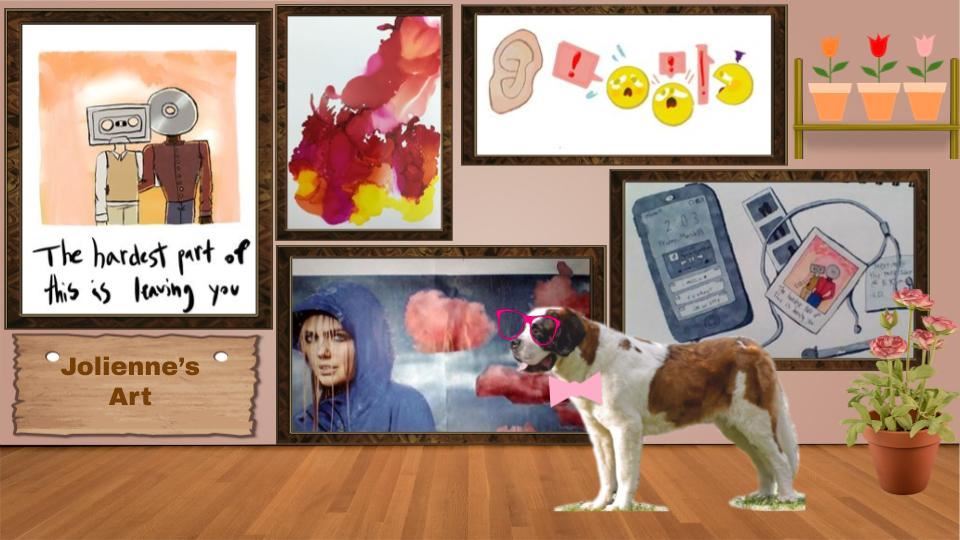
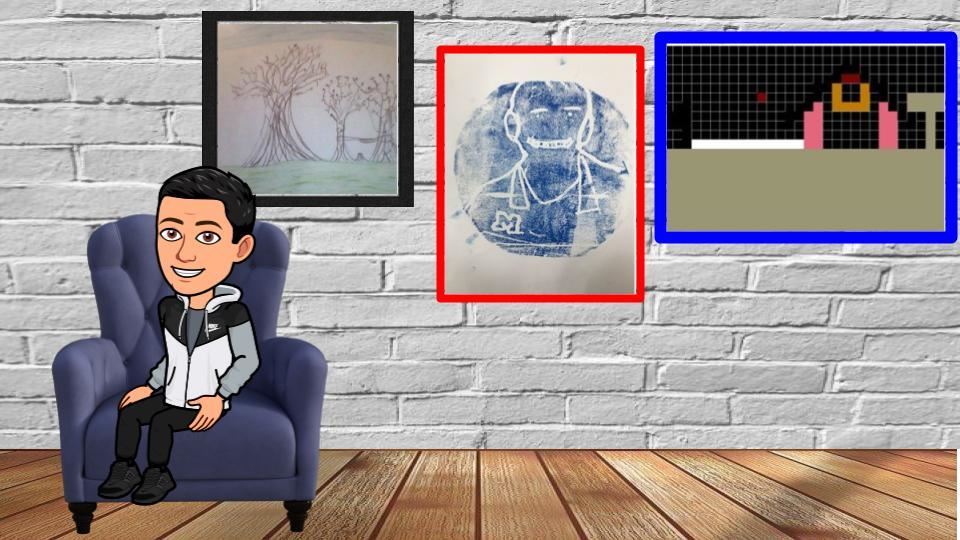
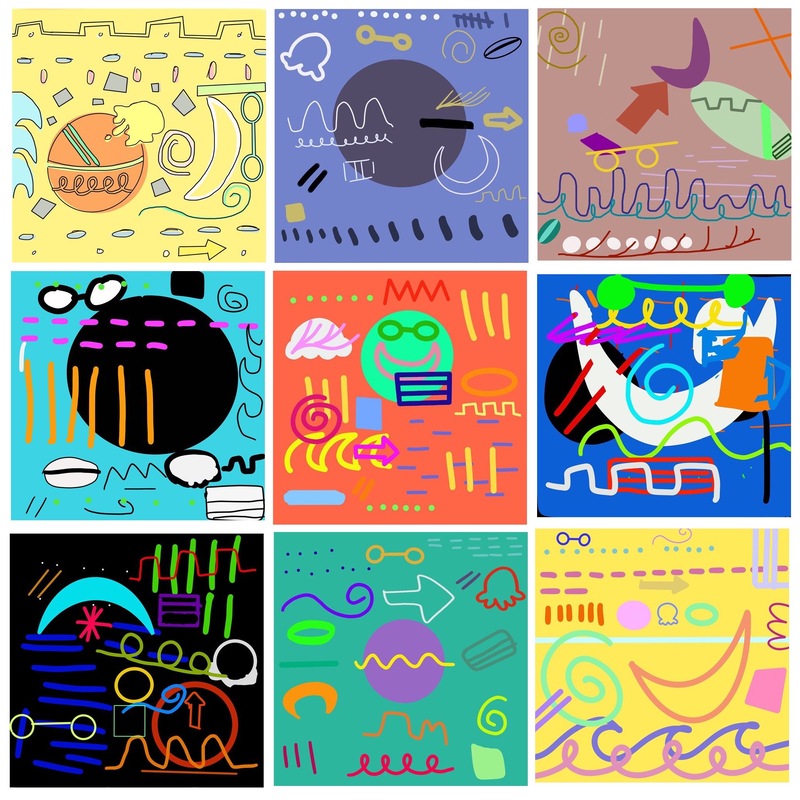
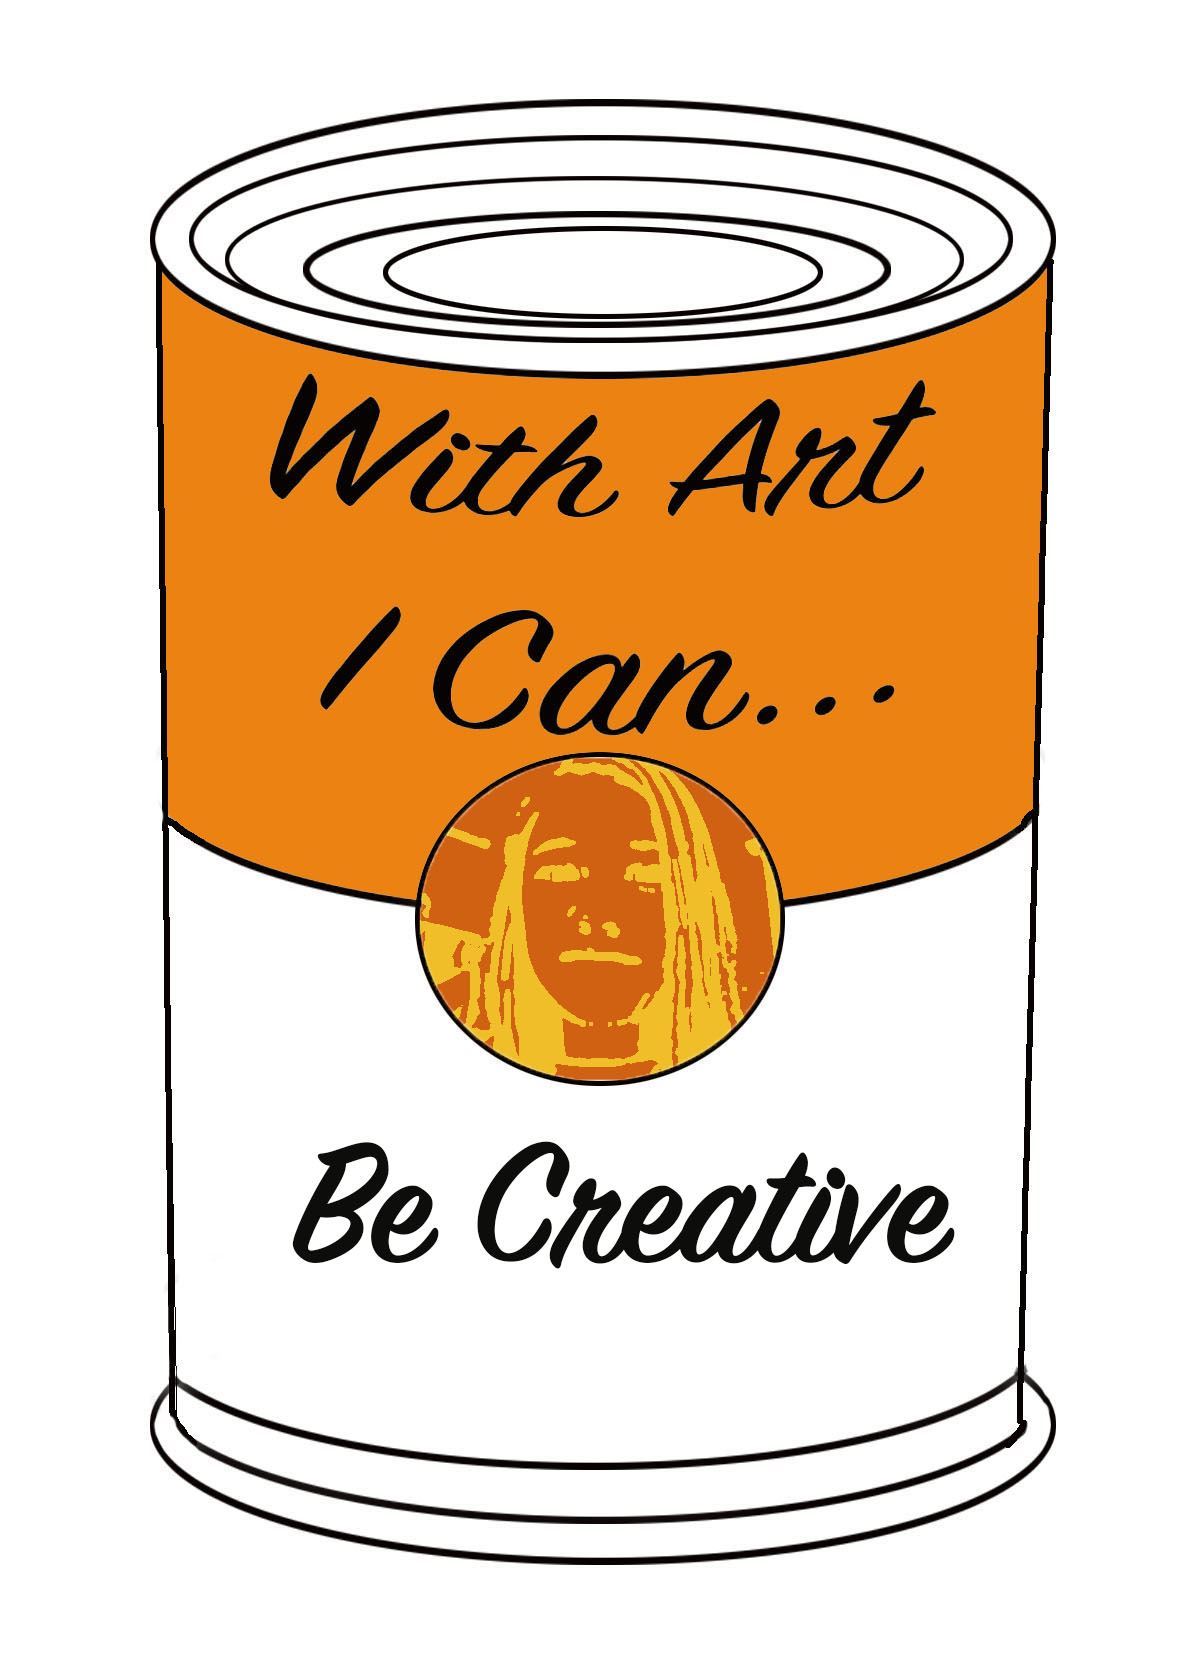
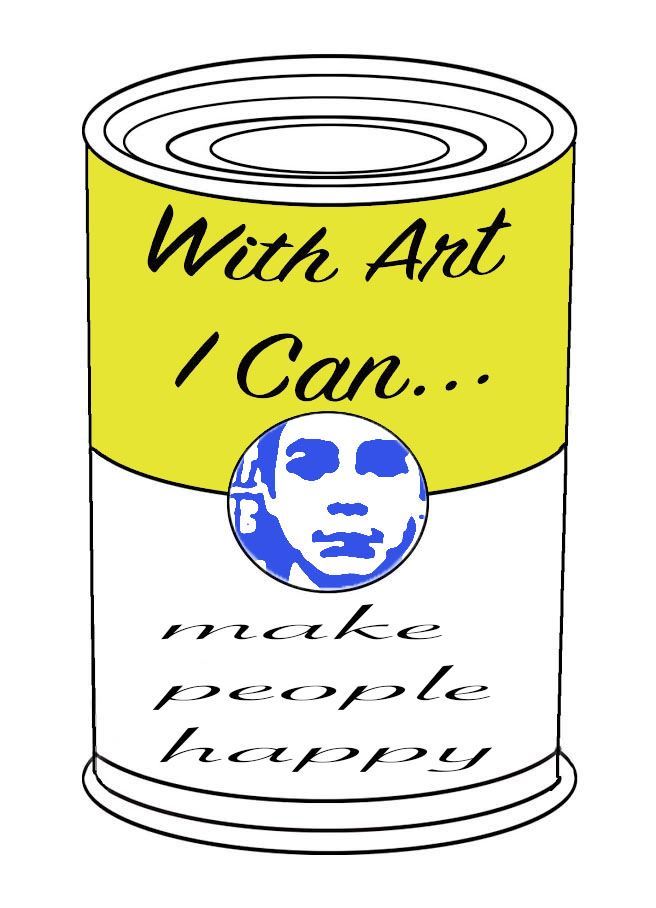
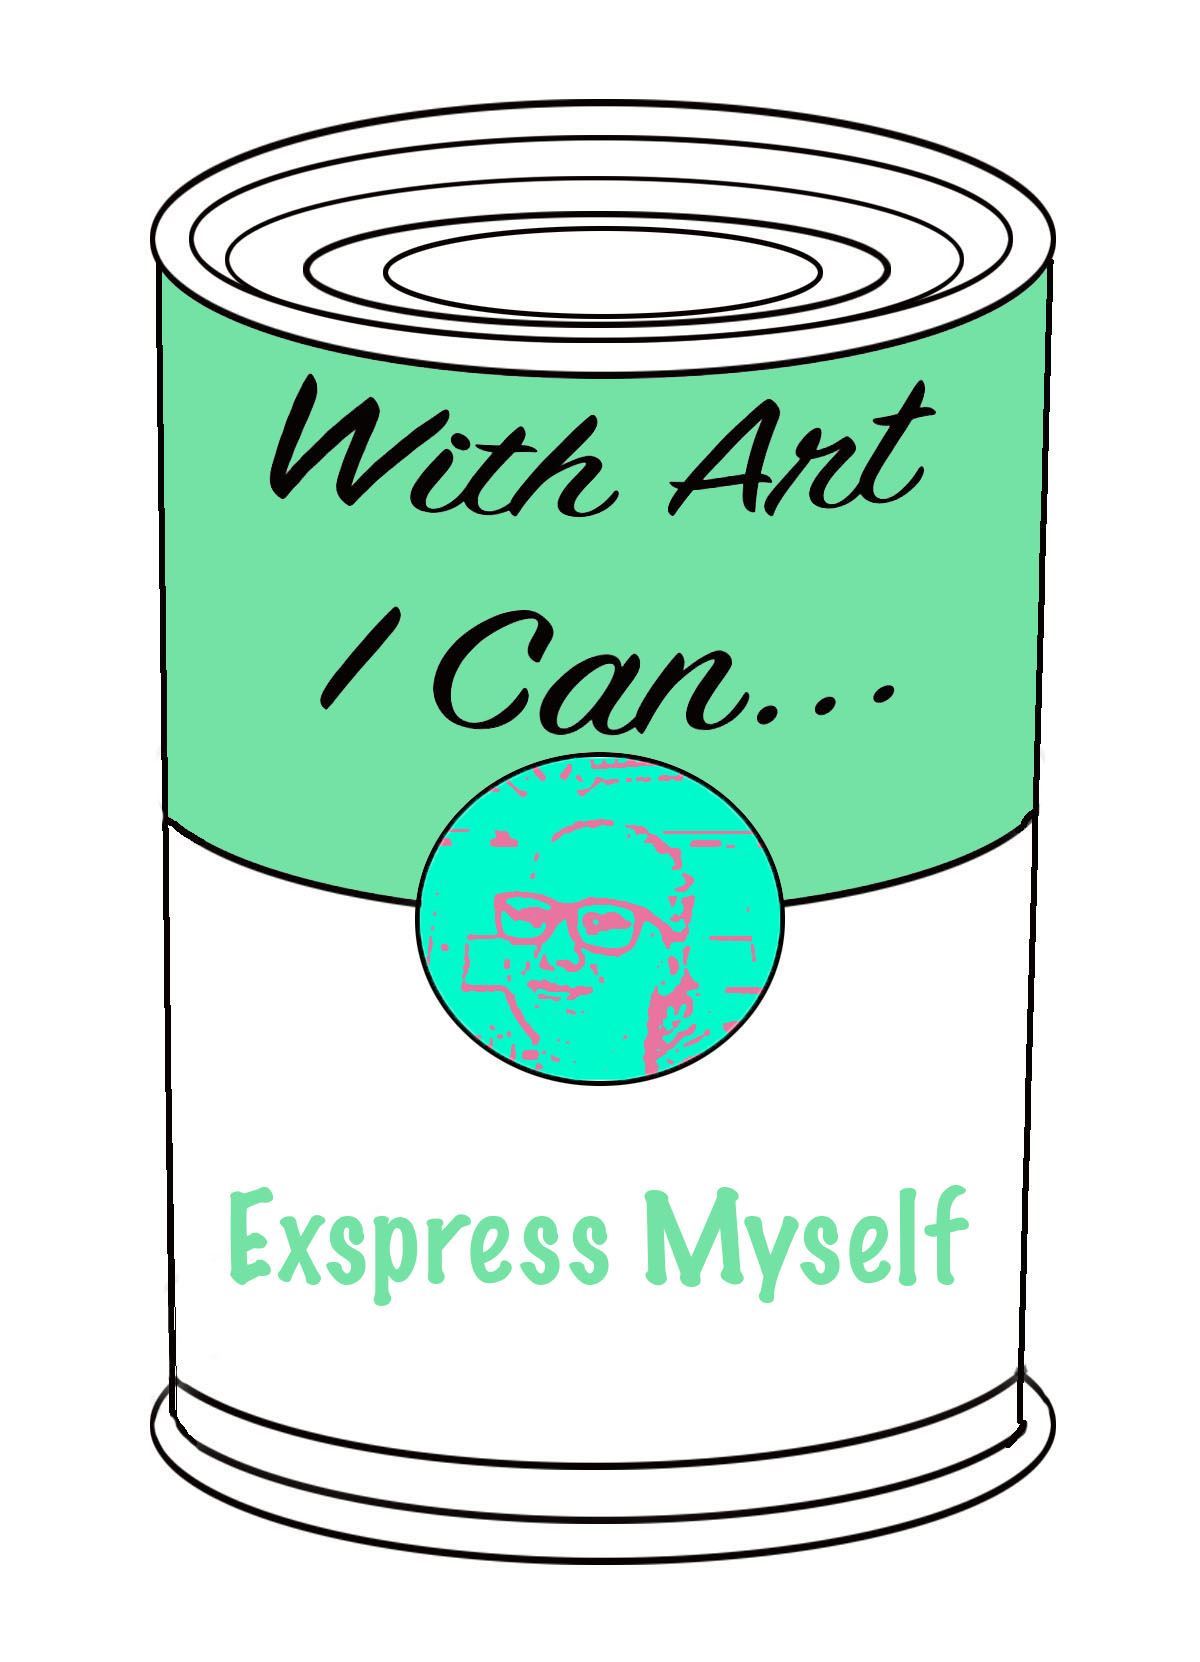
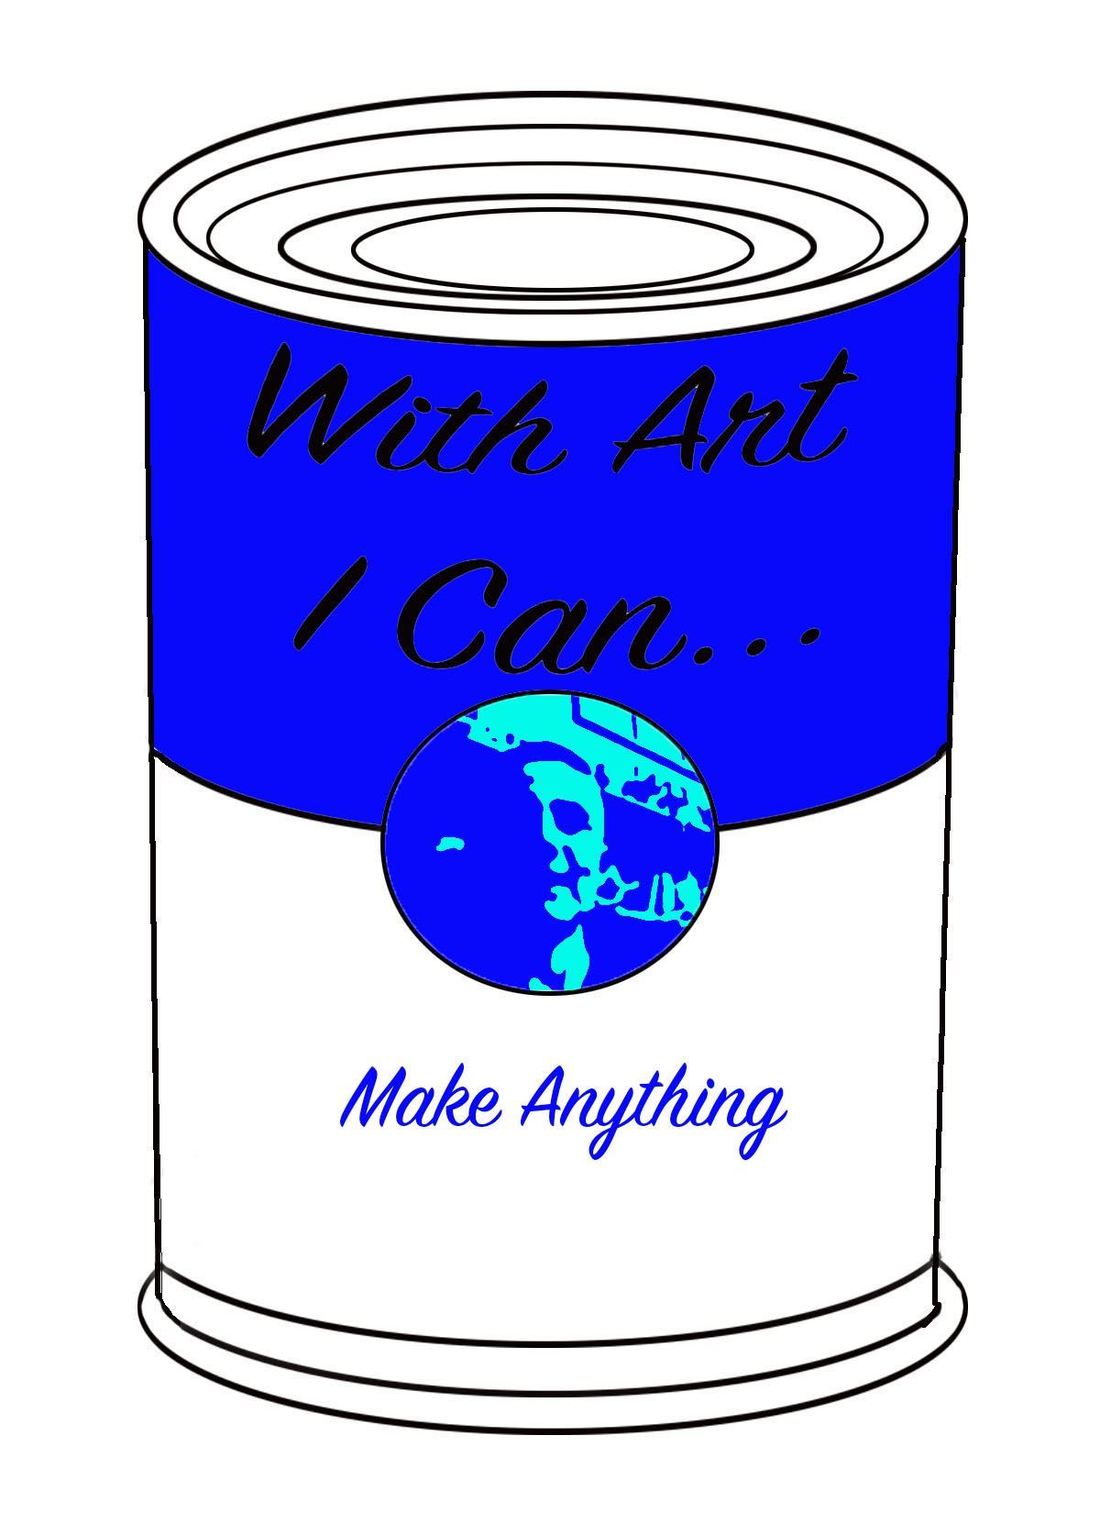
The below images are examples of what students made during this skill builder. It was such a nice variety of works and the choice of what students got to use helped engage all learners. 
Picture
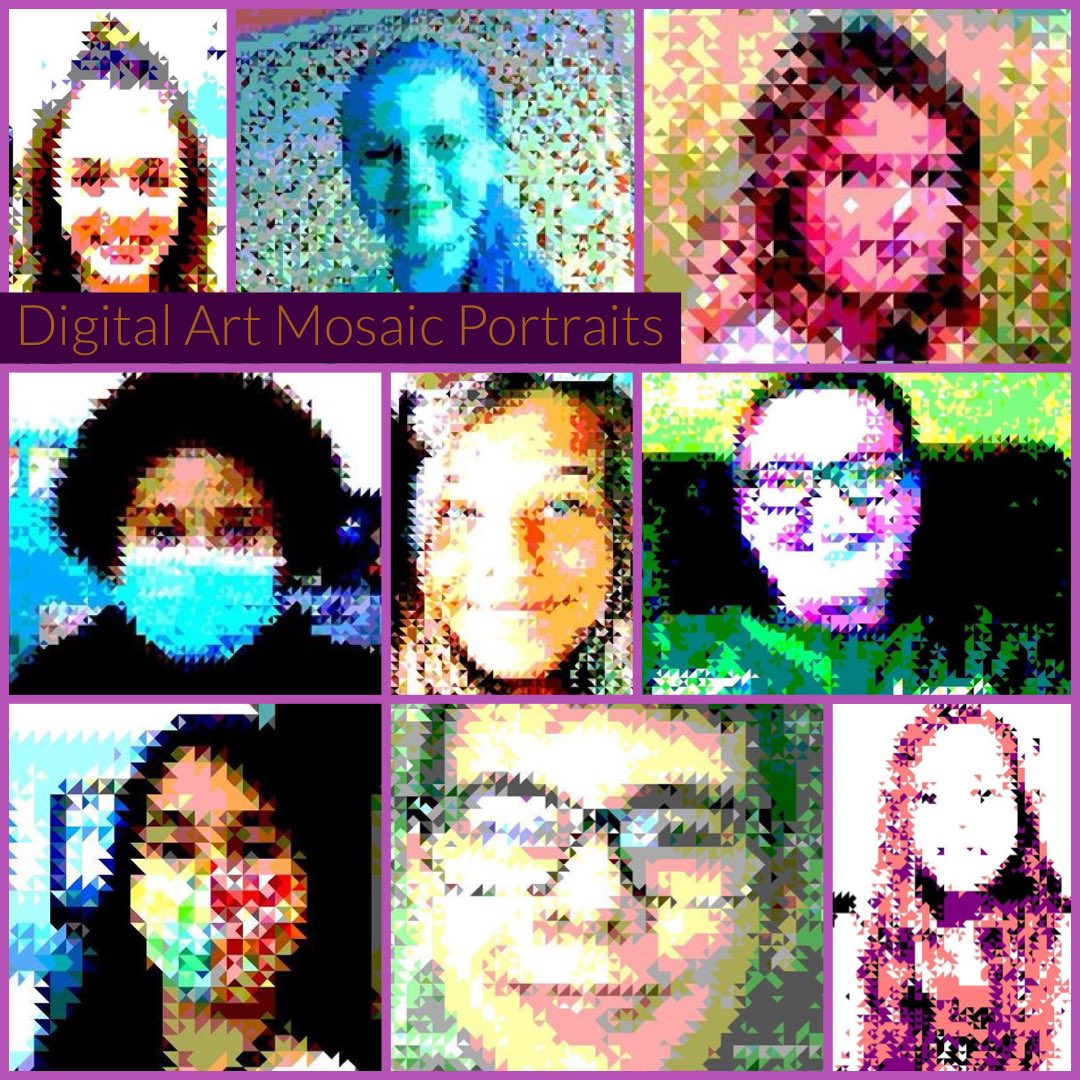
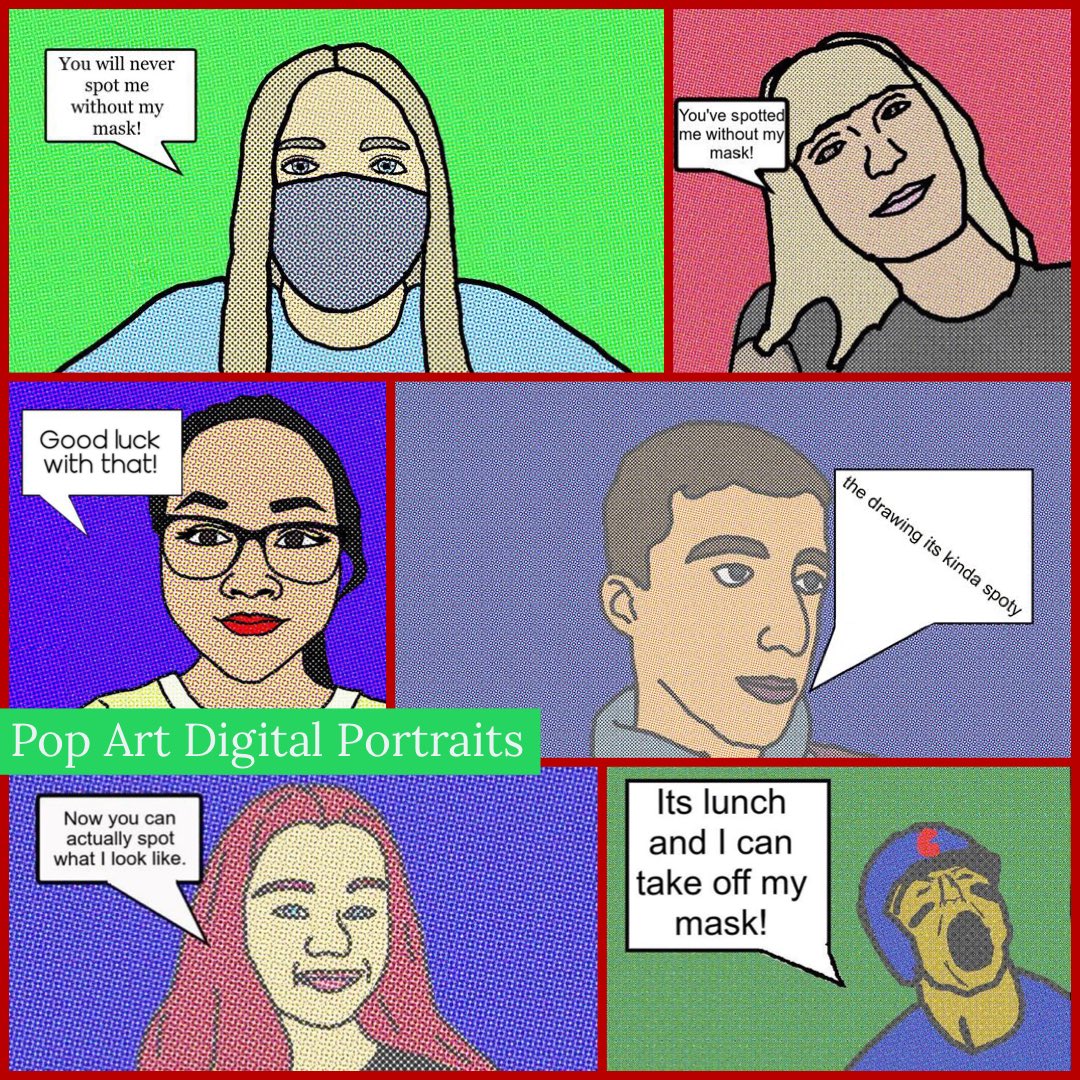
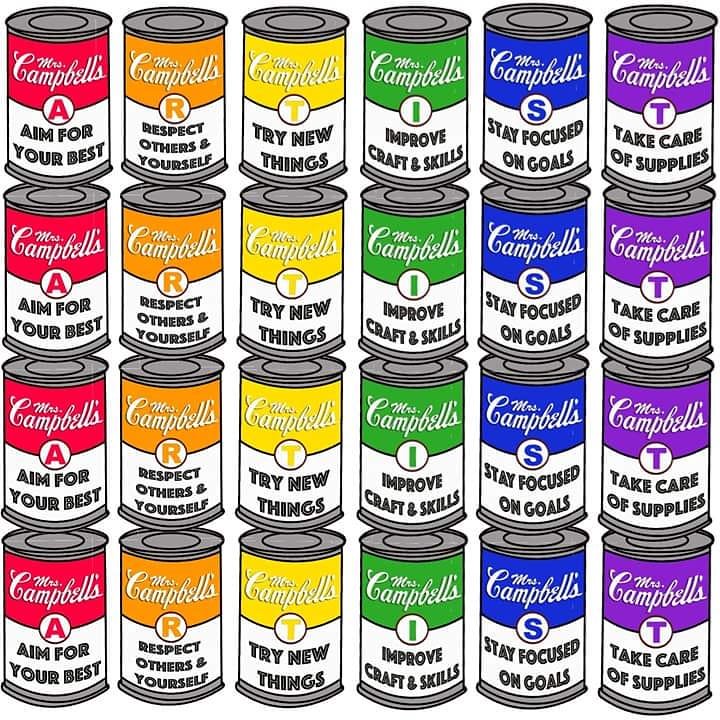
After completing our skill builders (which happened to be our last week of hybrid instruction), students returned to start the Digital Art Bootcamp. This again offers some choice and sets of key terms for students to know and understand. Students could select what to make based on their ability and skill level and what they wanted to learn. 

​Below is the board we used to complete this:
As you can see, the portrait was still a main subject because it helped students prepare for what our next activity would be: planning for challenge one. 
Picture
Picture
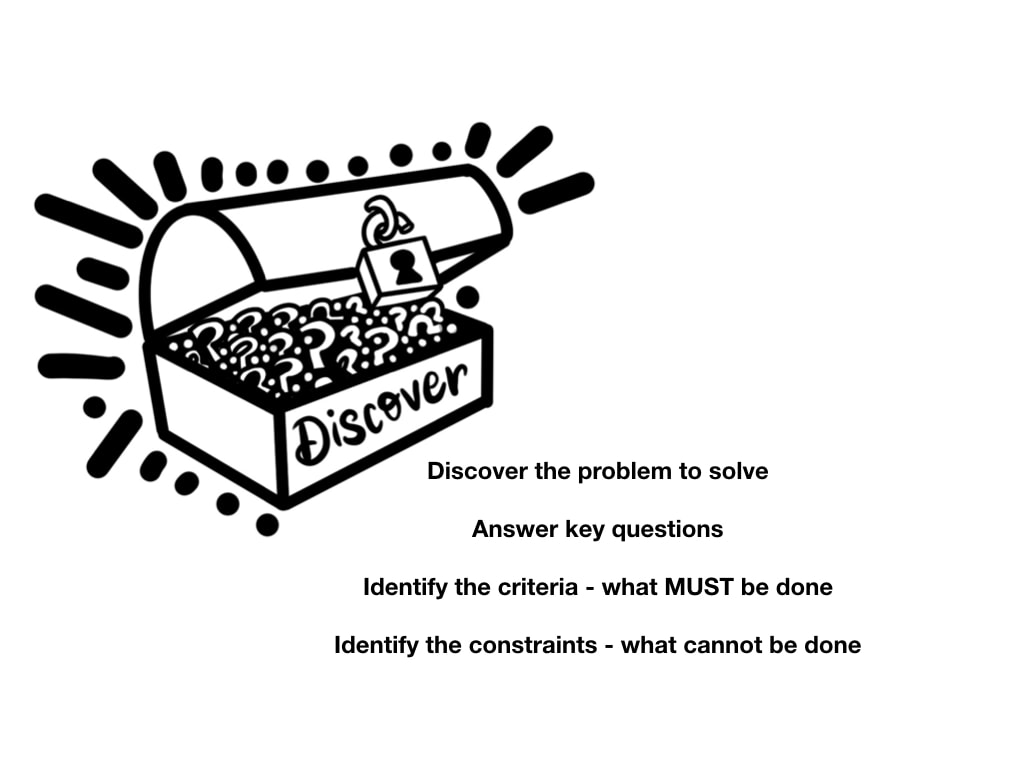
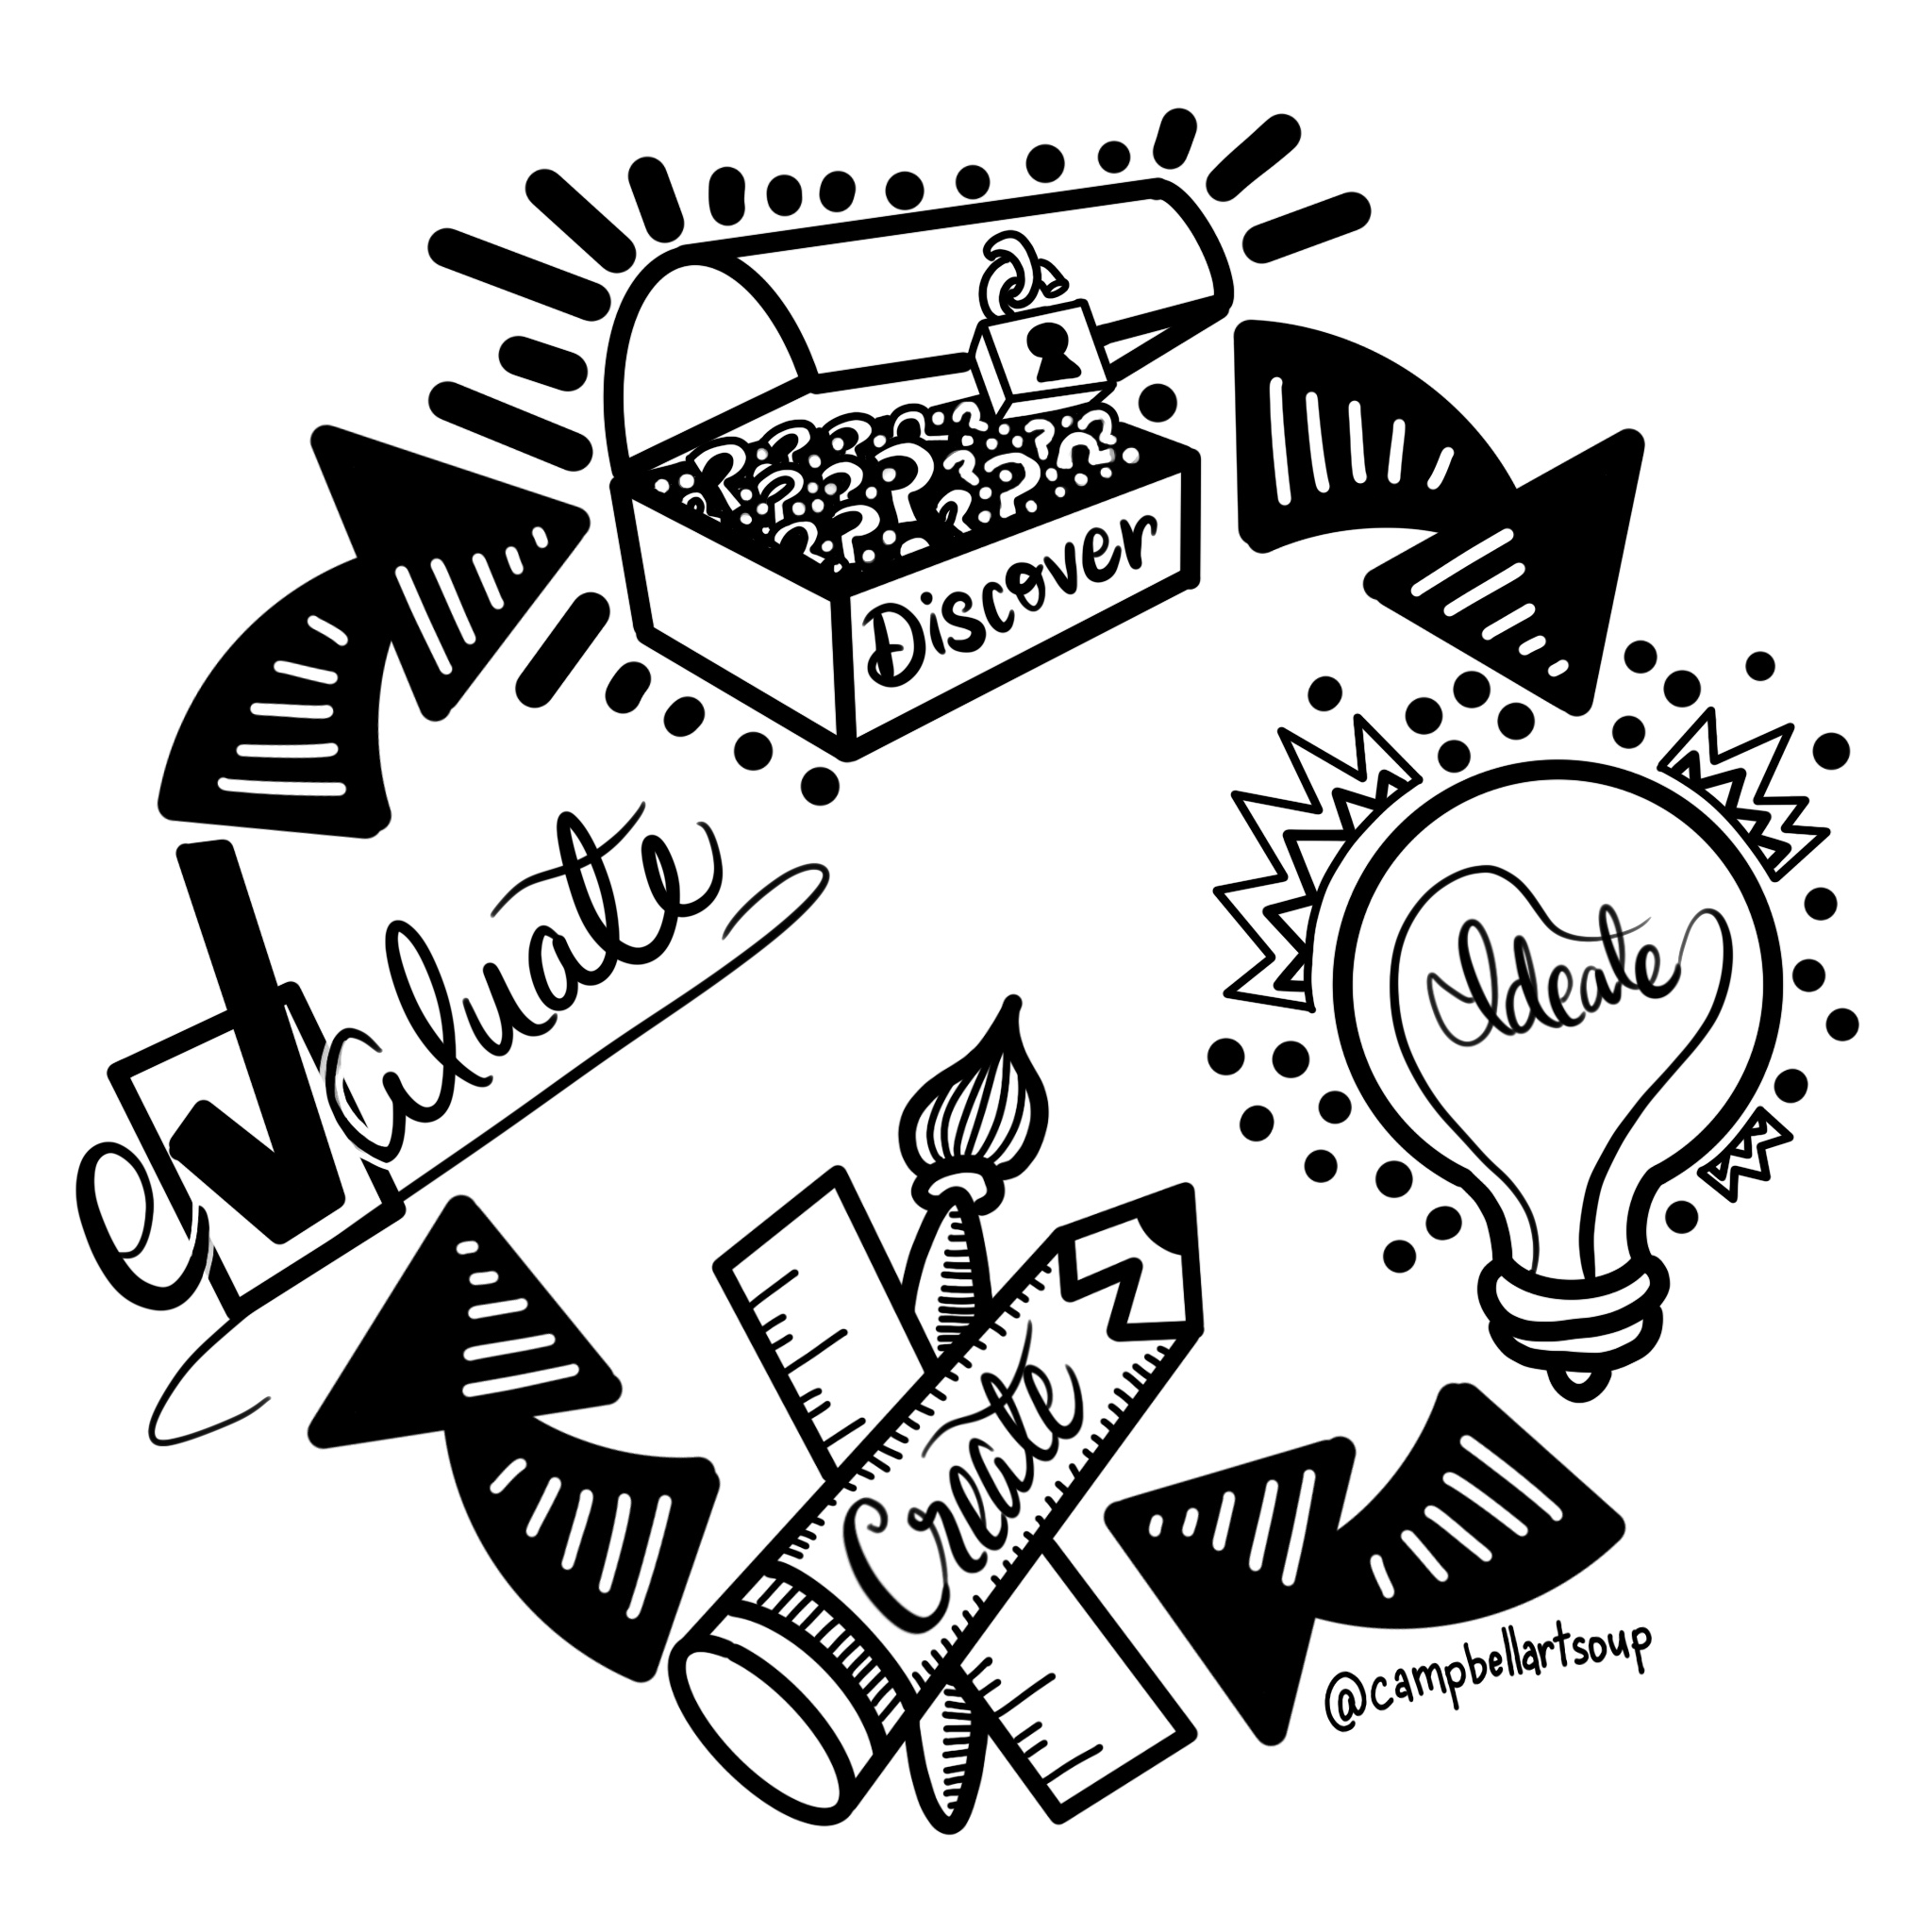
Starting last year, I designed planning guides for each unit that used the Design Thinking Process as a way to organize information from the unit. Every Challenge we do has a set of artists that explore a common theme, key questions that focus on the theme, a series of thumbnail sketches students use to help gather ideas/feedback to create their work and a place to track their learning and check for understanding. The guide below and presentation that go with it show how I have adapted these to fit this year's situation. The presentation is much more interactive and allows for students to revisit what they are learning about as they need to throughout the process. Start clicking on it and you will see what I mean. 
Picture
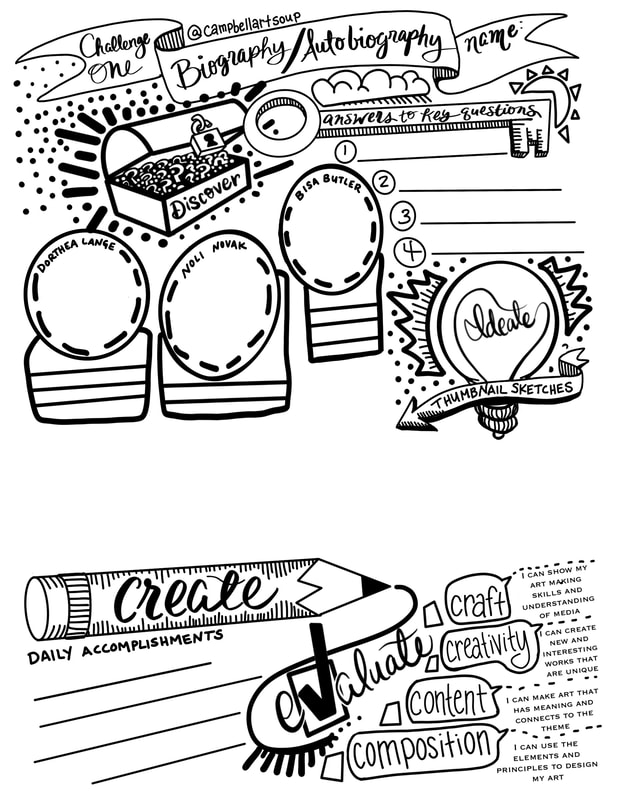
The result of this overall, revamping of what I have been implementing into my classroom for almost the last decade to meet the safety needs of today is what you see below. Students making work that is uniquely theirs. Inspired by artists, but not copying, while picking and choosing skills they want to employ to implement to create a wide array of pieces that are connected by being works that look at making art about themselves or others. 
Picture
Picture
Picture
Once this work comes to a close, we cap everything off with a quiz that assess understanding of skills and concepts from what they have learned. People are always a little shocked when they learn we have quizzes in art, but it is a great way to see what is being retained. I always give a review guide for students before so they can organize their notes and understanding in one place. 
Picture
challenge1_202021.pdf
File Size: 2069 kb
File Type: pdf
Download File

It is my 17th year of teaching and I am most definitely not claiming to have it all figured out quite yet and probably never will. What I do know if that I have had the chance to spend the last 17 years teaching the same grade level and subject area so I can get to this place with my students.

I have had to make a lot of adjustments (many I can't wait to be rid of and some I will keep post-pandemic). Even with all of the restrictions and safety protocols and having to cut some things I would normally do with students out, it has been reassuring with this work demonstrating that we never have to cut out the creative voice offered by each individual student and we have managed to maintain a level of quality that I am still amazed at looking back on with what we have done so far this year. 

If you want to see more from my classroom, check out my Instagram and Artsonia galleries. 

2 Comments

Mini Galleries and More

5/19/2020

0 Comments

 
As with most things this semester, I have been inspired by other teachers and used past lessons to mash up ideas of what can work for students as we learn together, while a part. Every end of the semester, before saying good-bye to students, I like to offer a multiple-part final reflection/exam that asks them to use digital tools to demonstrate and reflect on what they learned this semester. 

To finish out this semester, we continued that approach with a digital poster and virtual gallery.  

The digital posters ask students to take an artist we studied this semester and select an artist from Scholastic Art Magazine to make a comparison to using either Google Slides or Adobe Spark. In doing so, it gives students the opportunity to look back at what we have learned and then make connections to what they select from the magazine to showcase that learning. 

Here are a few student examples:
Picture
Picture
Picture
For the second part of the final, students are asked to create a virtual gallery of between 3-5 of their favorite works using Google Slides. Students then save the slide as a JPEG image and upload it to Artsonia, so we can put it into our final art show for the school year. 

​Here are some of those results: 
Picture
Picture
Picture
Picture
Picture
Overall, this end of year activity is bittersweet. 

I am so proud of how well these students have jumped on creating this work, but so sad we cannot be back in the classroom to do it. I will definitely do this again in the future. And introducing the lesson using the published slideshow below was a GREAT way to share it with my students and get them engaged in the lesson.

You can click through the presentation below to see how to make both items! 
As I move forward in this new way of connecting with students, I plan to use this publishing function of Google Slides so that the remote learning lessons are more inviting (rather than just links in a folder). 

I even used it to celebrate our students for the end of year art show, too! 
I hope everyone has a safe and great summer! 

I will be spending some time in the coming weeks, posting work from my classroom this year onto this space. If you find something useful, use it and give me a shout-out. 
0 Comments

Symbol Selfies

1/31/2020

0 Comments

 
Picture
We started a new semester two weeks ago, and one thing that is very important when getting a new group of students is exposing them to the materials and concepts being taught right off of the bat. One project that we have used this year to do this is called the "Symbol Selfie" where students use basic symbols in the iPad program Procreate to make an image that shows what their preferences are using a "this or that" menu of options. 

This low-pressure, high-success skill builder helps students understand and use the basic functions with the drawing app while also letting me in on some of the things they enjoy. What is even better about this is that it is a quick 1-2 day process before students are also able to upload them to Artsonia and get used to doing that through the app, too. 

This project is adapted from Ms. Koslow's ArtRoom (@mskoslowsartroom) via Instagram. She has posted her version as well as examples of this using colored pencils online. 

Feel free to use the worksheet below or adapt as you see fit for your classroom. If you use it, please give my class a shout-out because we love seeing how others adapt our ideas! 
Picture

Happy Creating! 

0 Comments

I CAN BE THE

8/14/2019

0 Comments

 
Picture
One fun thing about the end-of-summer-ramp-up-to-the-new-school-year is that you get to enacted ideas because there is time to stew on them and actually do them some justice. When the school year starts, much of what we are doing has been planned and tested and worked on during the summertime. 

This summer, I was inspired by teachers who use the word ARTIST as a way to chart expectations of behavior. As a teacher who leans heavily on choice in the studio, I wanted to also link these behaviors with Studio Habits and think I was able to come up with a compromise of language that both works for my students and will help foster a positive and productive environment in our classroom. I know it doesn't have everything, but hopefully when paired with the DICE design thinking (shared in the previous post) it will ALL be covered. 

Our school also focuses on "I can" statements, so I guess you can say I've got that covered, too! 

My husband and I just celebrated 15 years of marriage this week and when we got married, one of the first major decisions I had to make was whether or not to take his last name. Being a Warhol fan and the opportunity for imagery like these posters wasn't the only factor in my choice... but I would be lying if I said it wasn't - I mean, it is perfect! 

I can BE the ARTIST! Will greet students when they enter the classroom and the green background will act as a green screen for our video adventures this year! Each can has a behavior expectation and this will be something students can refer to when working each day. #k12artchat pic.twitter.com/G0OgXNRtoE

— Janine Campbell (@campbellartsoup) August 13, 2019
I have had multiple requests to post these for others to use (even some who want to pay me - how flattering!). I do not have a TPT or anything like that because I am ok with sharing resources, for free, with other teachers that are used to help students in the classroom. If you would like to use them as is or modify a blank version, the files are below for you to use.

I just ask that if you use it, you give credit or a shout out when you share/display (tag me so I can see it on Twitter or Instagram) and if you are feeling generous, you can donate to our DonorsChoose.org page - we are currently $168 from completing our current project. 

Campbell Label

Blank

soupposter.jpg
File Size: 506 kb
File Type: jpg
Download File

blanksoupposter.jpg
File Size: 421 kb
File Type: jpg
Download File

a.jpg
File Size: 442 kb
File Type: jpg
Download File

aim.jpg
File Size: 333 kb
File Type: jpg
Download File

r.jpg
File Size: 473 kb
File Type: jpg
Download File

respect.jpg
File Size: 353 kb
File Type: jpg
Download File

t.jpg
File Size: 439 kb
File Type: jpg
Download File

try.jpg
File Size: 326 kb
File Type: jpg
Download File

i.jpg
File Size: 450 kb
File Type: jpg
Download File

improve.jpg
File Size: 339 kb
File Type: jpg
Download File

s.jpg
File Size: 476 kb
File Type: jpg
Download File

stay.jpg
File Size: 363 kb
File Type: jpg
Download File

t2.jpg
File Size: 454 kb
File Type: jpg
Download File

take.jpg
File Size: 340 kb
File Type: jpg
Download File

0 Comments

Throw the DICE using Design Thinking

8/1/2019

1 Comment

 
Picture
It is August and that means it is time to start thinking about how I am going to get myself organized for the school year. Thinking about what I want students to be able to understand and do becomes a central organizing principle for me as I ease back into the mindset of teaching and learning.

One thing, if nothing else, that I want to help my students understand about being creative is that you CAN DEVELOP a process for it. That if you are "bad" at art or making things or coming up with ideas that are interesting and new, you can use a process that will help you develop the stamina to push through roadblocks and find interesting solutions. 

About five or six years ago, I went to MACUL and attended a presentation by D'Andra Clark that explored design thinking in her classroom. She is an art teacher who had partnered with the technology teacher and they decided they needed to come up with a common language to help students see the commonality in their classes. They used DICE (illustrated by me above and below) as a way help reframe the approach to design thinking. 

I knew as soon as I heard this what had been lacking between Art and STEM all of these years at my school. We needed to adapt common practices and ways of working that would help students see a routine in the way we work and shared language in our content areas. 

You are welcome to download the files and print them out or make them into bigger posters. If you do, please just credit the illustrations and do not copy and sell them. I would love to see how you do use them, so please make sure you share what you do with them, including @campbellartsoup on Twitter or Instagram.

When I had shared that I was planning to post these, many teachers said they would like to offer some kind of something for their use. If you would like to support my classroom, you can donate to our current DonorsChoose.org project or purchase my illustrated works on items in Artsonia's gift shop (20% of purchases goes back to our school). All of these were created this summer using the app Procreate with the iPad and Apple Pencil. 
Picture
dice.jpg
File Size: 580 kb
File Type: jpg
Download File

dicewithexplanations.jpg
File Size: 880 kb
File Type: jpg
Download File

1 Comment

With Art, I Can...

9/8/2018

0 Comments

 
Picture
It is a new school year, and with new year anything comes resolutions and aspirational goals that may or may not be met. One goal I have for this school year is to freshen up this space and reorganize it. Since 2011, I have been blogging here. It has taken a few different forms over the years and we are able to try something new once again. Instead of the weekly posts that have been going on for the last few years, I am going to start posting by assignment. This will mean less posts, but it will also mean more complete thoughts and processes on what we are creating from the BCWMS Visual Art and Design classroom. 

For the first posts in this new endeavor, I am sharing something I tried for the first time during the first week of school: Photoshop! I was nervous going into it because many of my 7th graders have not used this program, let alone a MacBook before, so I knew it was going to be a challenge. I decided to do it anyway, because I have tried things like clay on the first day of school without missing a beat, so I thought this could be like that, right? Well, not exactly. 

It was interesting to see how students were able to try something new, fail, try again, struggle, ask for help from each other, and finally get where they needed to go in the end. I can think of a lot of things I will do differently when I get this chance again next semester - some of which I put into place mid-way through this creation. 

Steps and Resources

I am very fortunate to have a cart of MacBook Airs with Photoshop on them in my classroom. I assign students a number on the first day of school and that is how they know which computer to check out as well as where to store their Chromebooks when we are painting and their 3D work on a different rack in the room. Giving students a number is a great way to help keep things organized when you may be dealing with a set number of materials or devices to create. 

​Once they got onto the computers, they went to Schoology where I posted the video tutorial for this project as well as the base of their image: the can! Because I believe sharing is caring, here are those resources for you if you would like to use them in your classroom, too: 
withartican.jpg
File Size: 112 kb
File Type: jpg
Download File

Besides the fact that my last name is Campbell and I have a certain fondness towards Andy Warhol's work because of that, it was also important to me that students started the year thinking about what impact art can have in their lives and what it empowers them to do. In addition to using the Warhol imagery of the soup can, we also mimicked his pop-art style portraits by using the stamp filter in Photoshop. 

As you will hear in the video, I talk about class colors. It is another trick I have to help me keep organized. By having things numbered and color coded, it saves students and me time when something goes missing or needs to be put away. 

Student Samples

Reading the goals of my students helped me focus on what they see in the power of art. You can view more on our Artsonia class gallery. 
Picture
Picture
Picture
Picture
Picture
I hope this was a helpful post and that you will keep coming back to check out the other creations we share as we work through the year. 

Good luck to all of the hard-working, paint-slinging, photoshopping, clay squishing, material dispensing Visual Art and Design teachers out there! This year is going to be amazing because of your work and efforts in sharing your love of art and design with others! Thank you for your work and I look forward to sharing more of ours! 
0 Comments
    Picture

    Janine Campbell

    Teaching Visual Arts since 2004 and making images since picking up a crayon

    Archives

    November 2018
    October 2018
    September 2018

    Categories

    All
    Andy Warhol
    ArtPrize
    Batik
    Collaboration
    Collage
    Demonstration
    Digital Art
    Dot Day
    Drawing
    Dye
    First Days Of School
    Goals
    Line
    Painting
    Personal Logo
    Photoshop
    Portraits
    Printmaking
    Tutorial
    Watercolor

    RSS Feed

Powered by Create your own unique website with customizable templates.