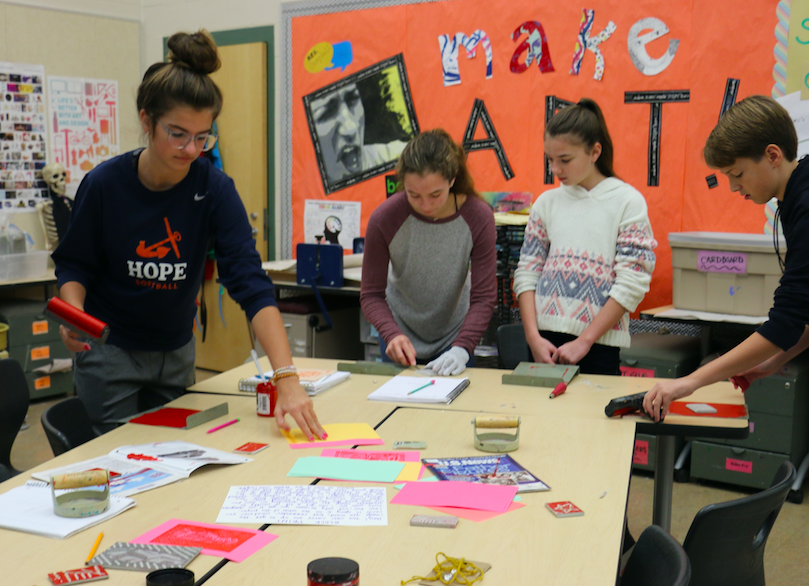
Two years ago, I was able to get a button maker from DonorsChoose.org. When requesting this, my goal was to use it during our Fine Arts Night as a way for everyone who attended to make and take their own Mobile Masterwork as a wearable piece of Art.
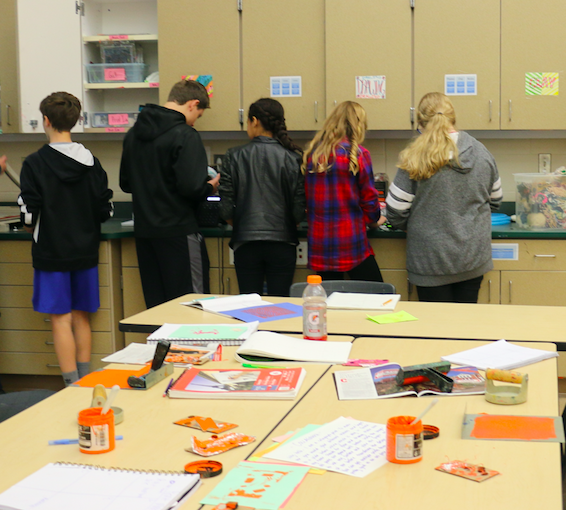
Now that we have the tools to create buttons, we have been able to extend the use of this device to include events like our parent orientation as a way to draw people in to making something that does not take a lot of time and gets instantly satisfying results!
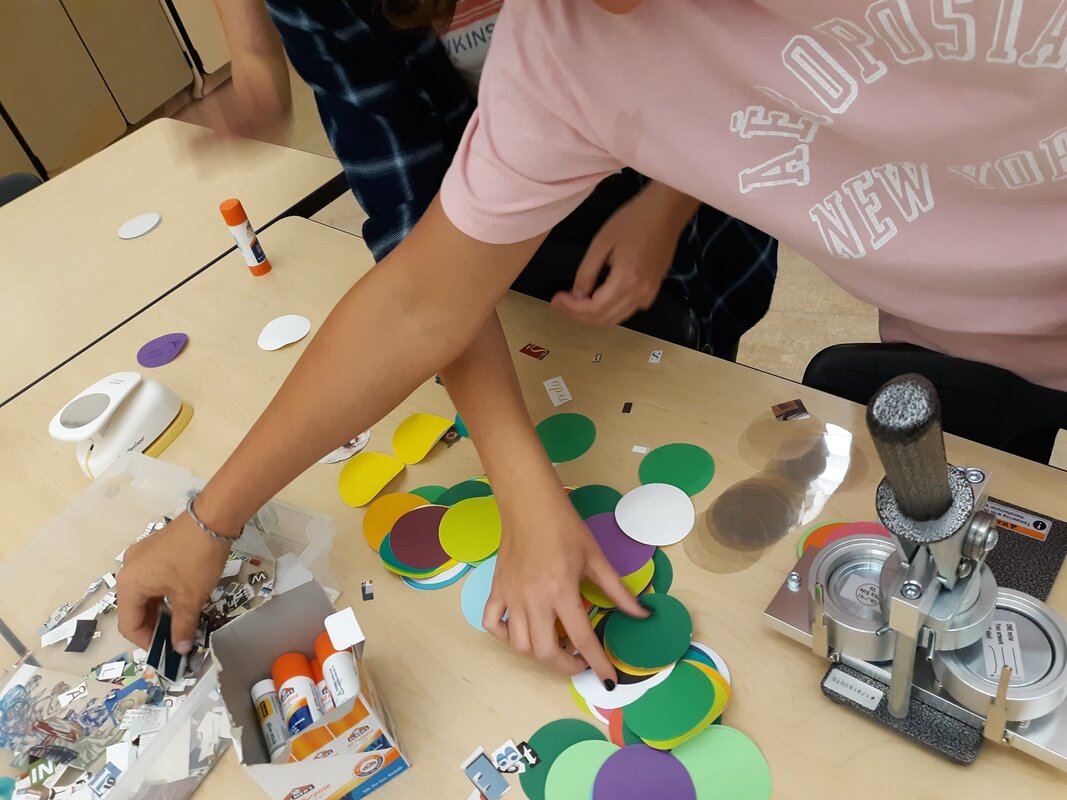
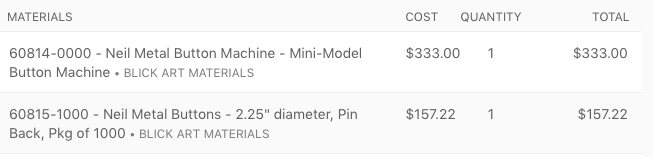
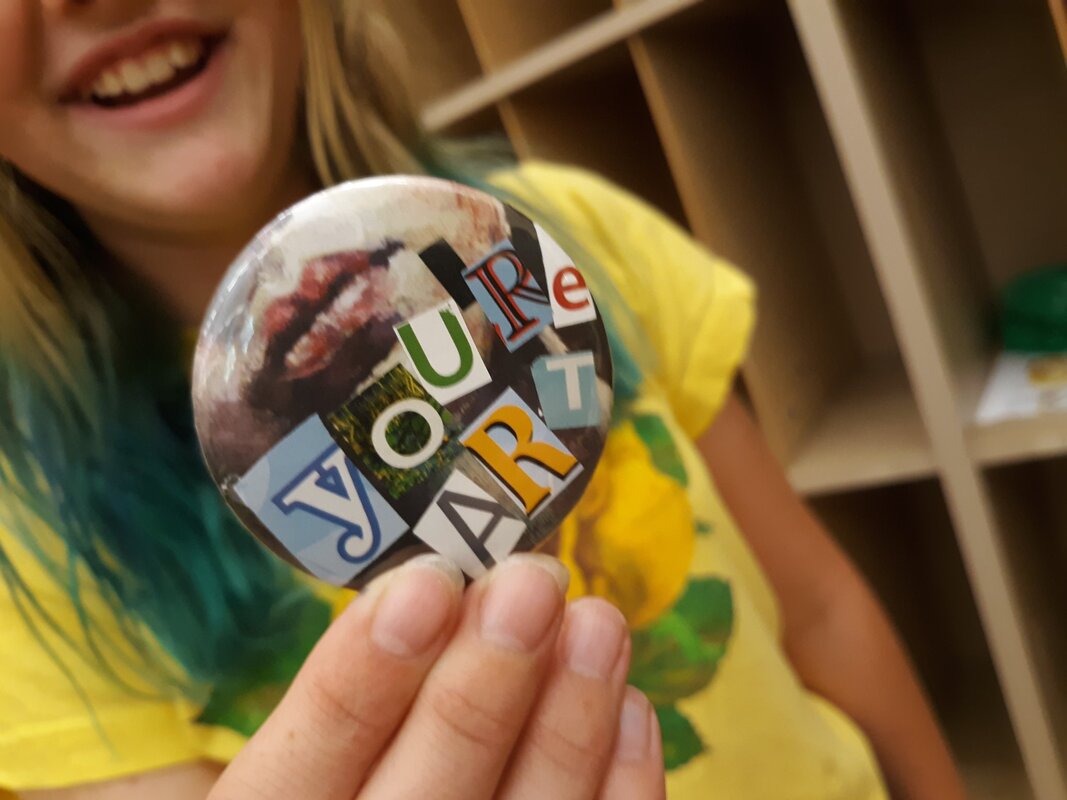
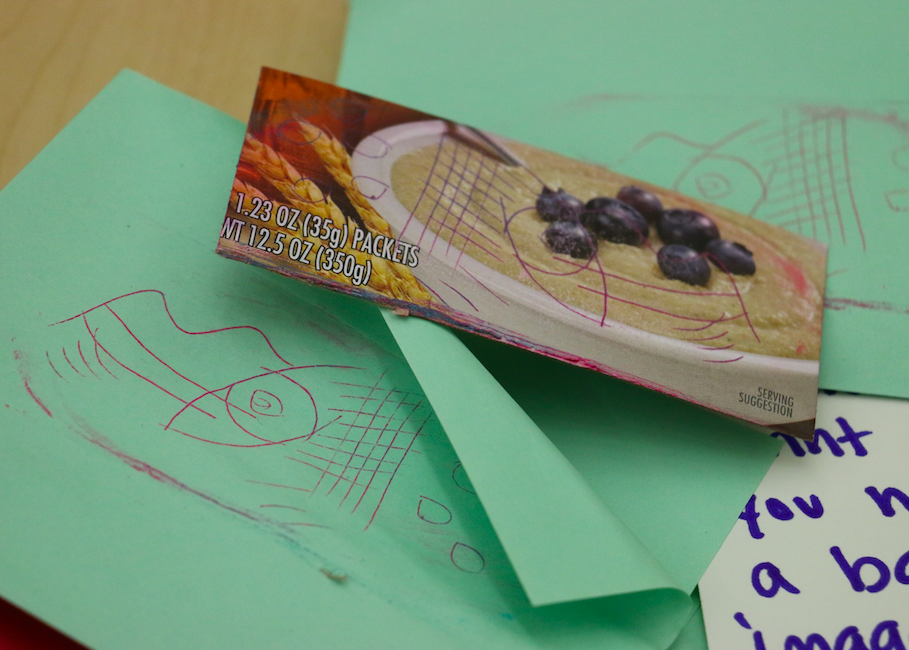
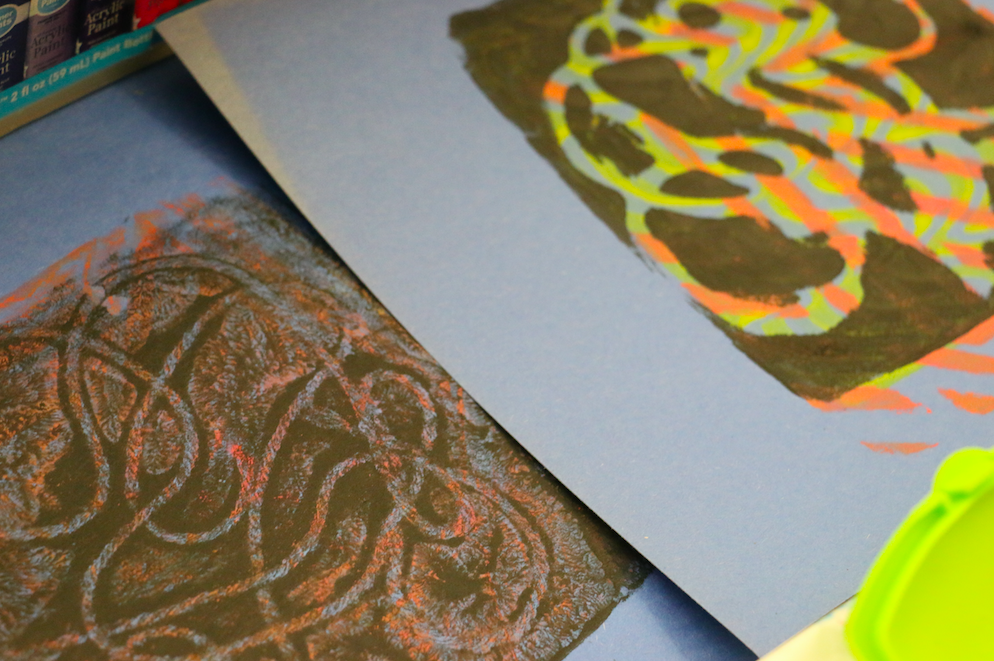
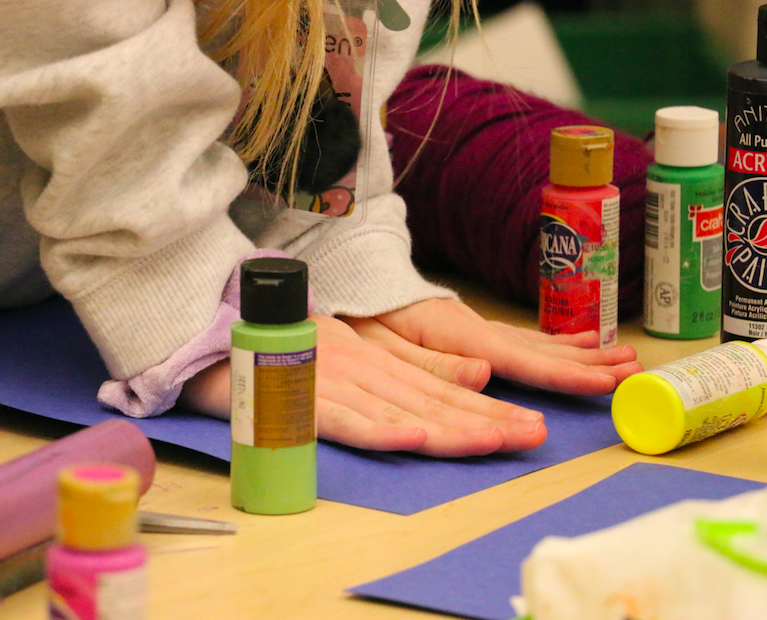
Below is a breakdown of the basics with the button maker I requested for the project using Blick Art Supplies. Some additional helpful things include having a Cricut cutting machine that can precut the circles on paper, having students cut letters from magazines and store to decorate their button (using precut magazine images not only is great for recycling, but it also gives people who may be uncomfortable with drawing a way to still feel creative), and other 2D media to use with the cut paper. One thing to make note of is the thickness of the paper before you put it in your machine - it matters and can have an impact on the quality of the button made.
Now that we have the tools to create buttons, we have been able to extend the use of this device to include events like our parent orientation as a way to draw people in to making something that does not take a lot of time and gets instantly satisfying results!
Below is a breakdown of the basics with the button maker I requested for the project using Blick Art Supplies. Some additional helpful things include having a Cricut cutting machine that can precut the circles on paper, having students cut letters from magazines and store to decorate their button (using precut magazine images not only is great for recycling, but it also gives people who may be uncomfortable with drawing a way to still feel creative), and other 2D media to use with the cut paper. One thing to make note of is the thickness of the paper before you put it in your machine - it matters and can have an impact on the quality of the button made.
I love using DonorsChoose.org for helping my classroom get fun new tools like this. If you use this link to create a DonorsChoose.org account, I will be able to help promote your project as a DonorsChoose.org Teacher Ambassador. It will let me know when you have signed up and posted your first project - I also have a code I can use to help you fund your first project!
If you would like to help my class fund our current DonorsChoose.org request, please visit and donate here.
Button making is a fun and easy way to invite others into your room to get creative with their ideas. If you happen to use this or have done this in your school, I would love to know how! If you do end up doing it, please give me a shoutout on Twitter or Instagram so I can see the results!
Happy Creating!

 RSS Feed
