
When first transitioning the Art and Design curriculum at my school towards a more student-centered and choice-based approach, I struggled with how to best approach teaching media-specific methods that didn't take too much time away from students getting to work on their own creations.
I recently wrote an article for SchoolArts Magazine about how using stations around the room, with short introduction of materials and timed sessions can help students experience each media before deciding whether or not they would like to use it for their work. In the article, I highlight a series of 2D media that students used like watercolor, collage, and ink.
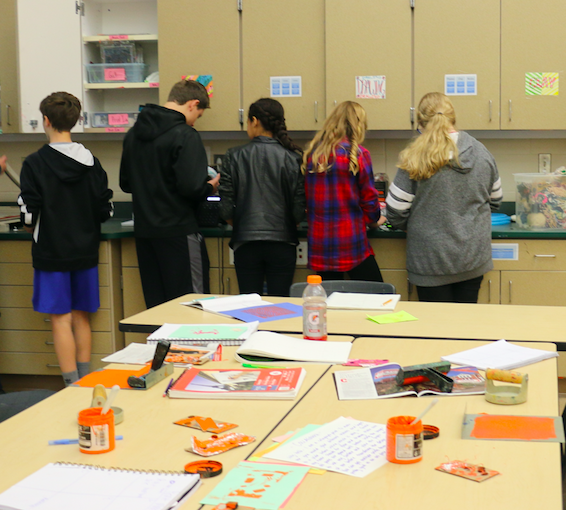
This past week, I tried it with printmaking.
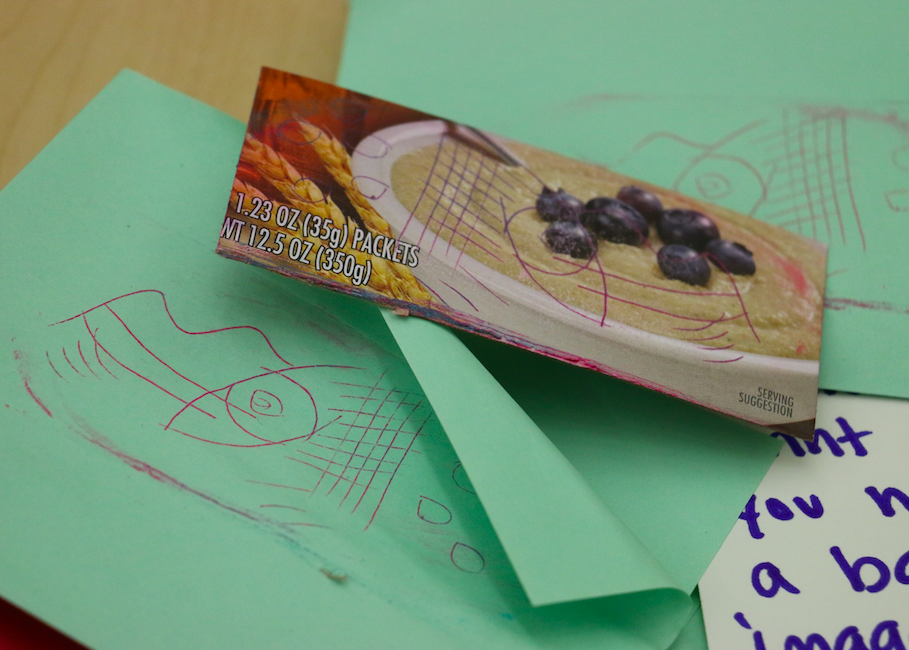
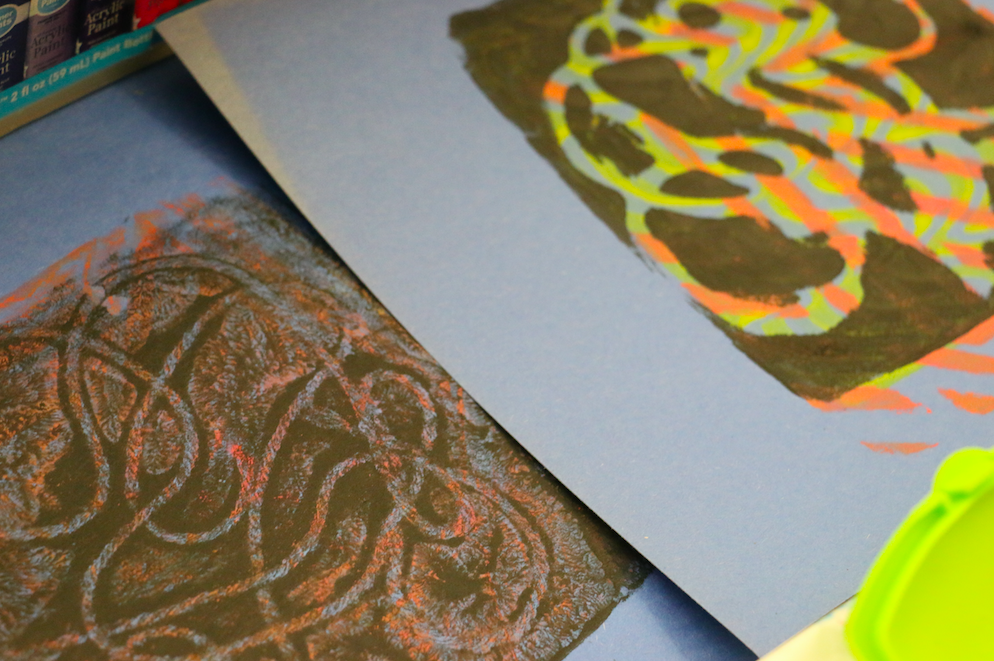
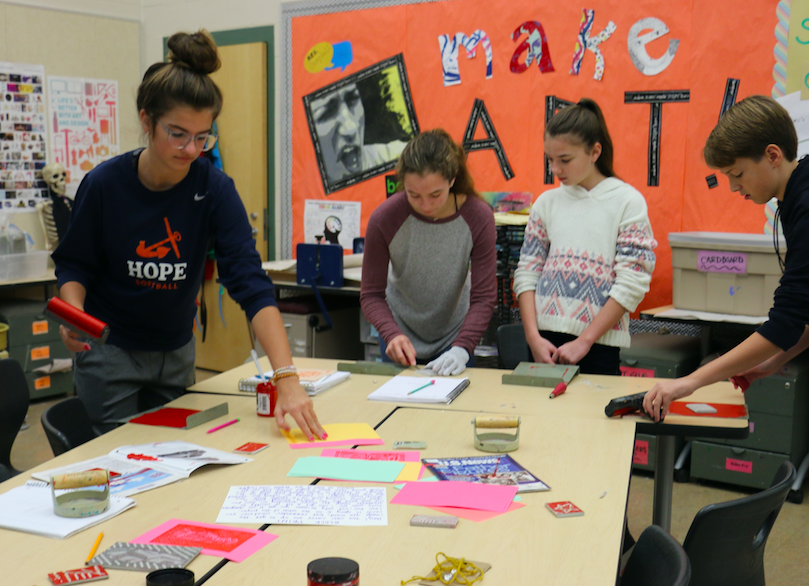
In the one-day demo, students had the opportunity to try collagraphs, block printing, dry point (with cereal boxes), monoprints (with Gelli Arts printing plates), and silk screens (using Mayco Designer silkscreens). During the five minute sessions at each station, students worked in teams of 3 to create at least one usable print. This was a great way to promote experimentation and help with understanding as they walked each other through the process (using the introduction cards as a guide).
During the rotations, students also took notes in their sketchbooks about how each print method worked, the materials needed to accomplish the effect, and whether or not they liked doing it. Once done, students had a chance to reflect on the process as a whole group and discuss which prints worked and which didn't and why that was.
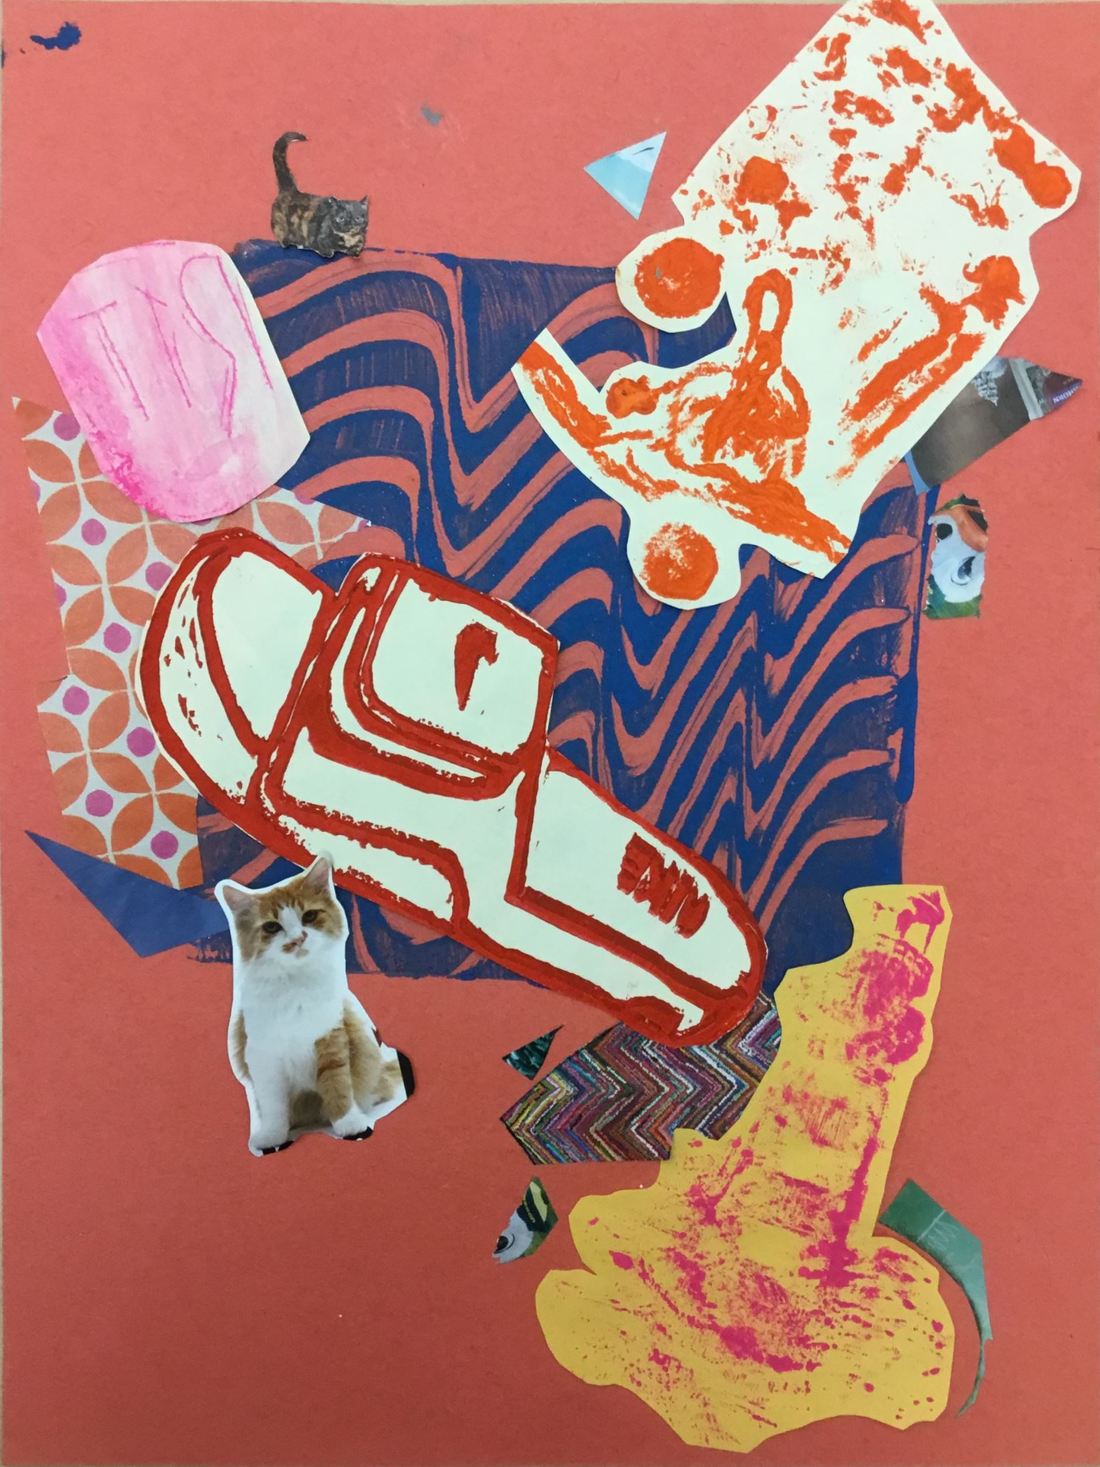
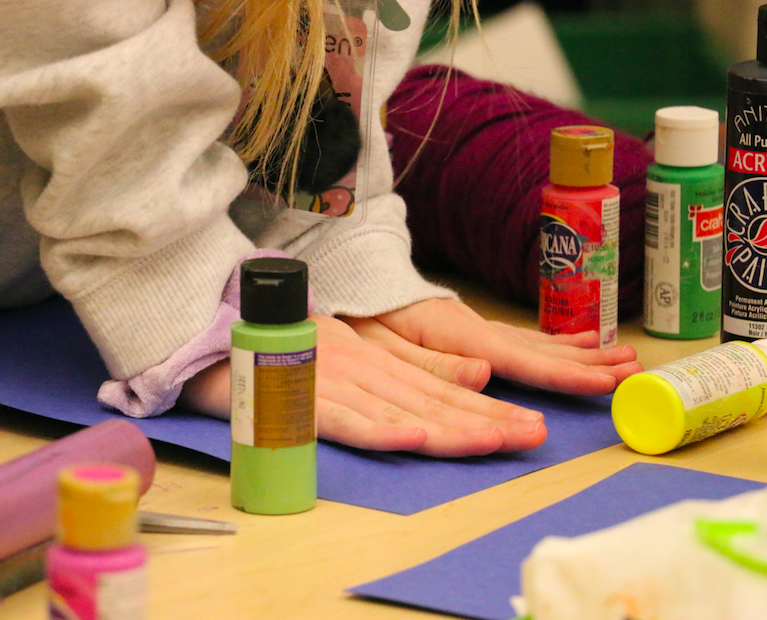
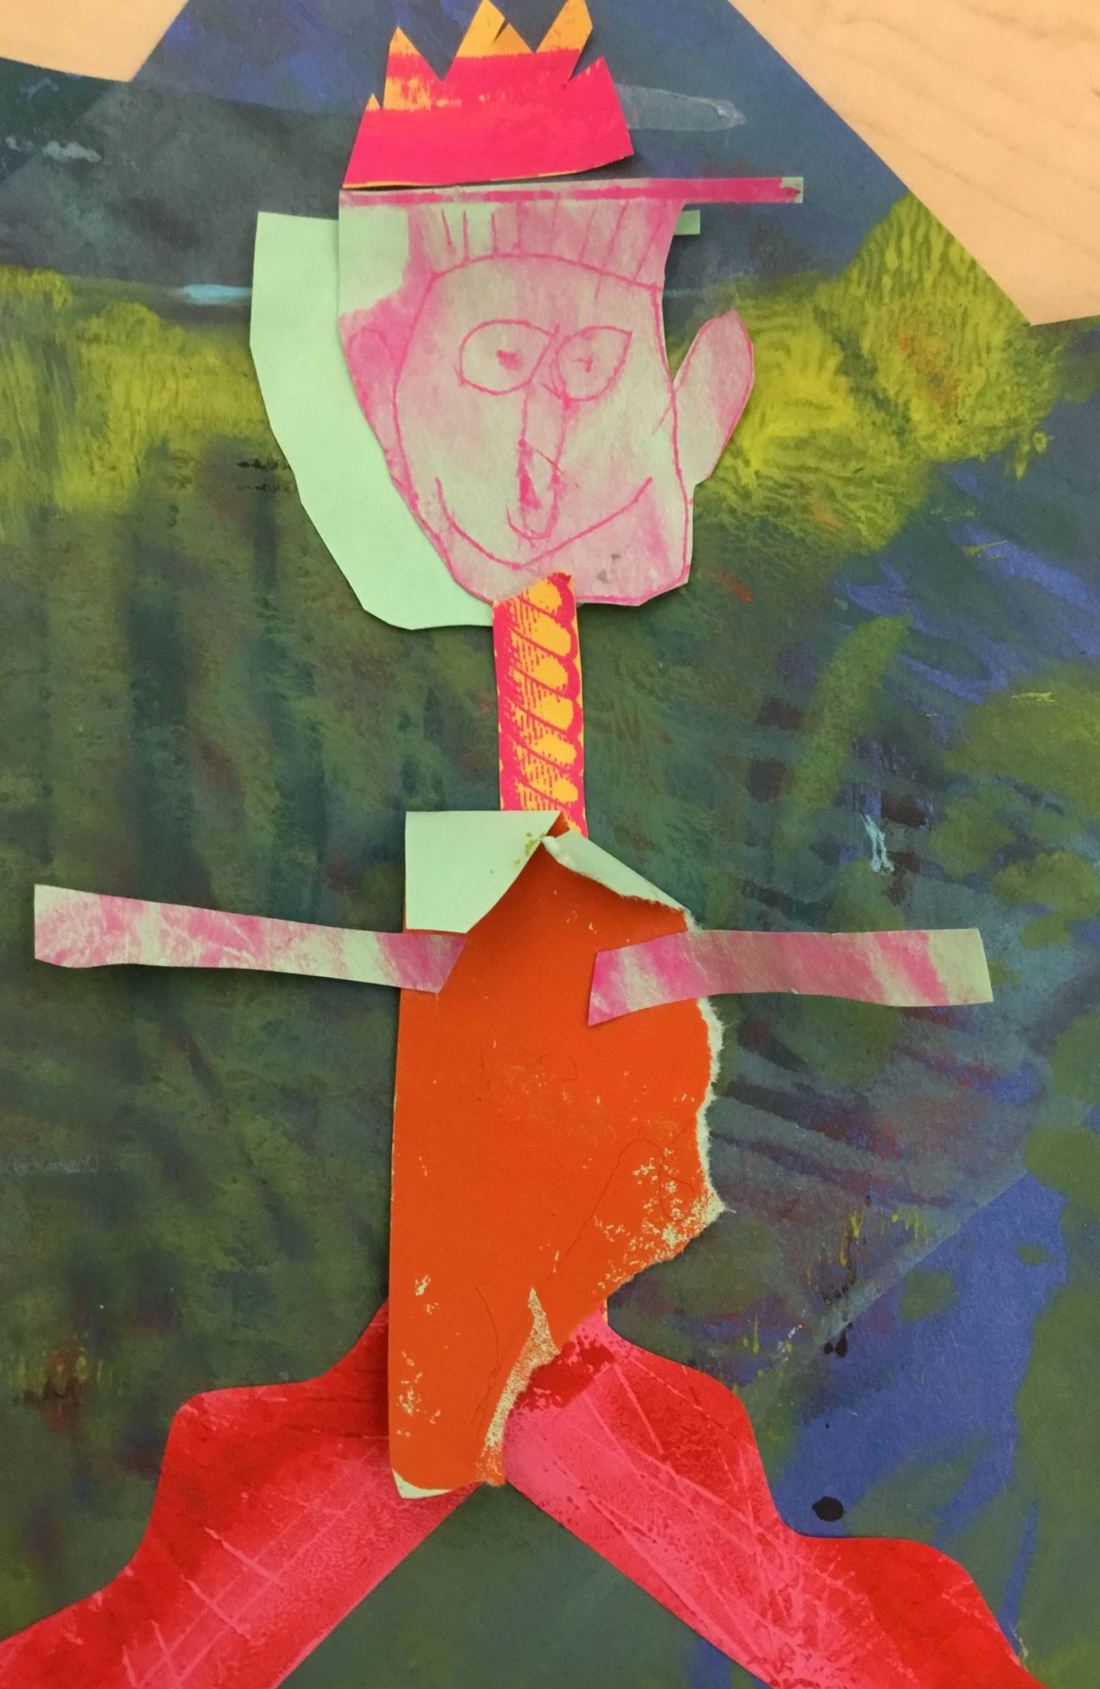
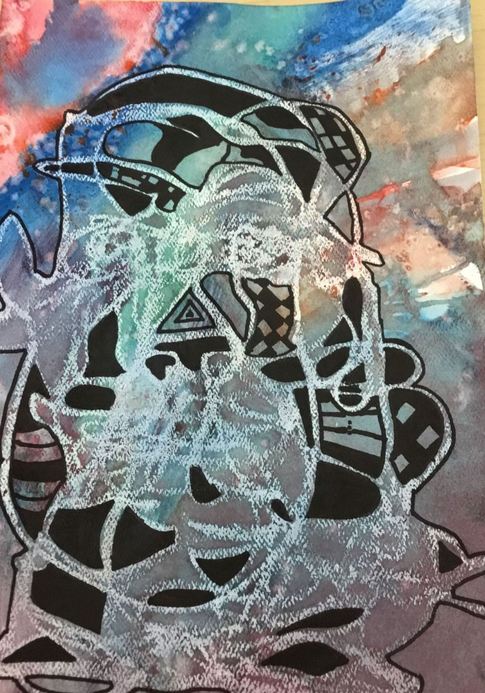
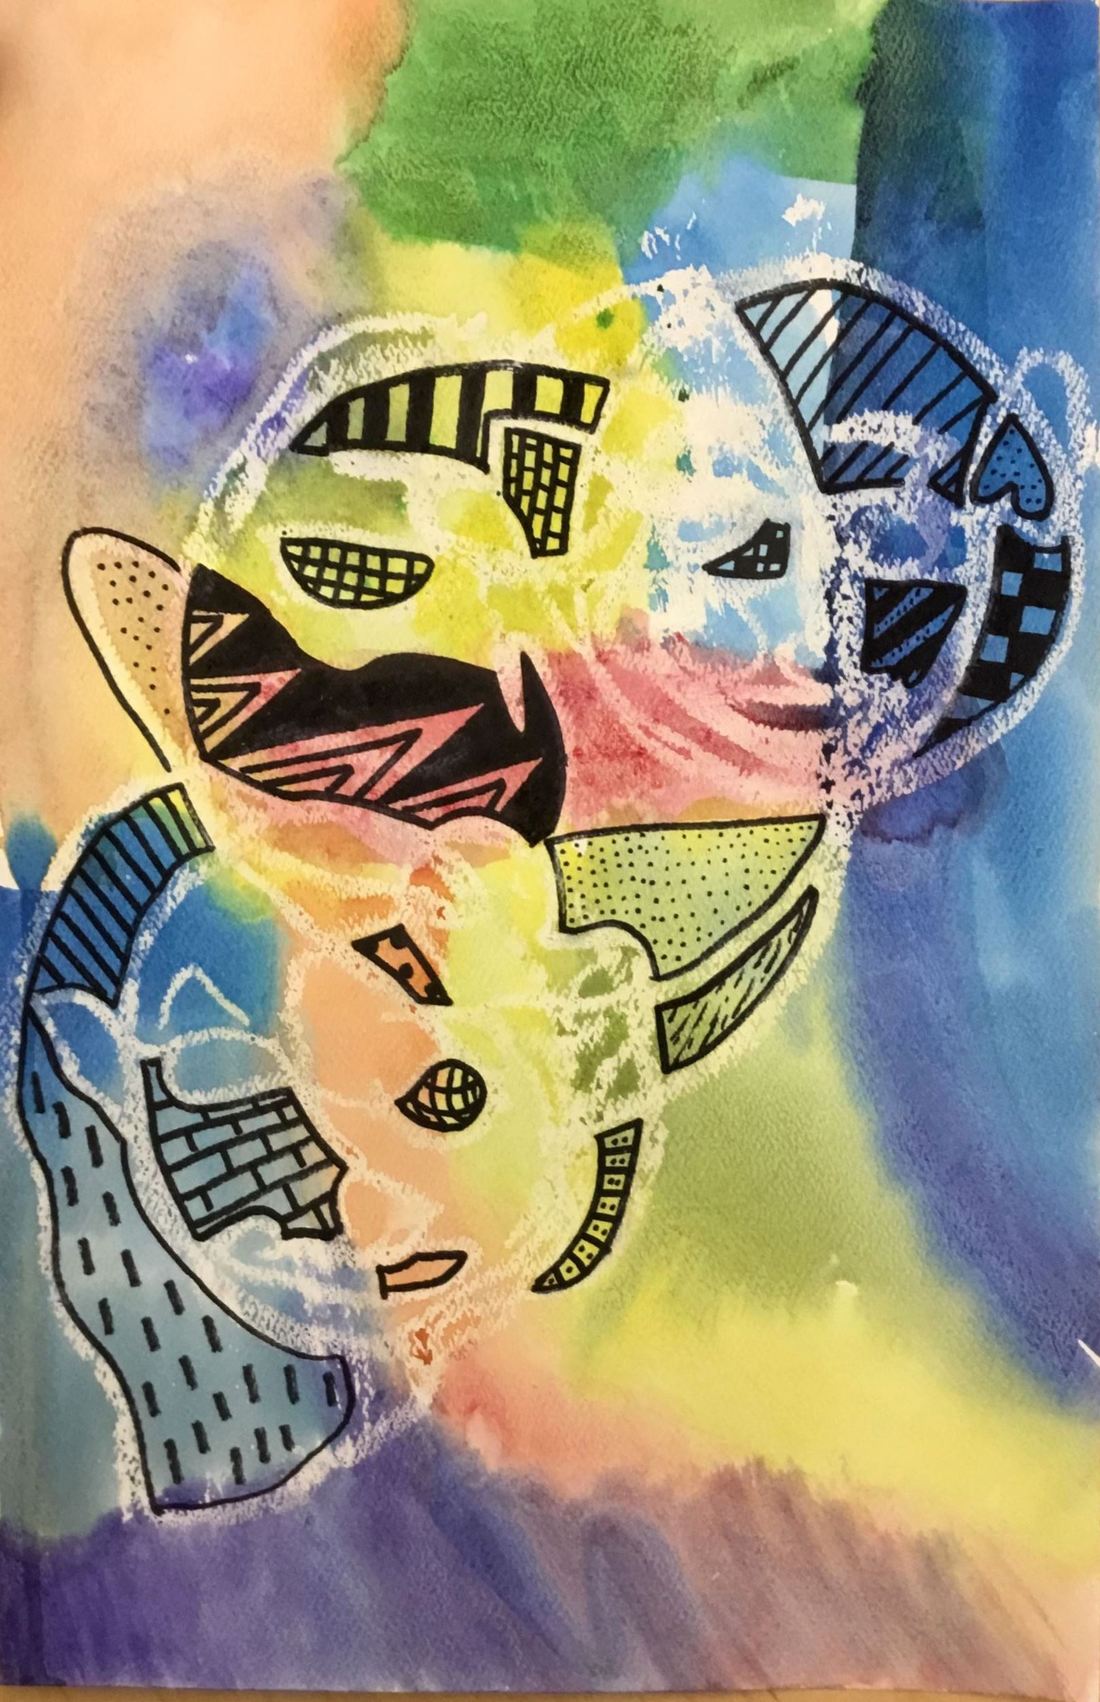
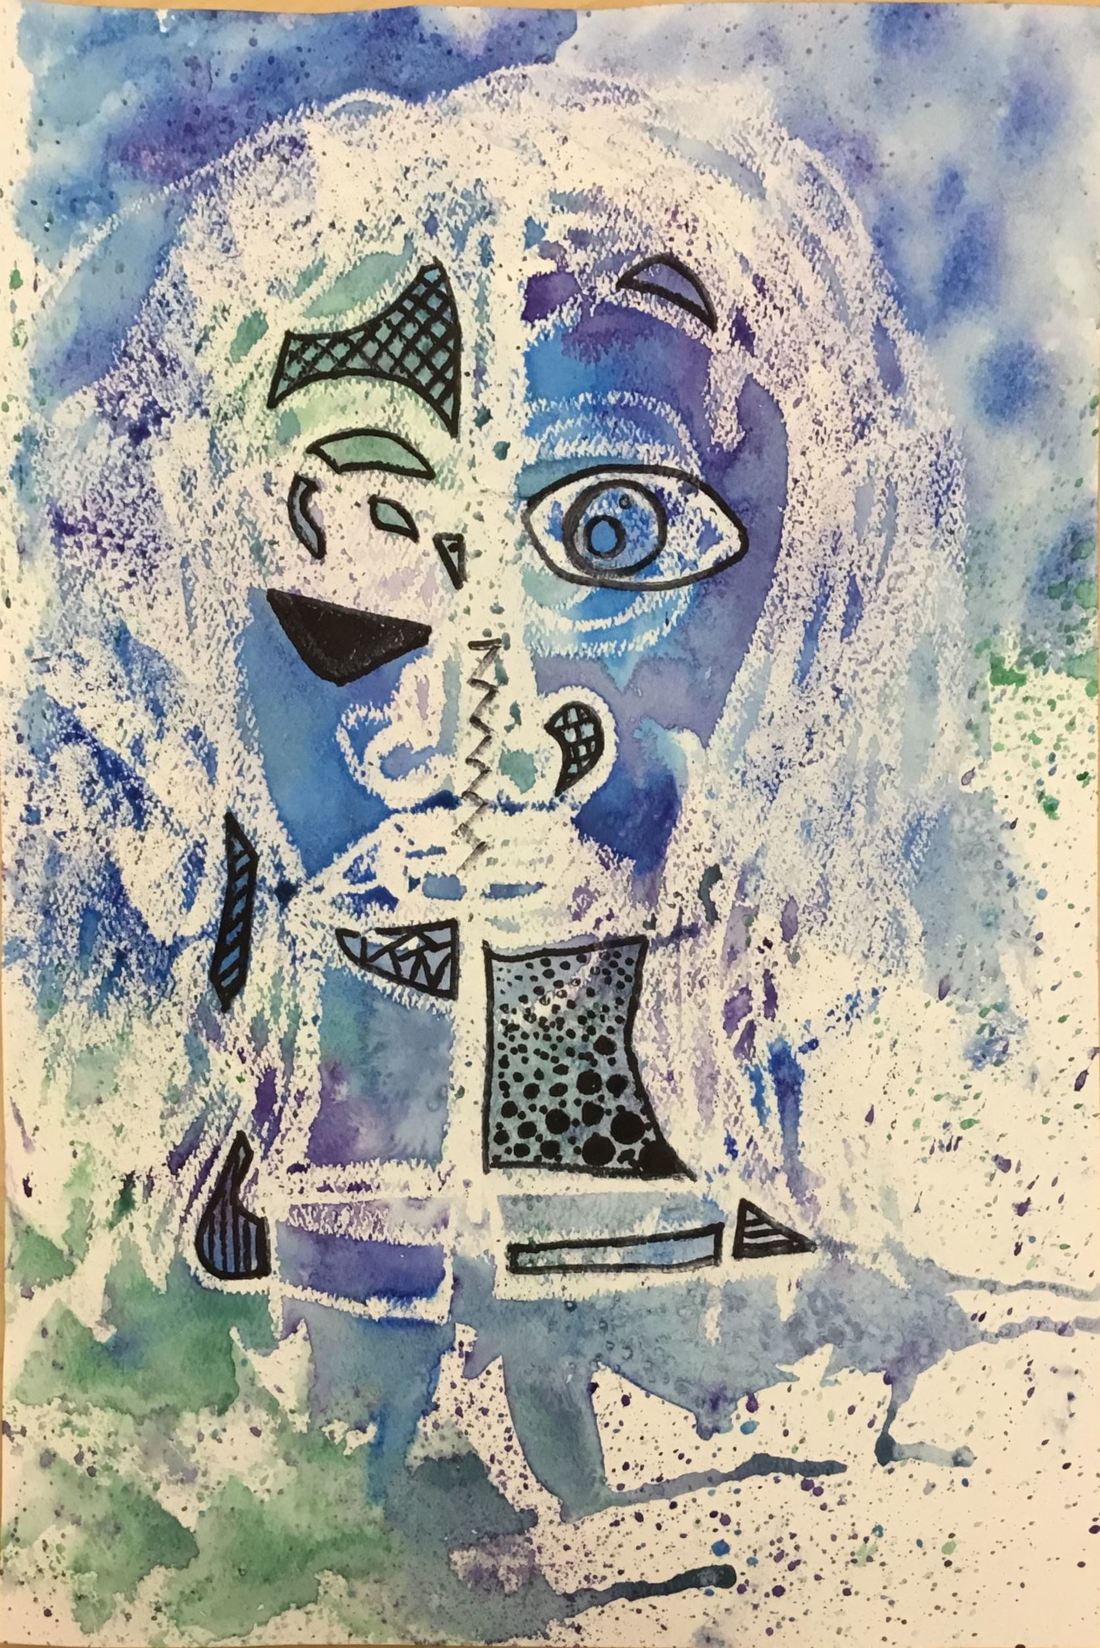
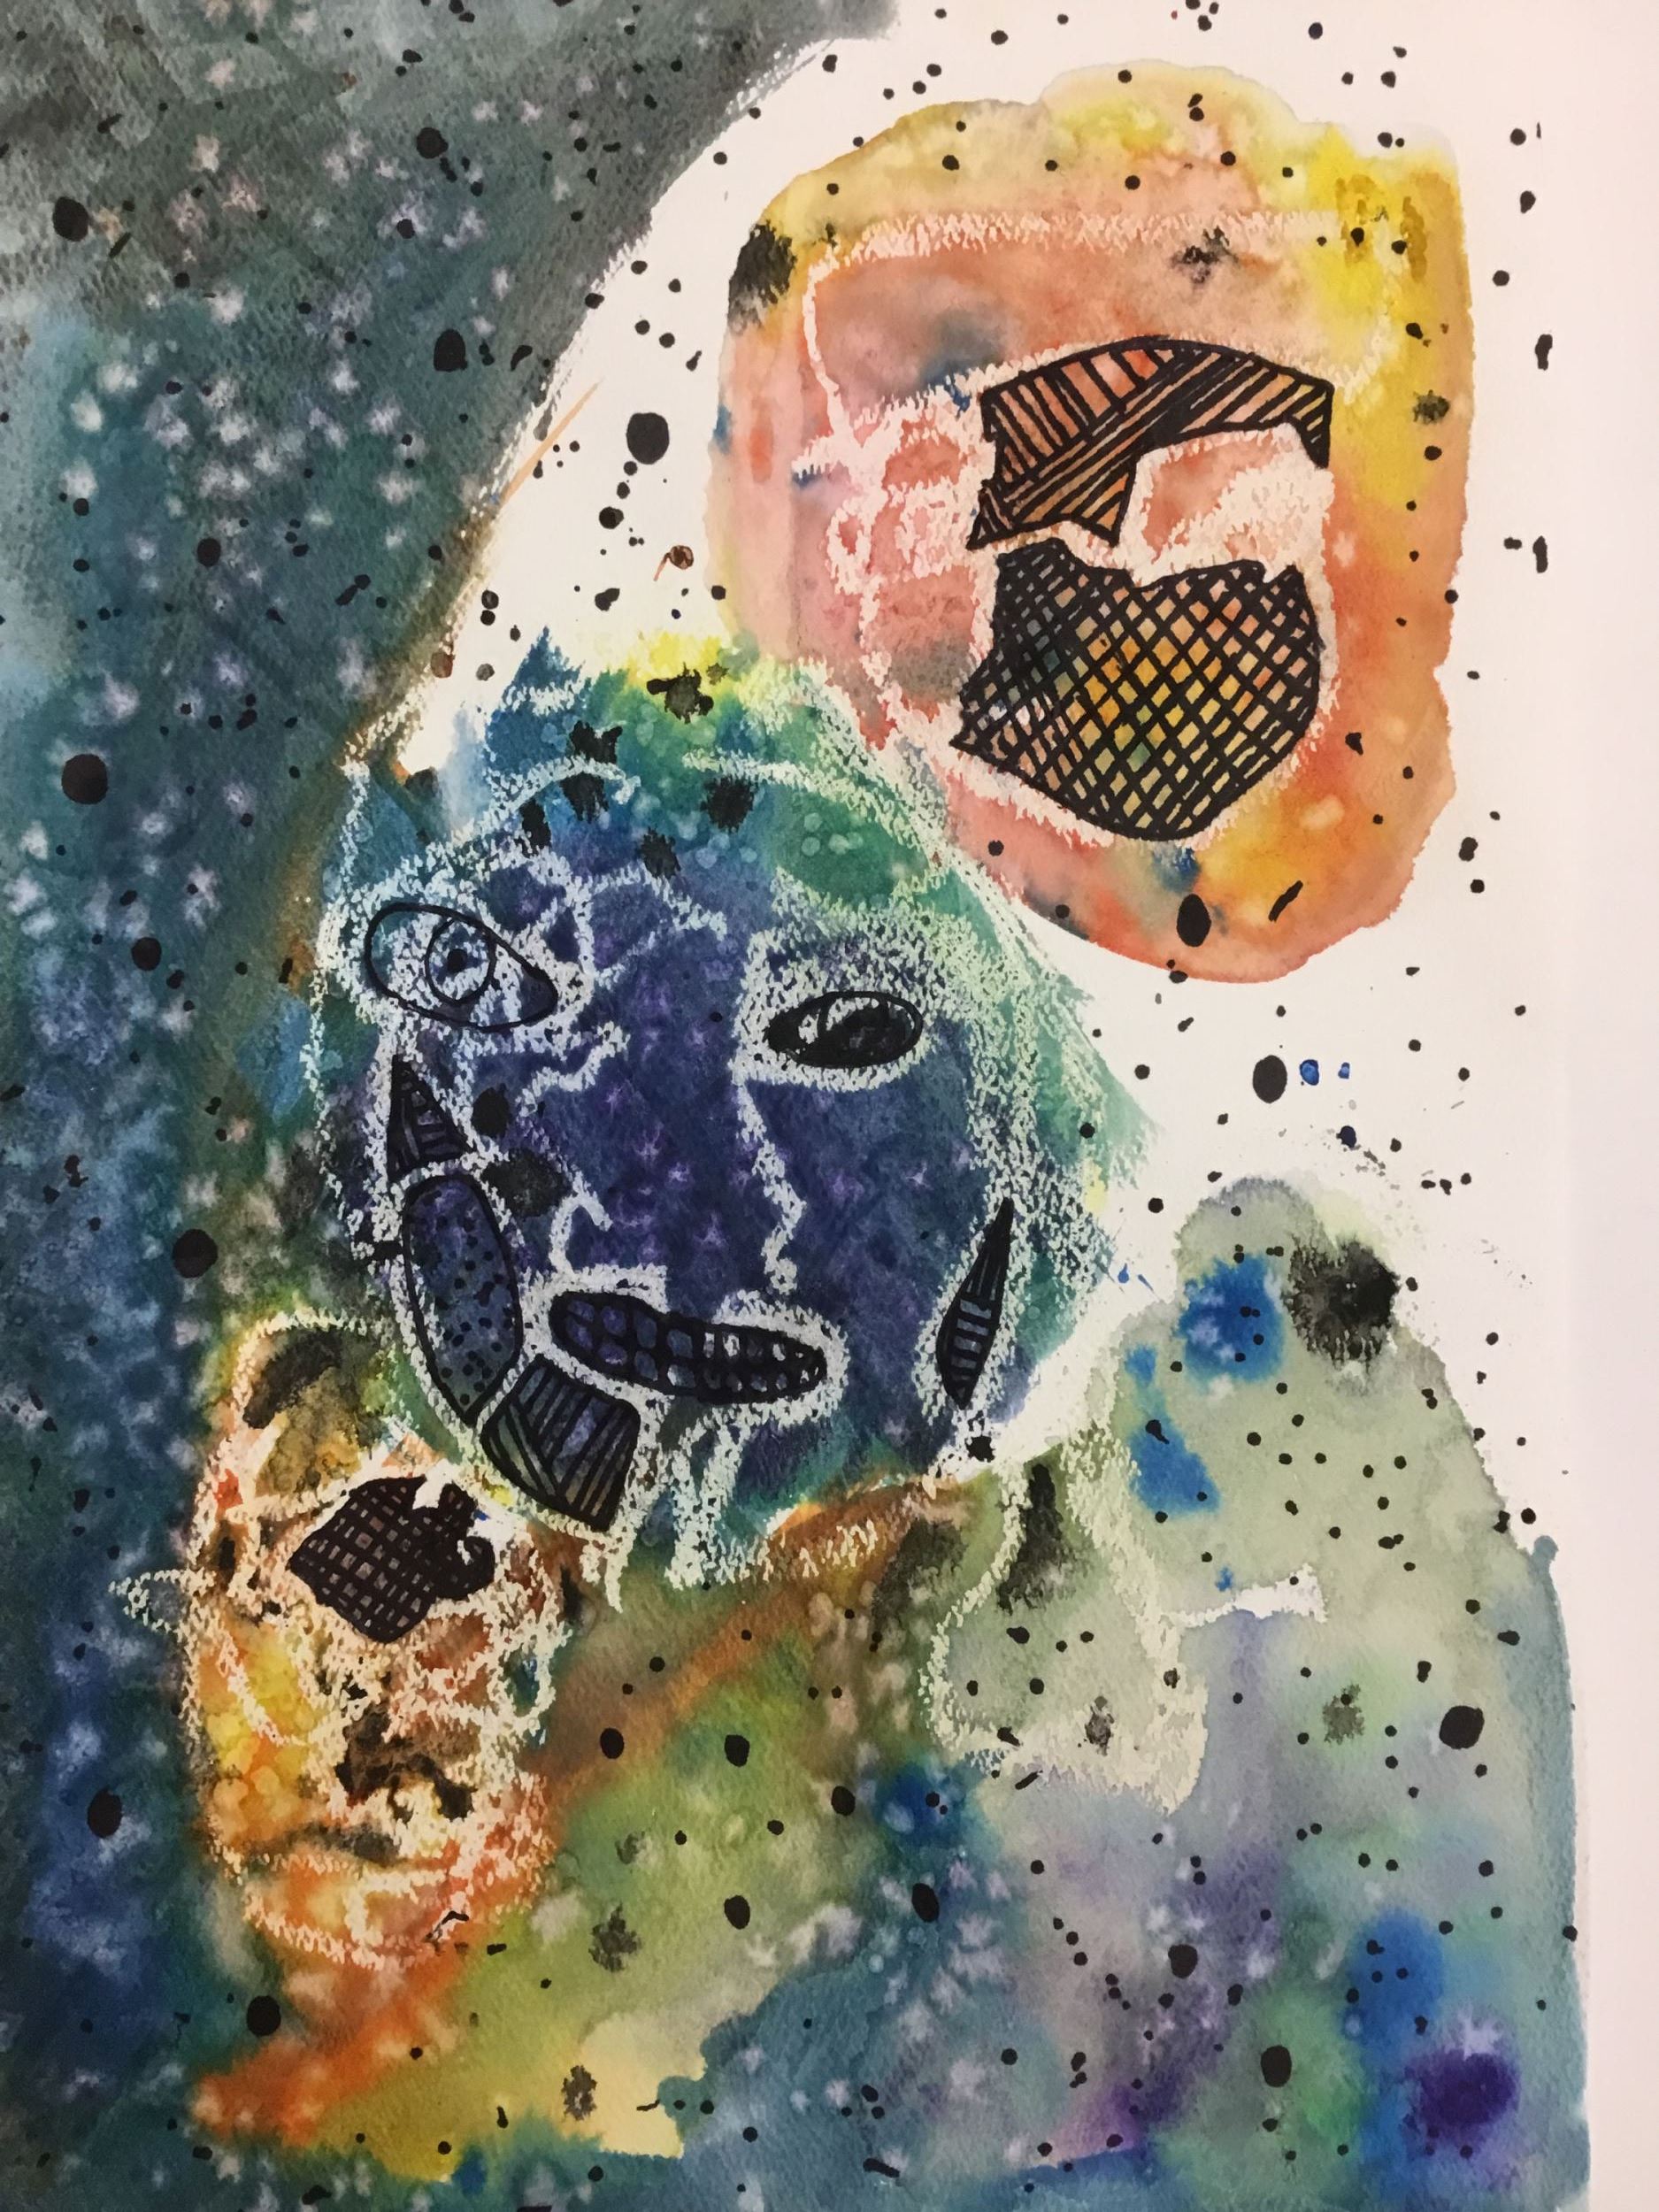
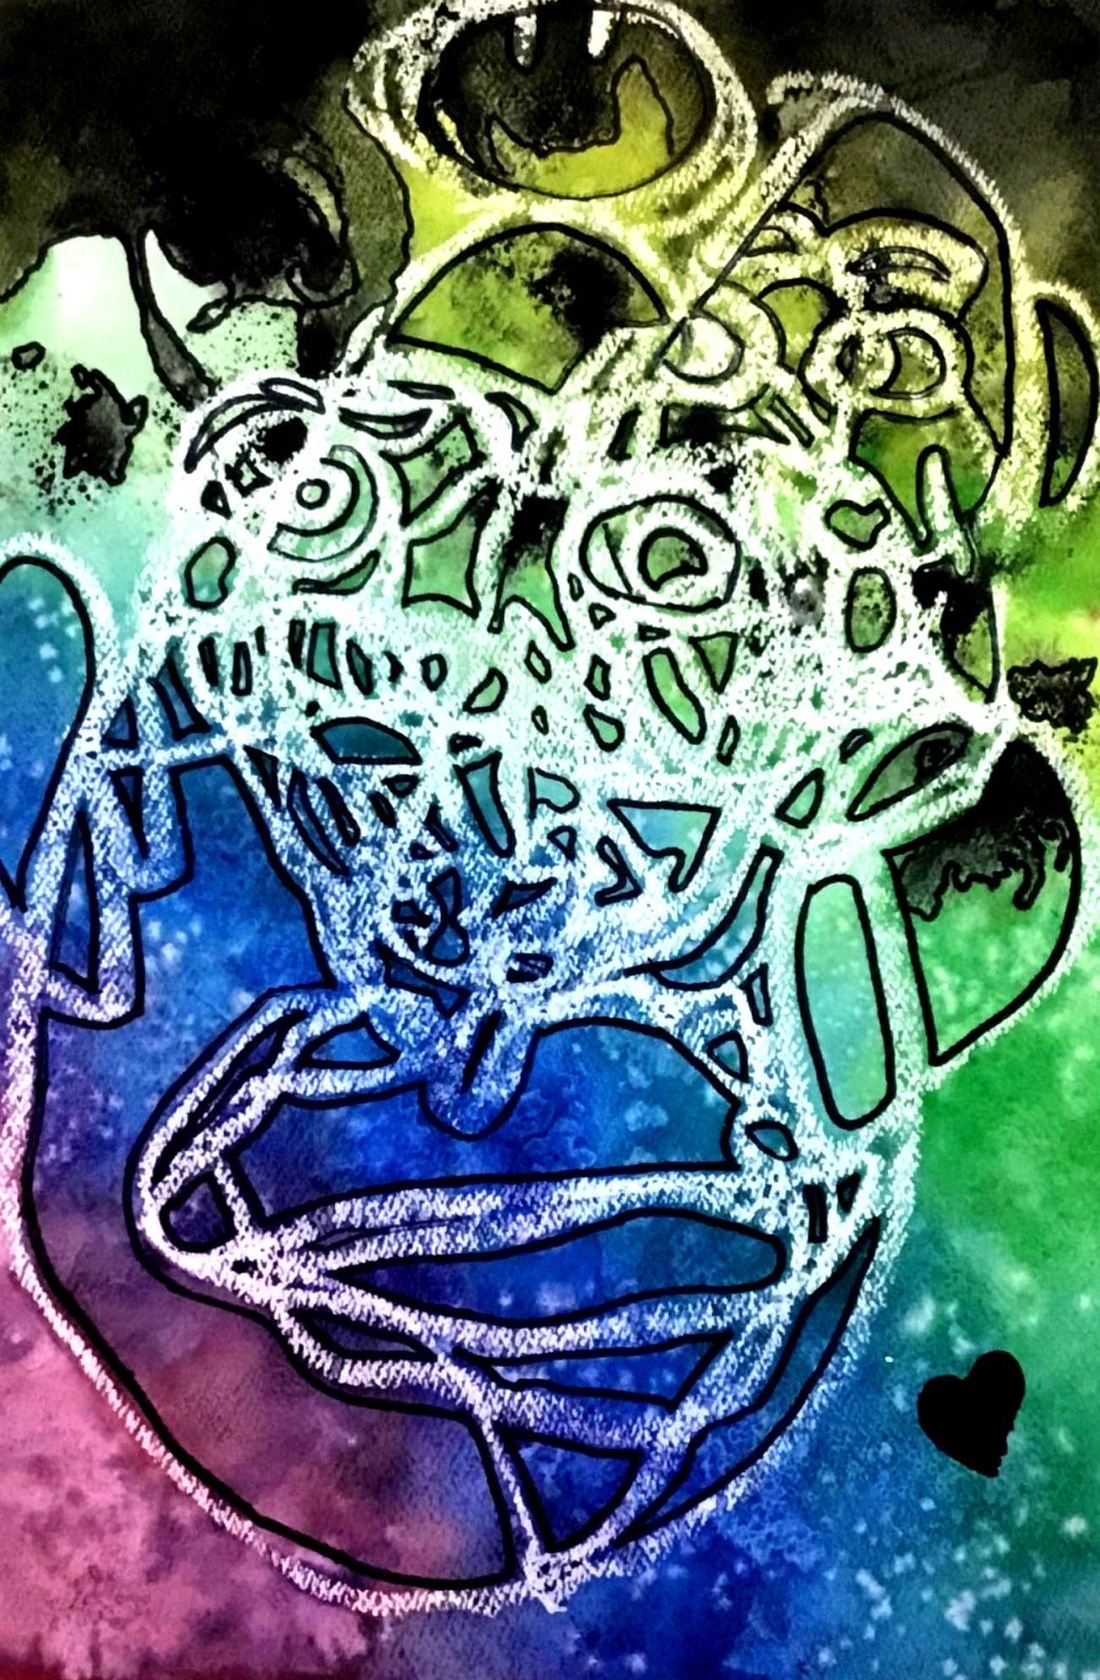
The next day, students spent 10 minutes transforming their prints into a collaborative collage before uploading it to Artsonia. In addition to deconstructing and reassembling their prints in this collaborative effort, students added other collage elements to complete their creations. Because they were working in groups of three, students had one student be the scissor-handler, one worked the glue, and one acted as a director for the composition.
My goal is to give students the understanding and skills needed to make informed choices about what they want to create. Although some students may never use printmaking again outside of this hands-on demonstration, I know that they and the ones who immediately changed their project idea as a result of this experience benefit from the chance to manipulate media and make informed choices based on what they hope for their own work.
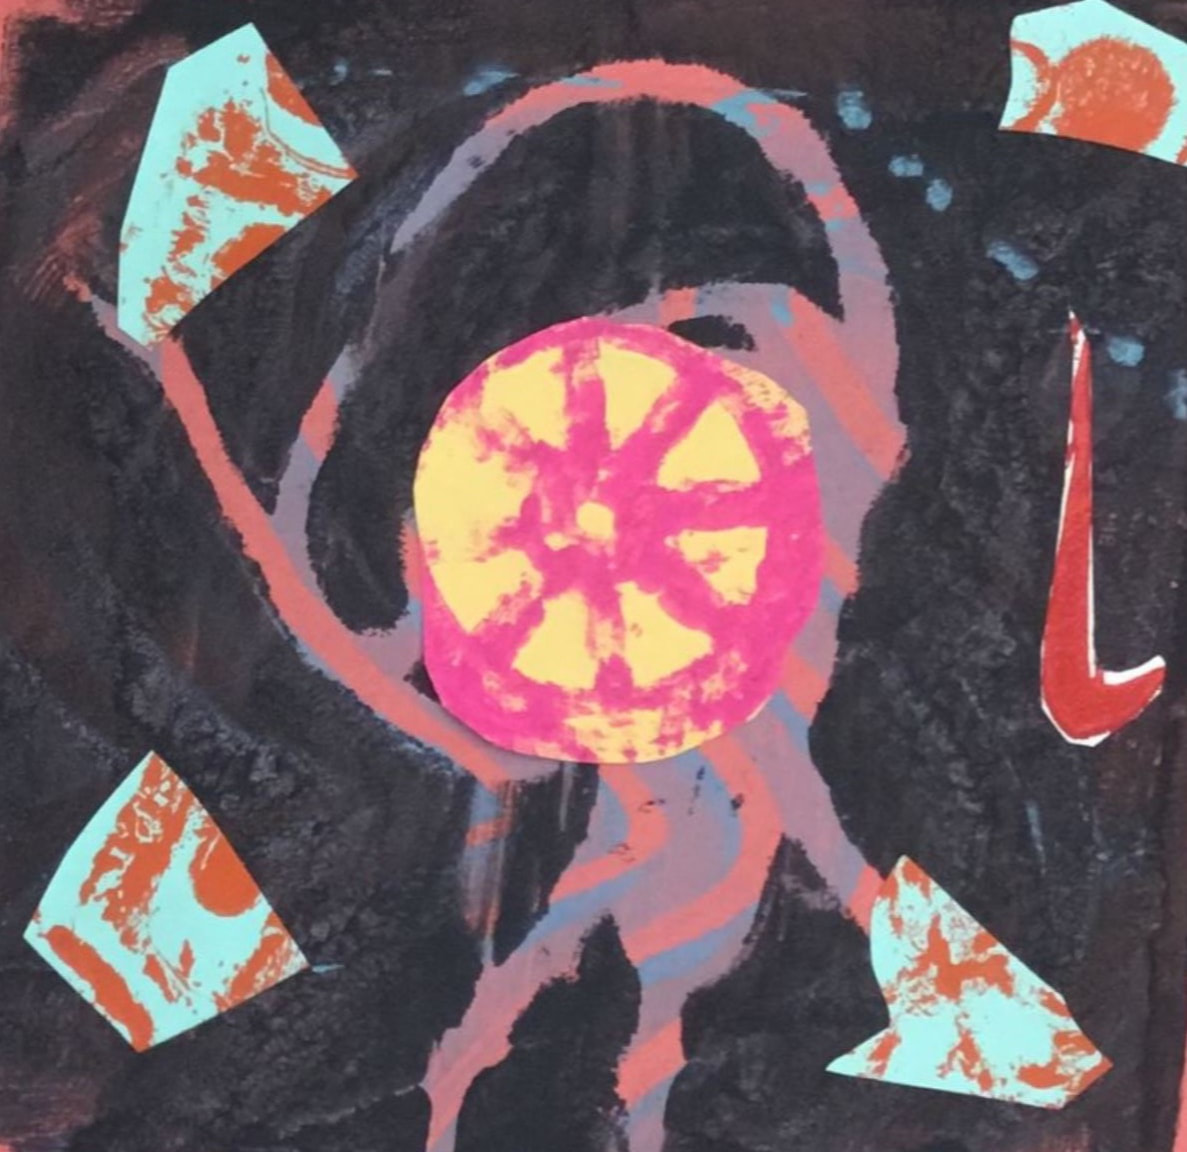
Here are some examples from the collaboration:
I recently wrote an article for SchoolArts Magazine about how using stations around the room, with short introduction of materials and timed sessions can help students experience each media before deciding whether or not they would like to use it for their work. In the article, I highlight a series of 2D media that students used like watercolor, collage, and ink.
This past week, I tried it with printmaking.
In the one-day demo, students had the opportunity to try collagraphs, block printing, dry point (with cereal boxes), monoprints (with Gelli Arts printing plates), and silk screens (using Mayco Designer silkscreens). During the five minute sessions at each station, students worked in teams of 3 to create at least one usable print. This was a great way to promote experimentation and help with understanding as they walked each other through the process (using the introduction cards as a guide).
During the rotations, students also took notes in their sketchbooks about how each print method worked, the materials needed to accomplish the effect, and whether or not they liked doing it. Once done, students had a chance to reflect on the process as a whole group and discuss which prints worked and which didn't and why that was.
The next day, students spent 10 minutes transforming their prints into a collaborative collage before uploading it to Artsonia. In addition to deconstructing and reassembling their prints in this collaborative effort, students added other collage elements to complete their creations. Because they were working in groups of three, students had one student be the scissor-handler, one worked the glue, and one acted as a director for the composition.
My goal is to give students the understanding and skills needed to make informed choices about what they want to create. Although some students may never use printmaking again outside of this hands-on demonstration, I know that they and the ones who immediately changed their project idea as a result of this experience benefit from the chance to manipulate media and make informed choices based on what they hope for their own work.
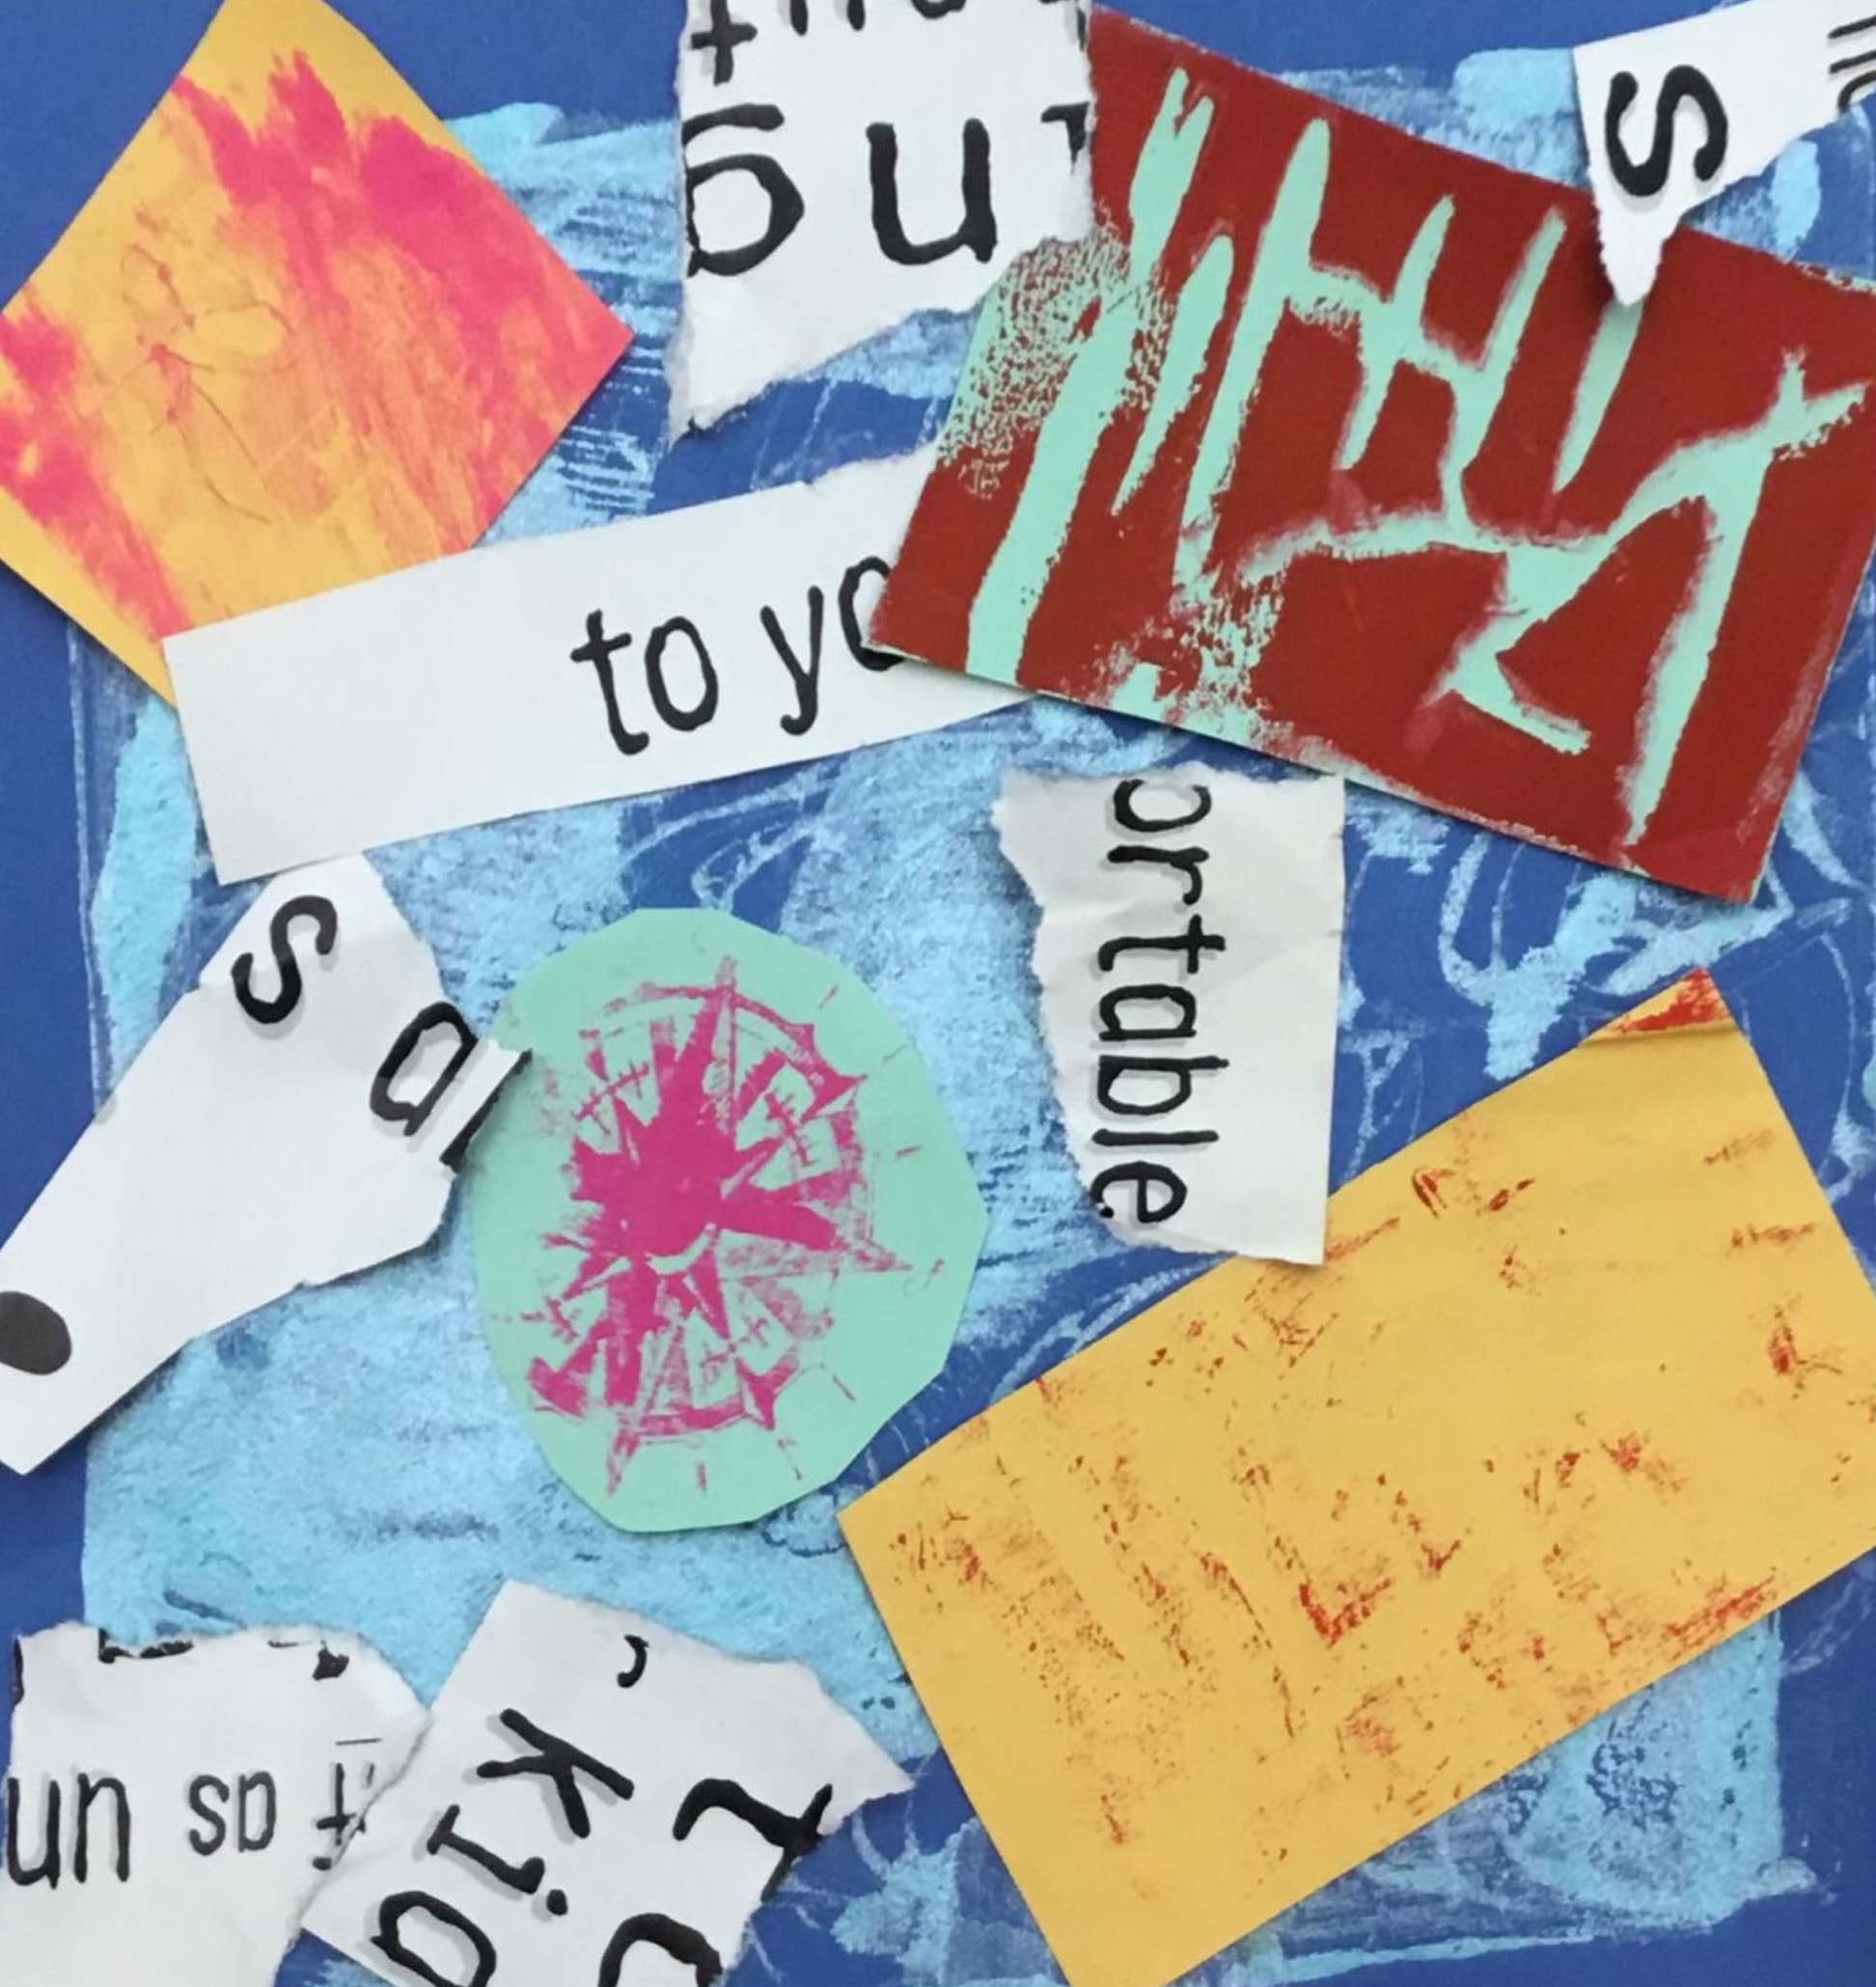
Here are some examples from the collaboration:
 RSS Feed
