
It is August and that means it is time to start thinking about how I am going to get myself organized for the school year. Thinking about what I want students to be able to understand and do becomes a central organizing principle for me as I ease back into the mindset of teaching and learning.
One thing, if nothing else, that I want to help my students understand about being creative is that you CAN DEVELOP a process for it. That if you are "bad" at art or making things or coming up with ideas that are interesting and new, you can use a process that will help you develop the stamina to push through roadblocks and find interesting solutions.
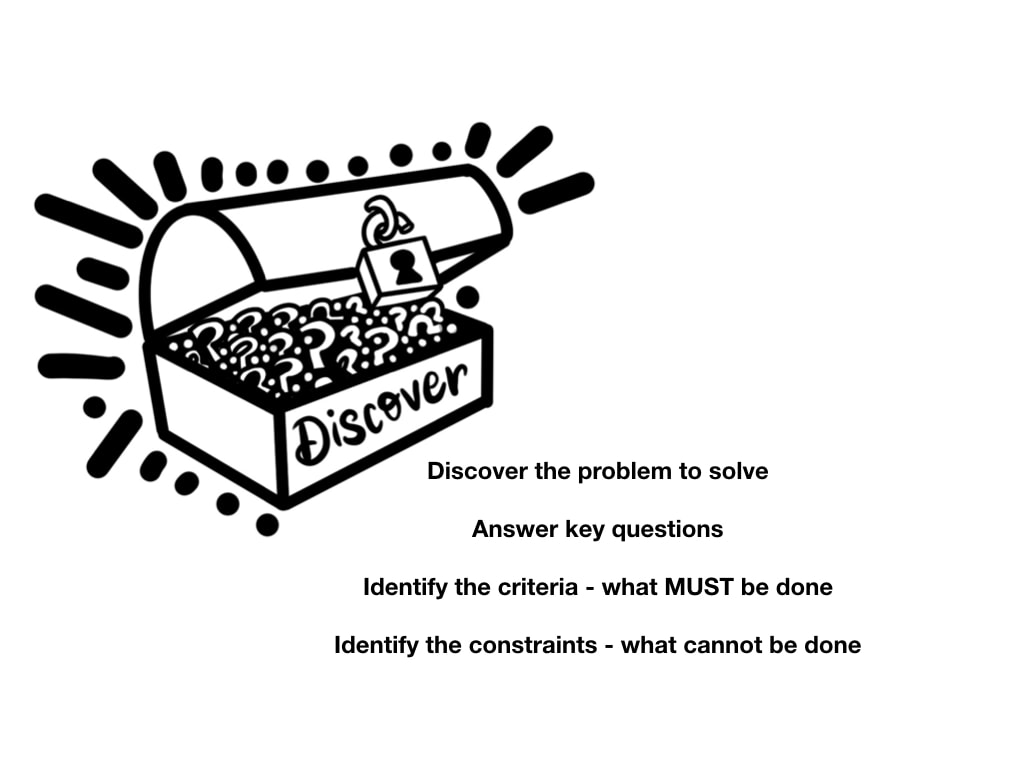
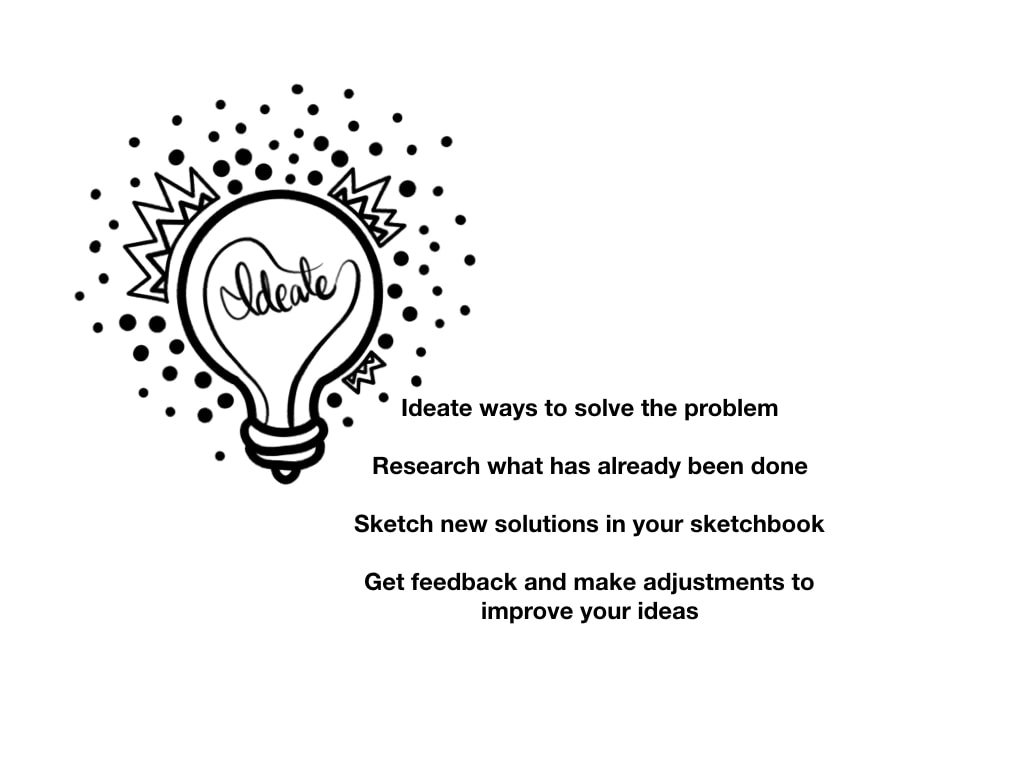
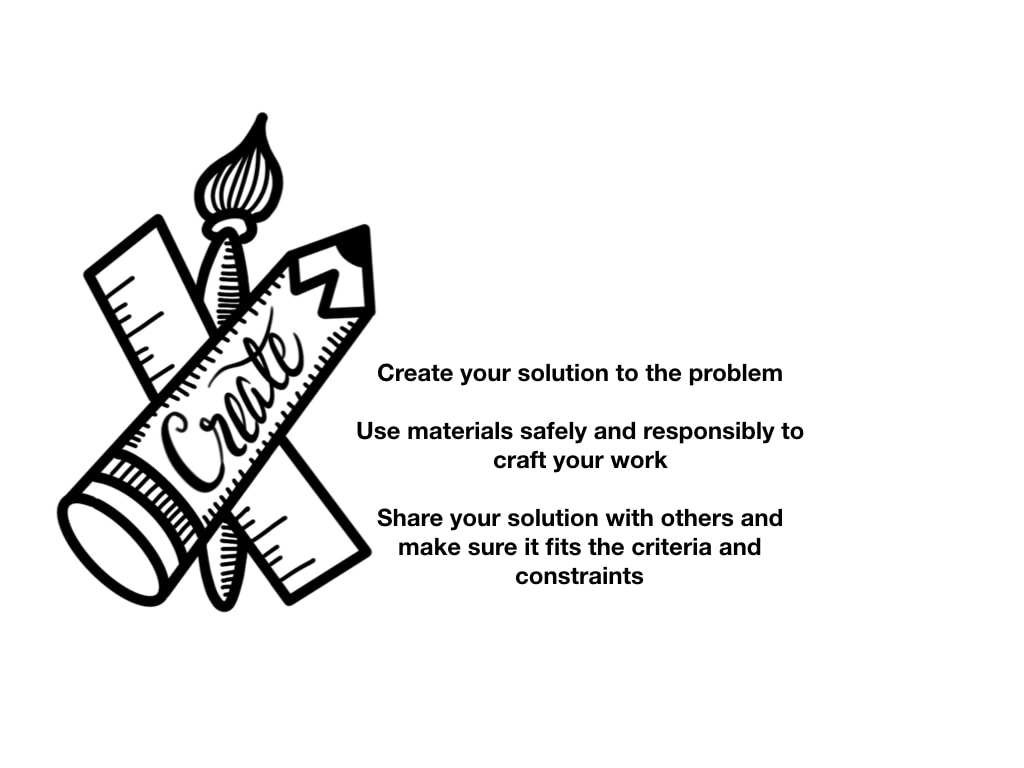
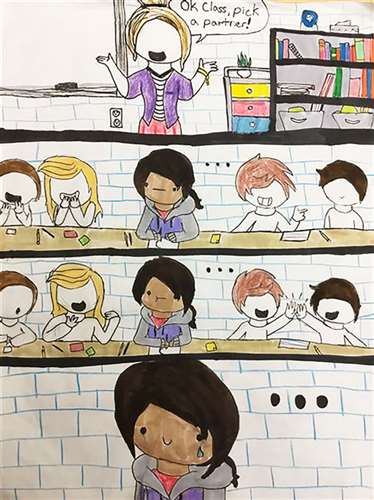
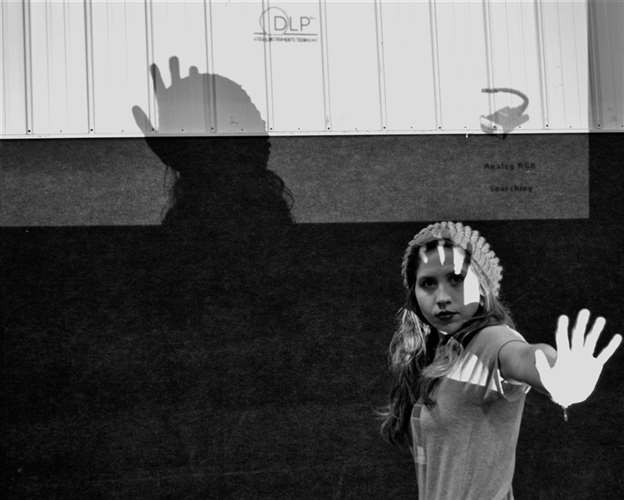
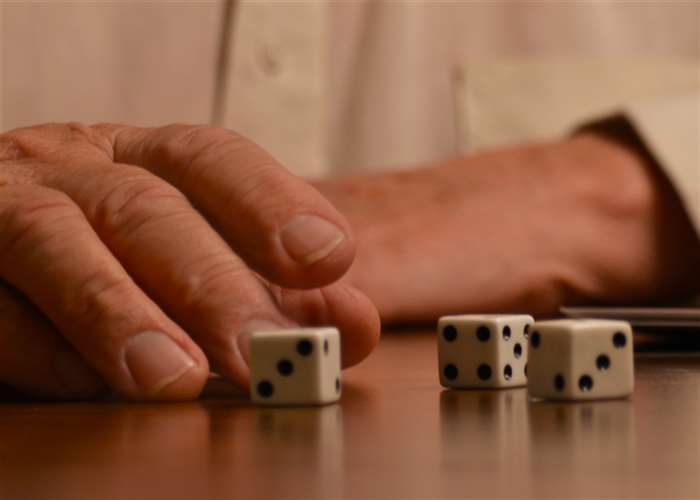
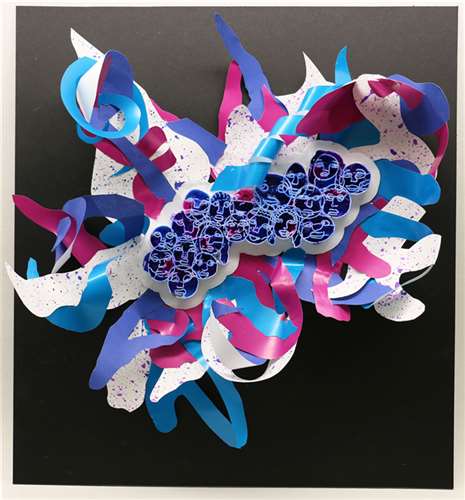
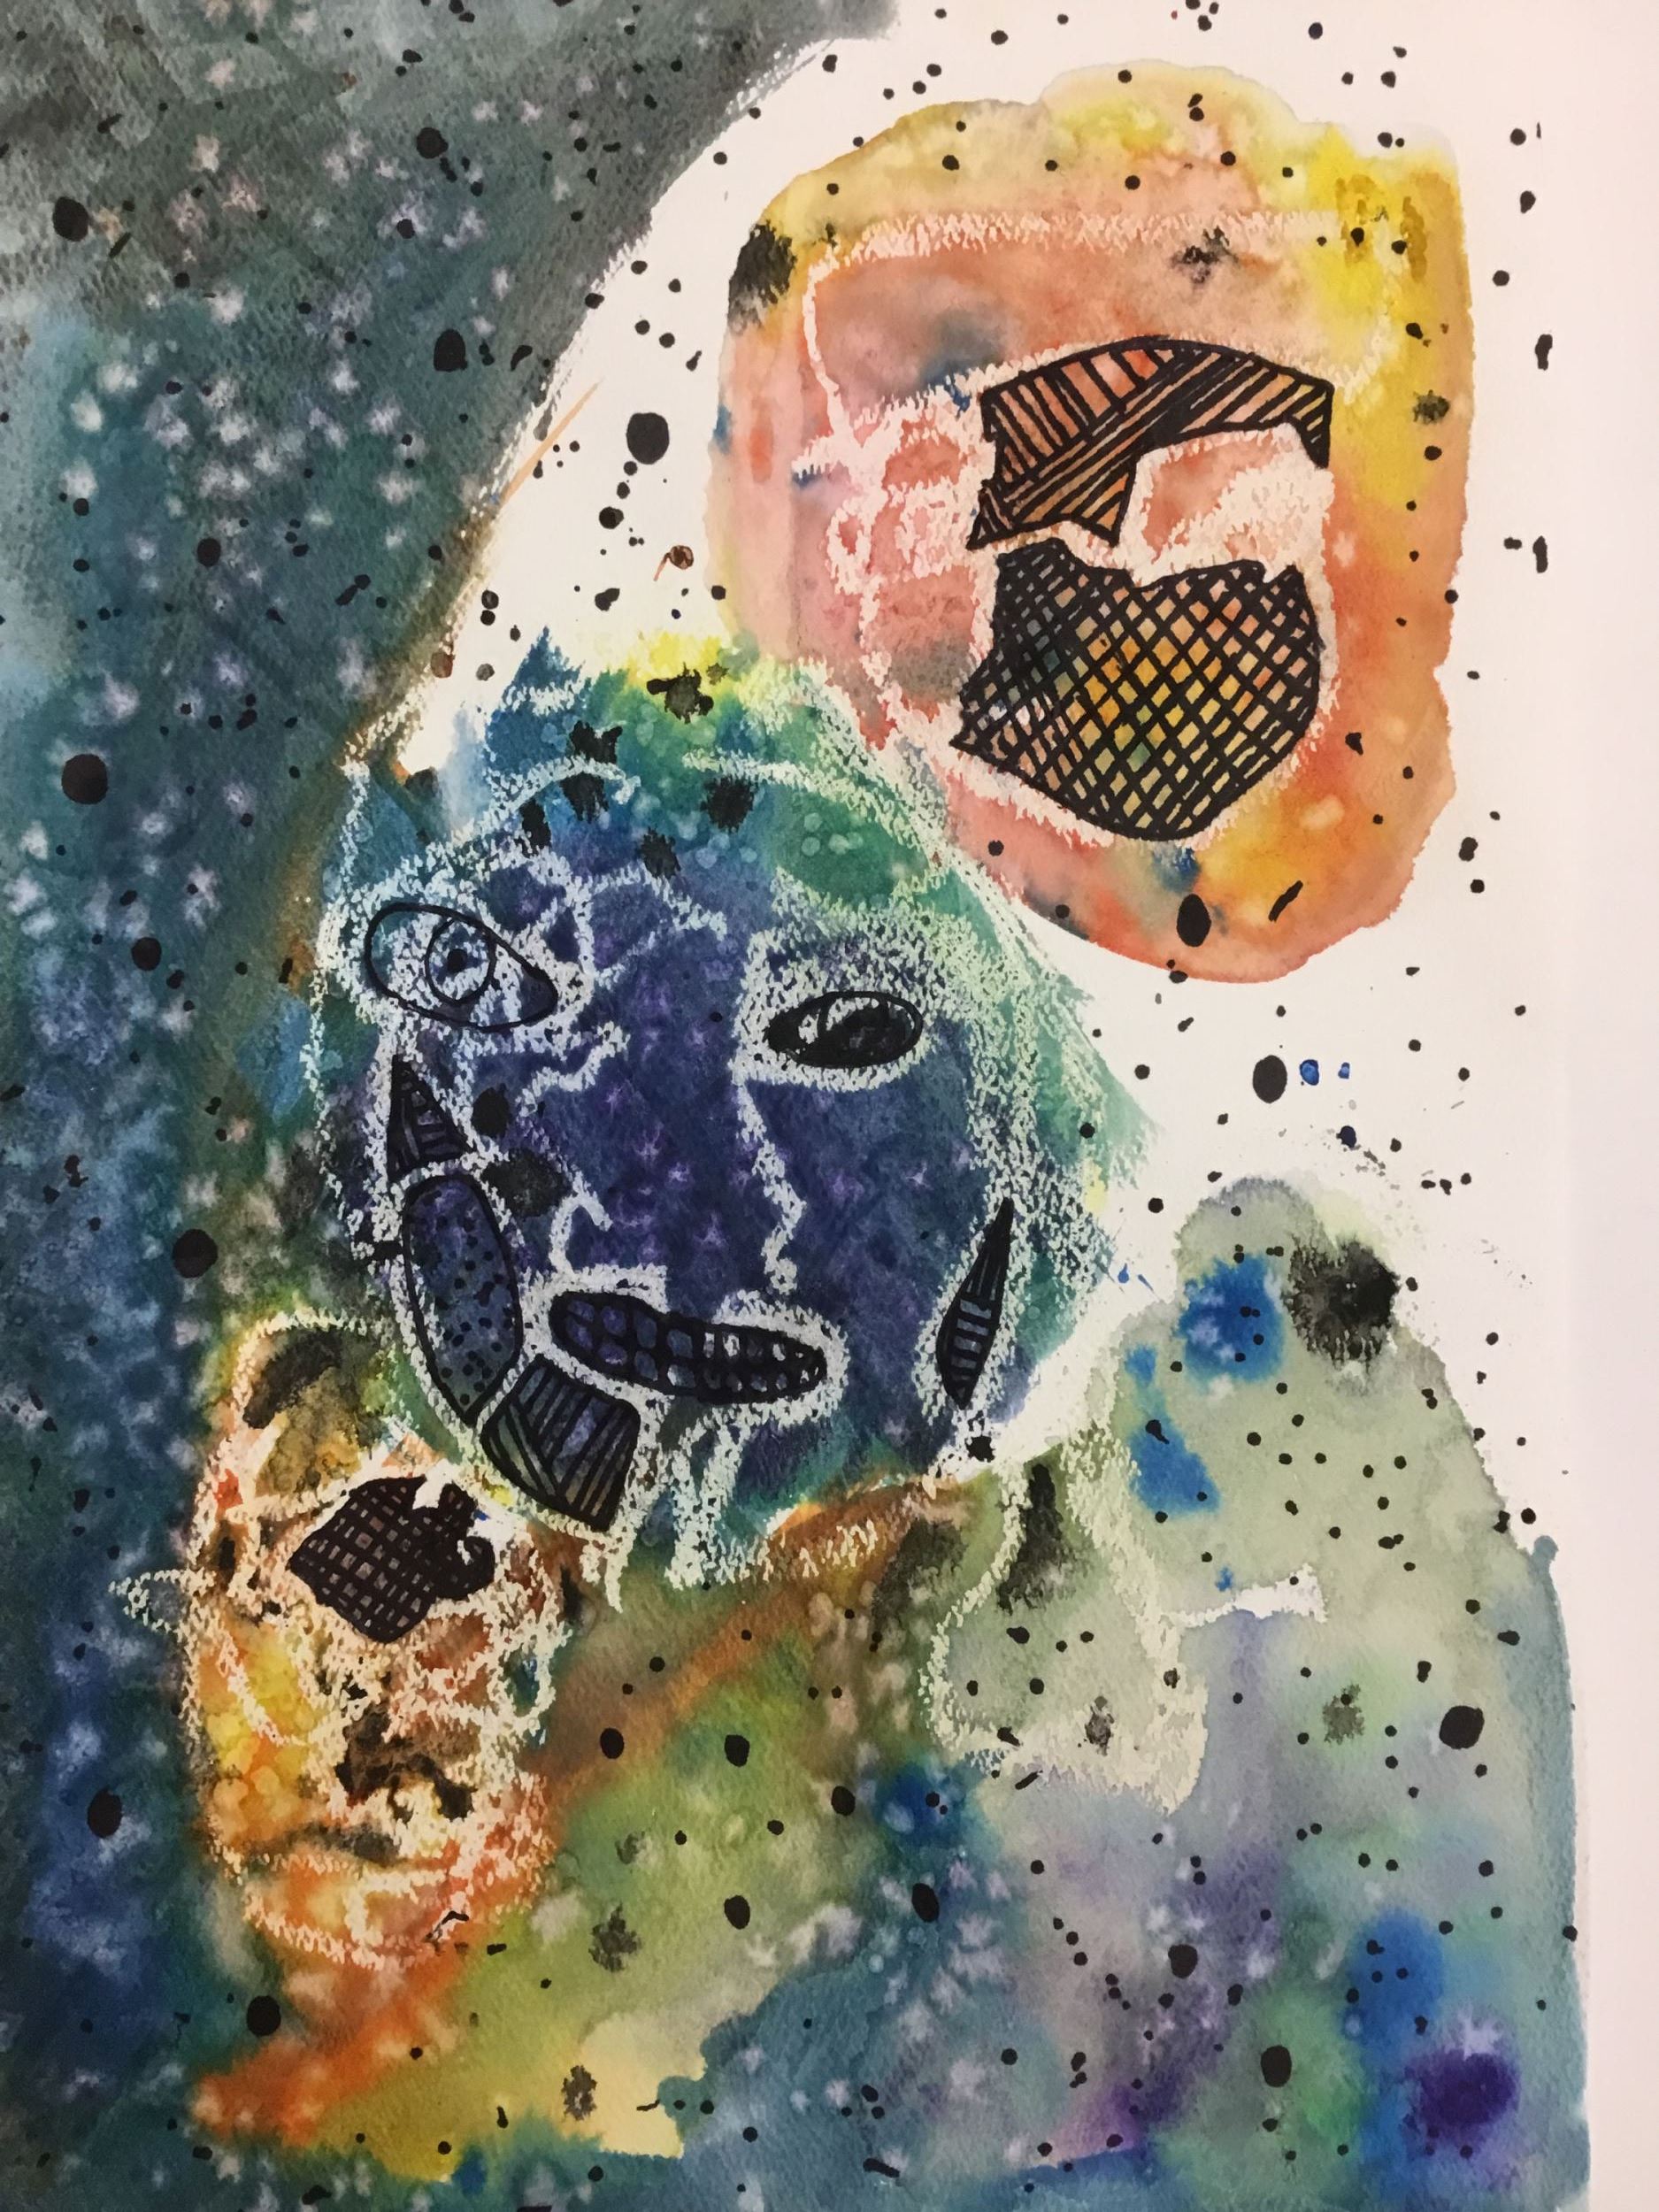
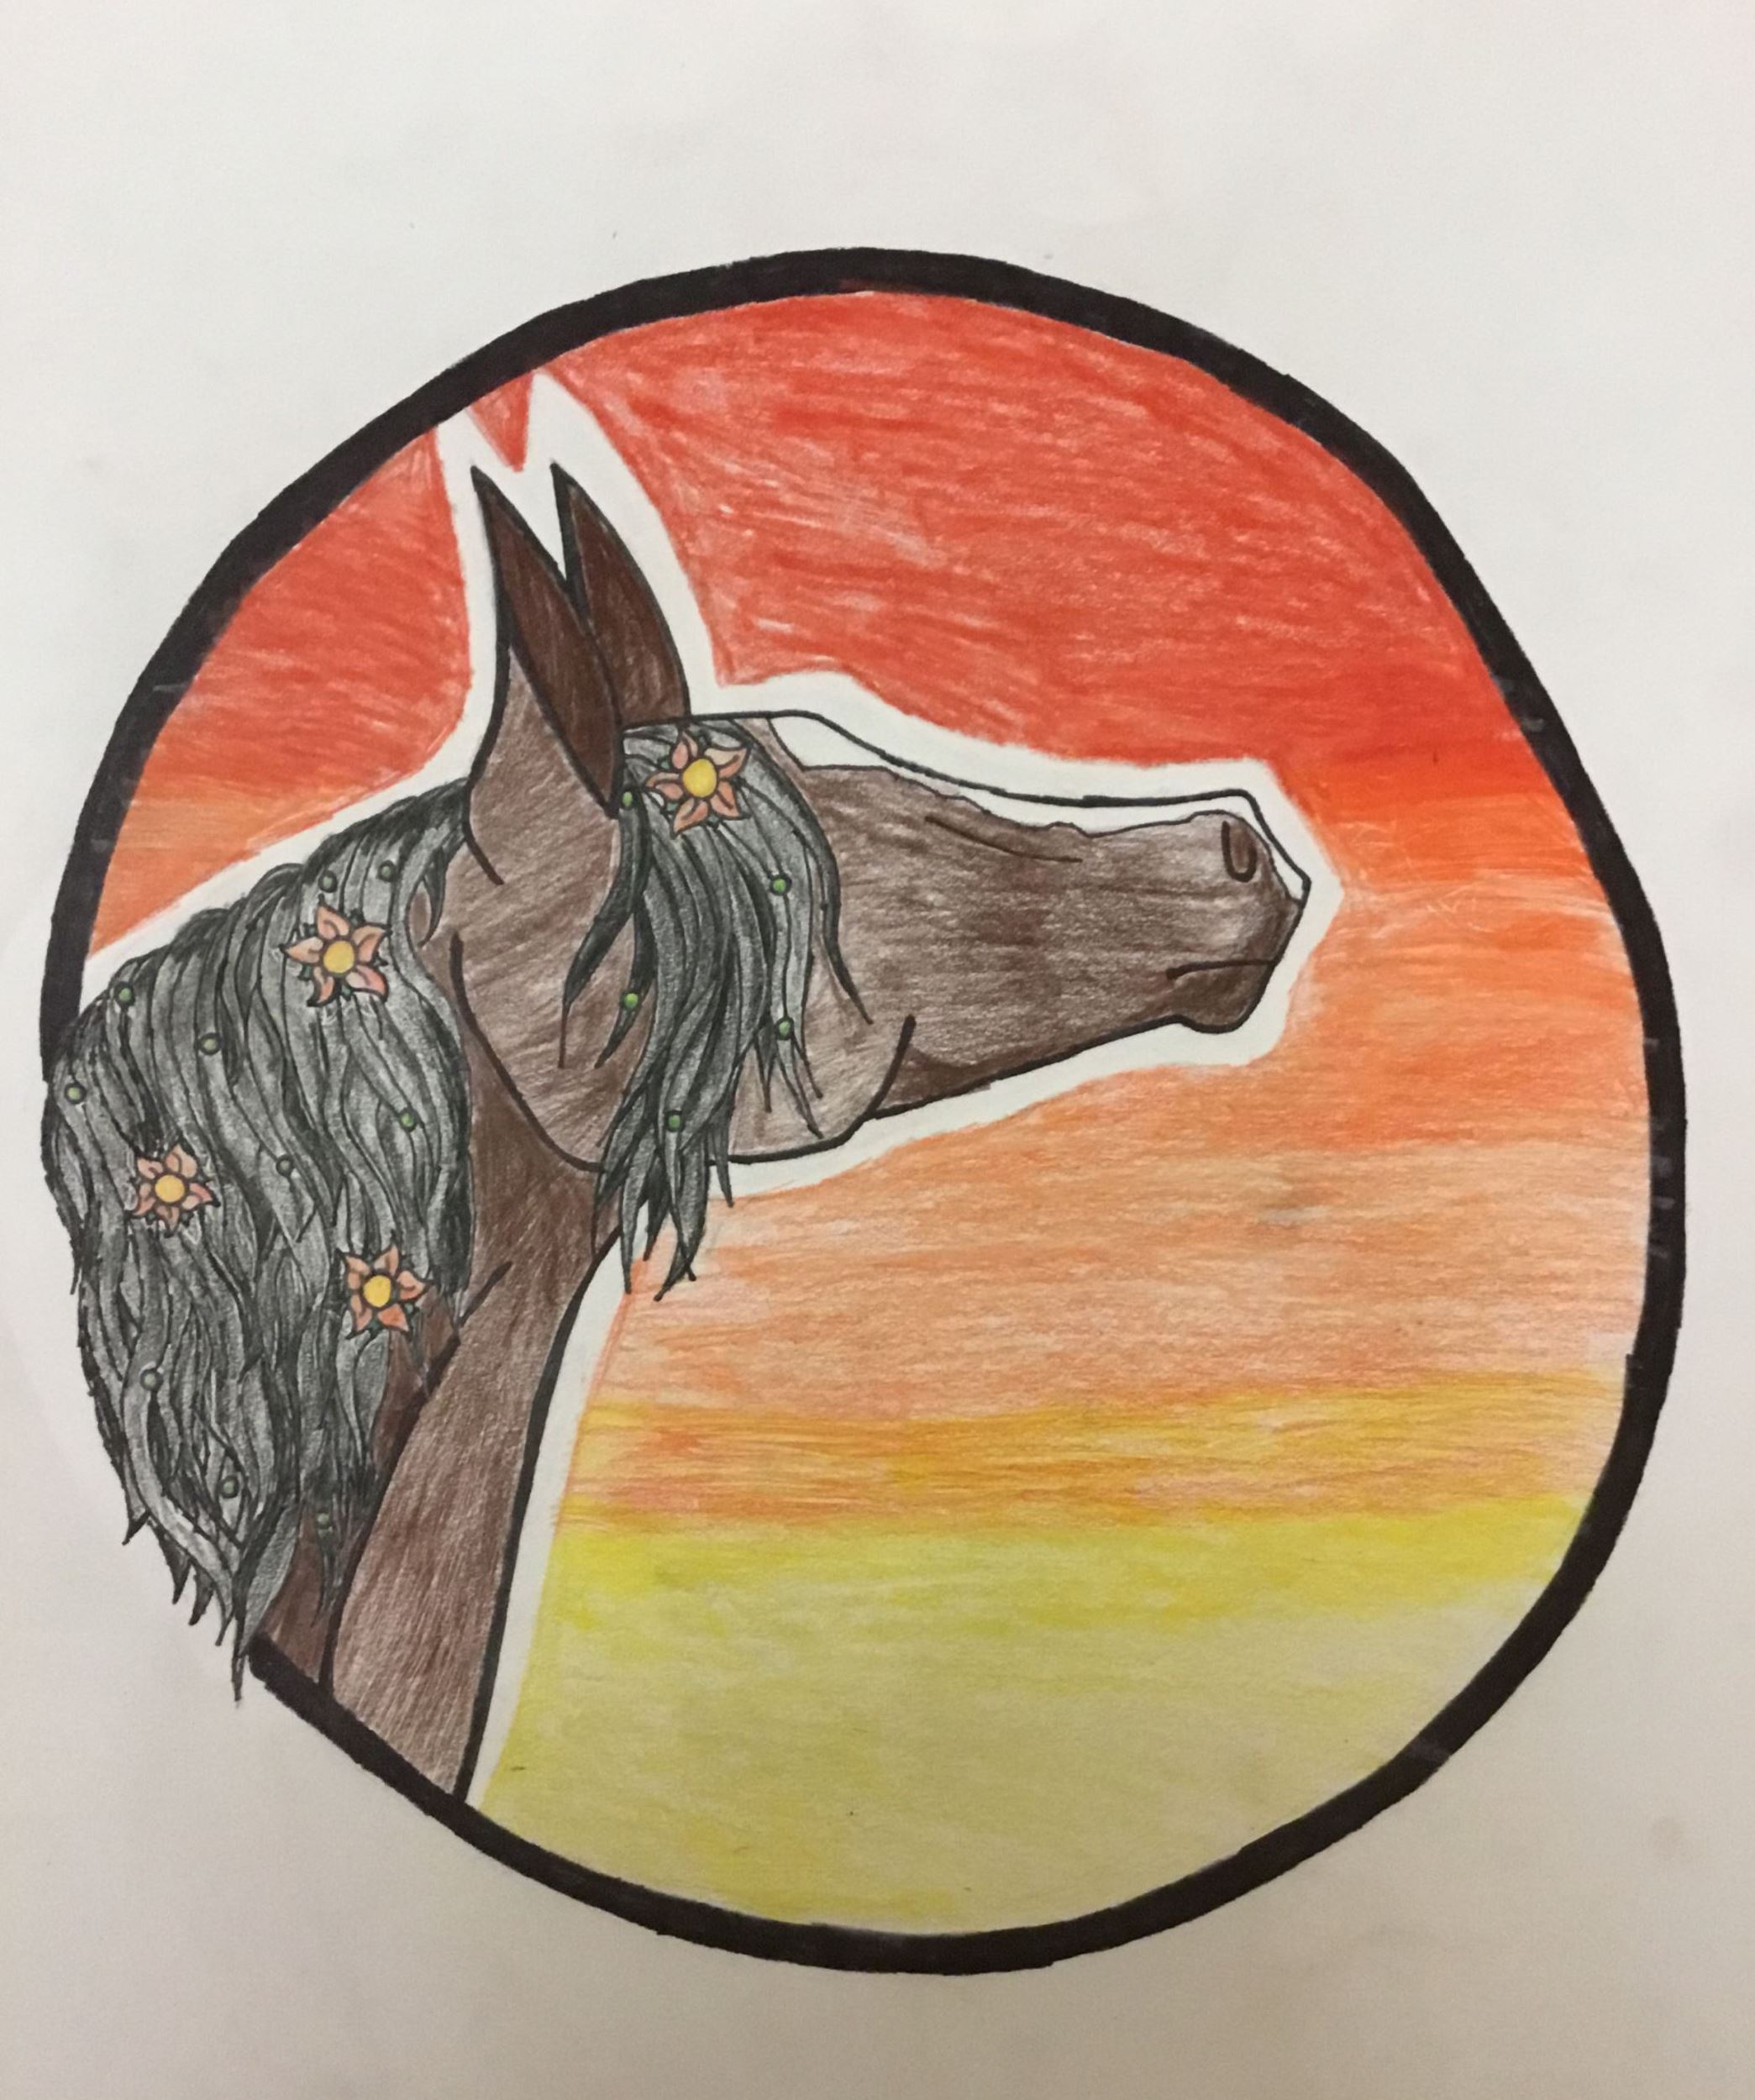
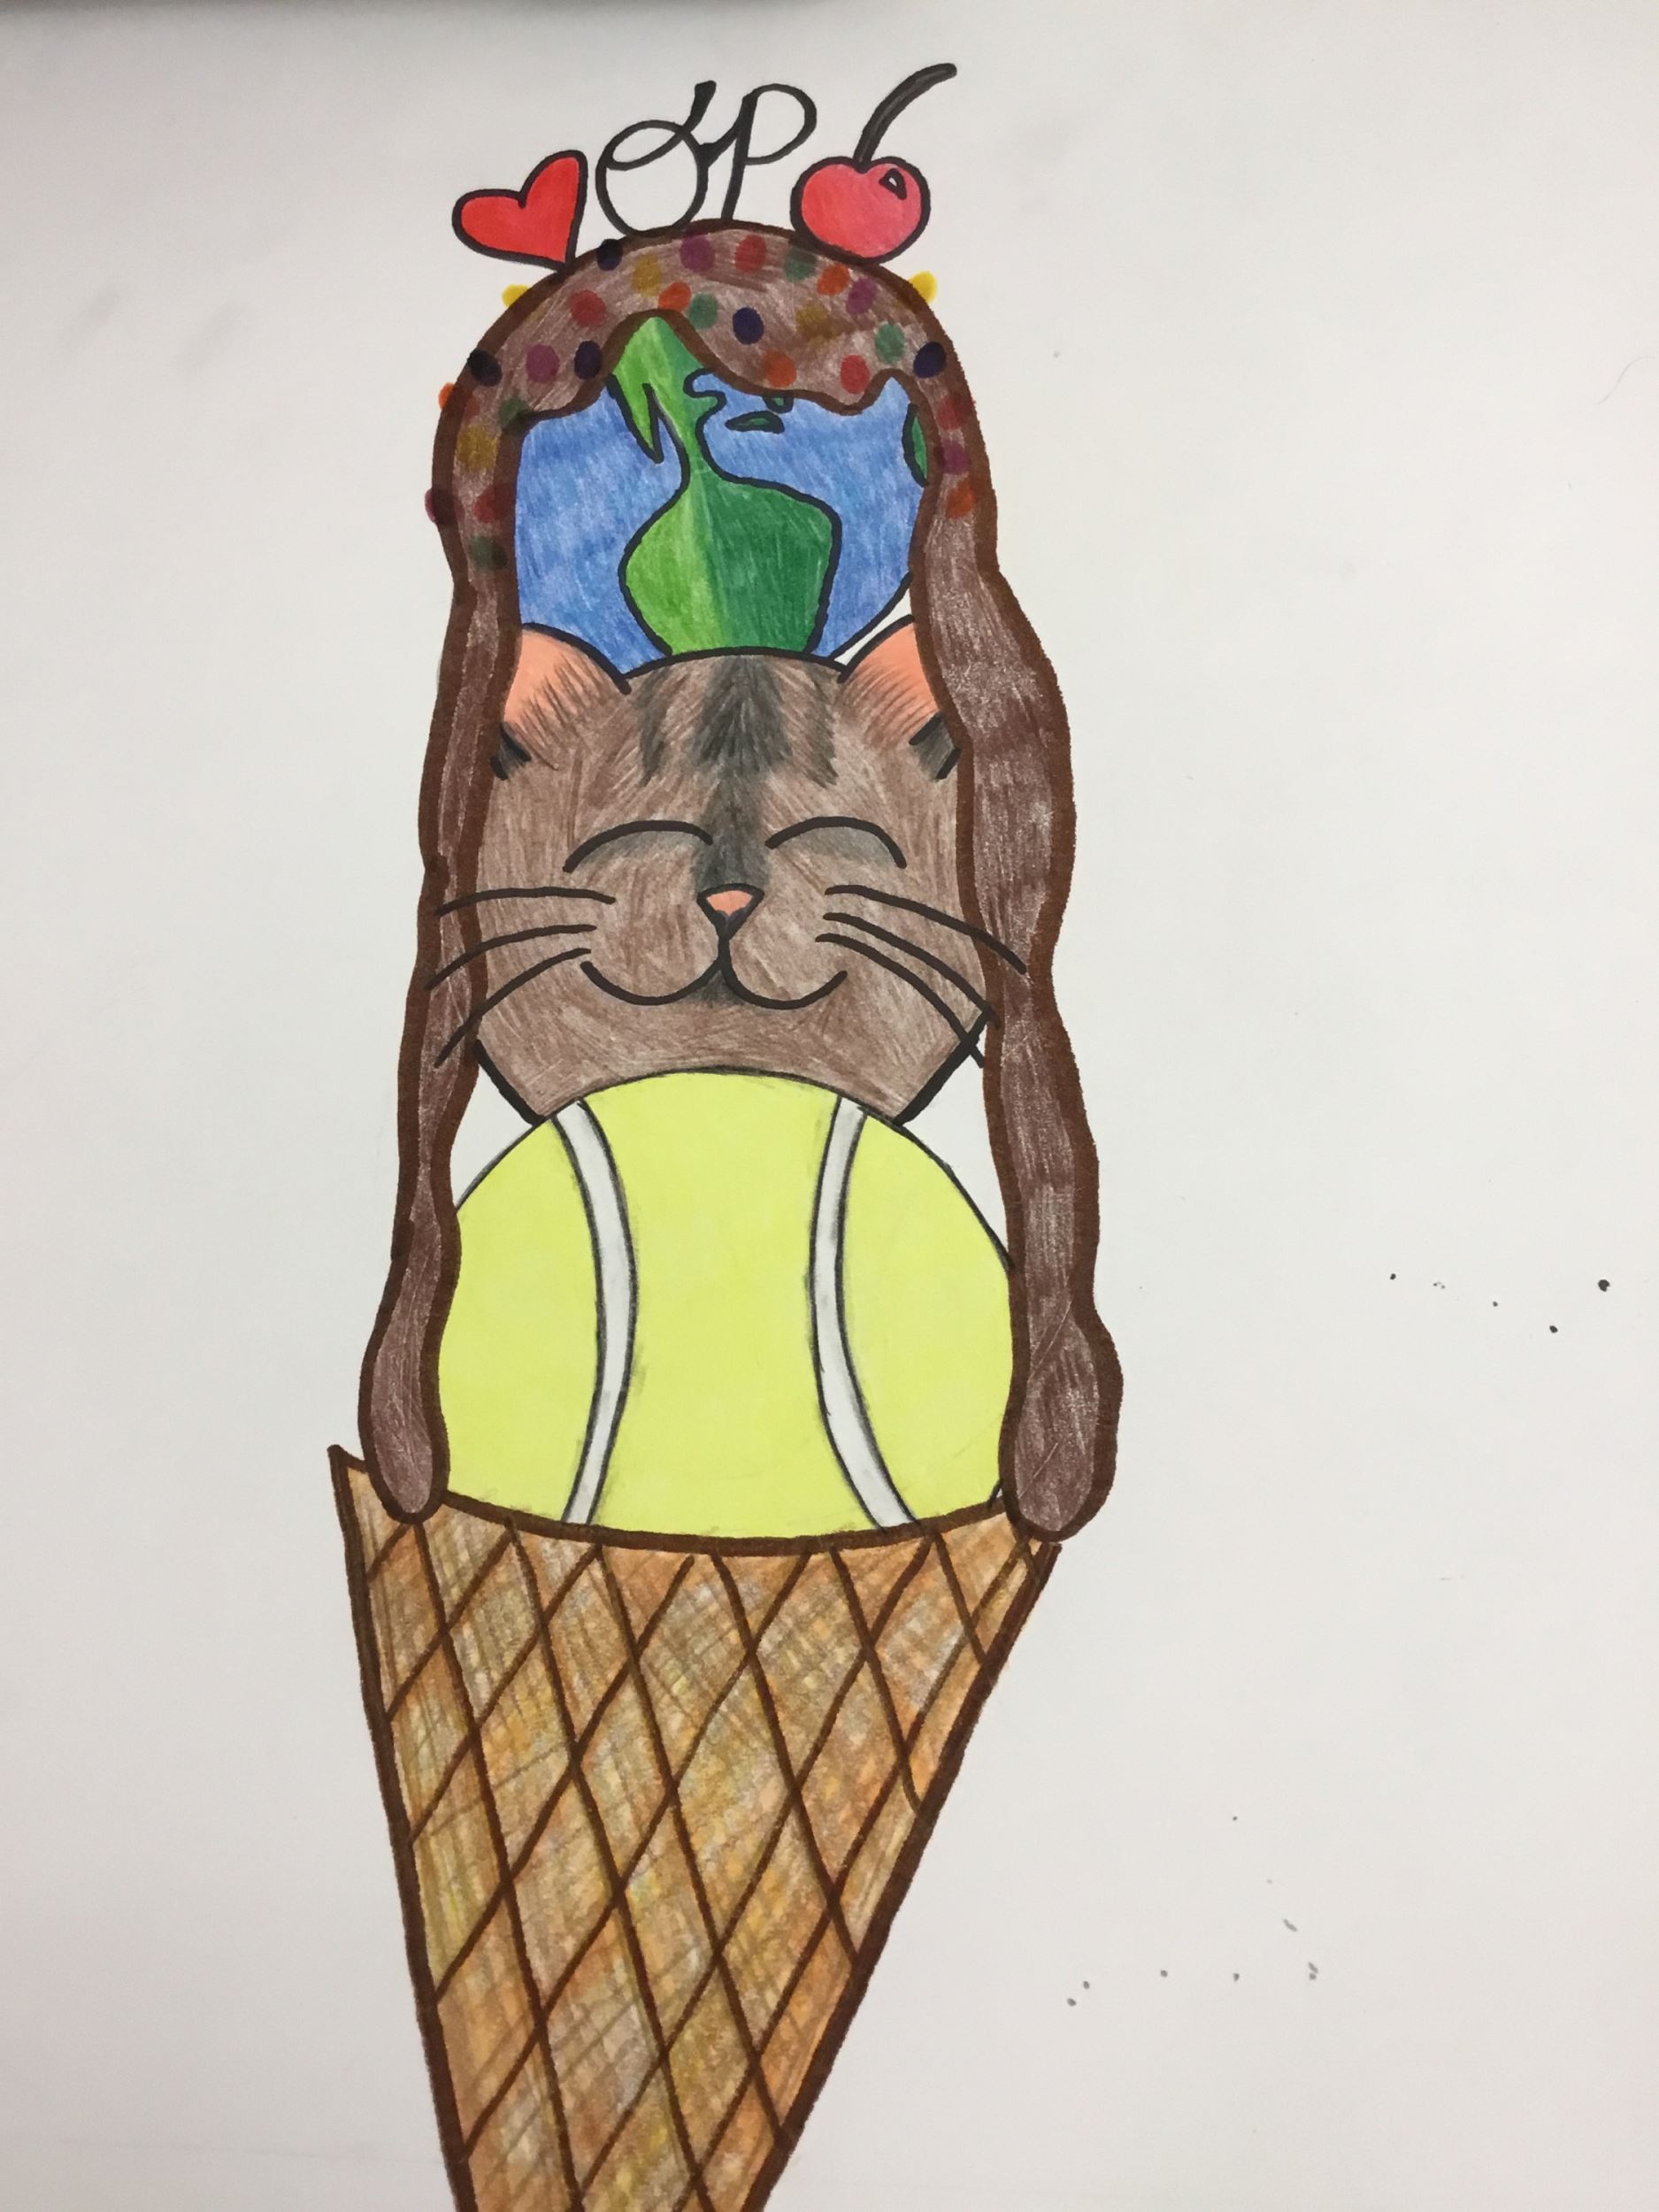
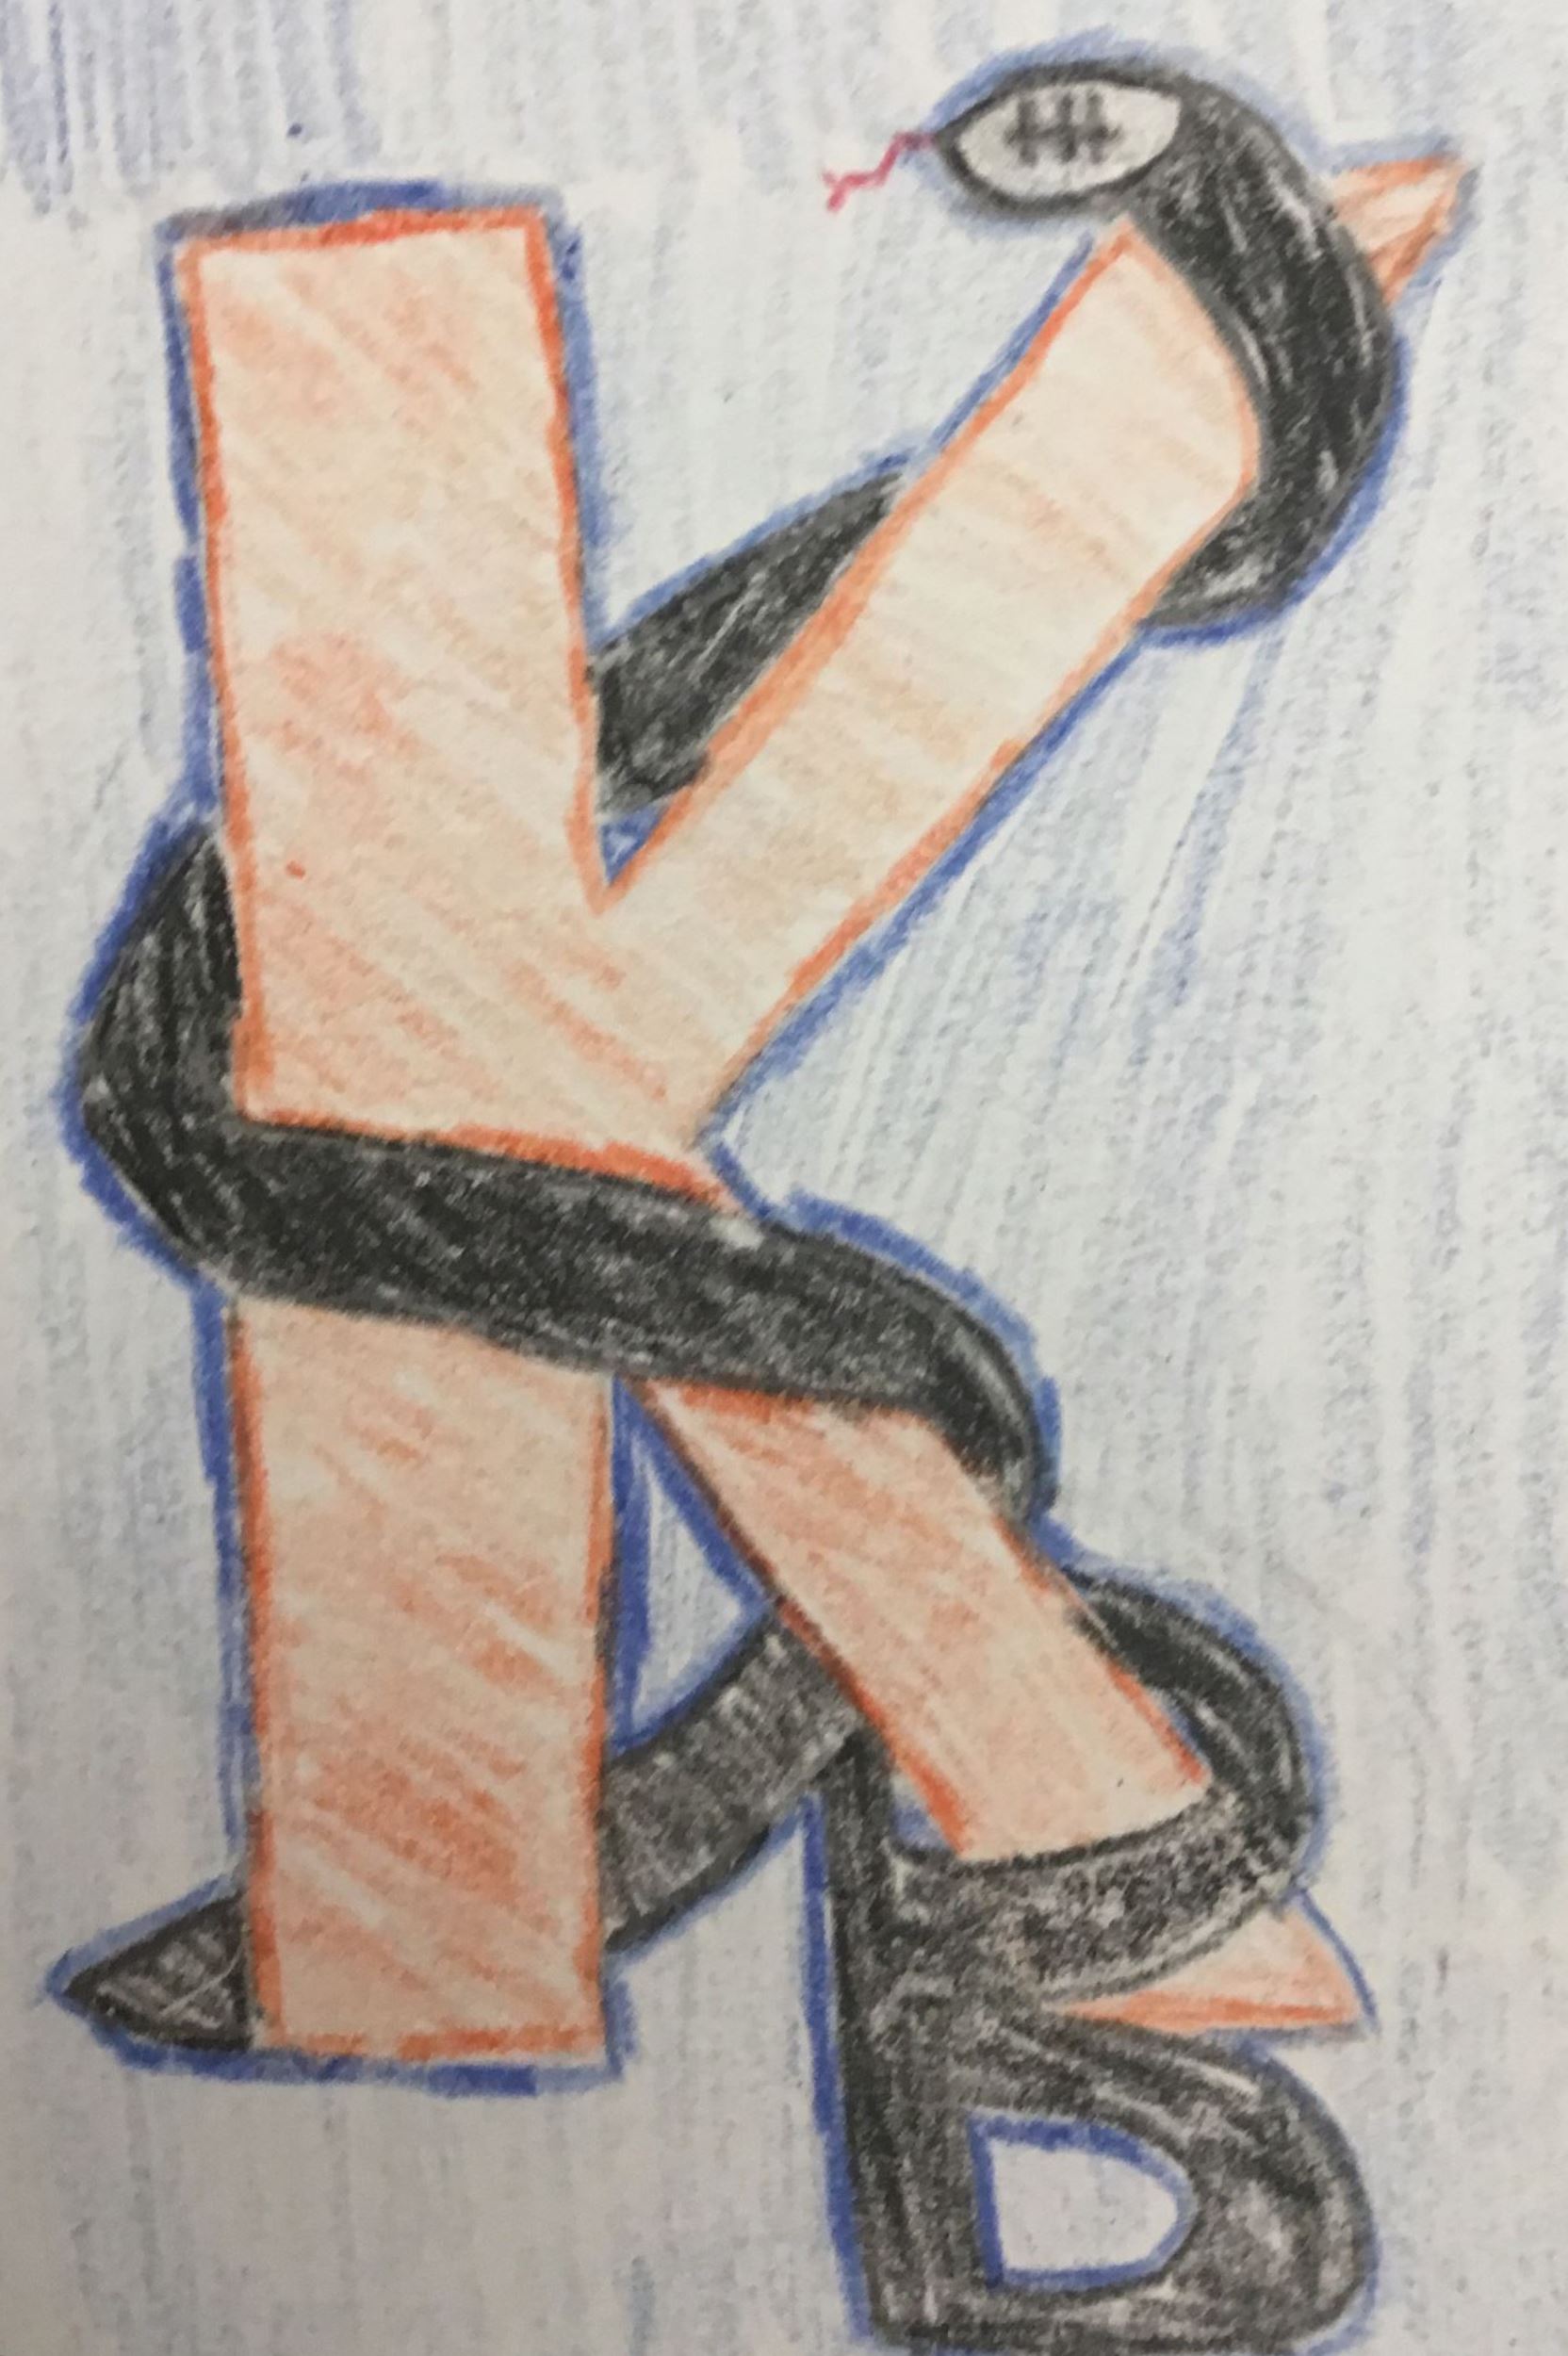
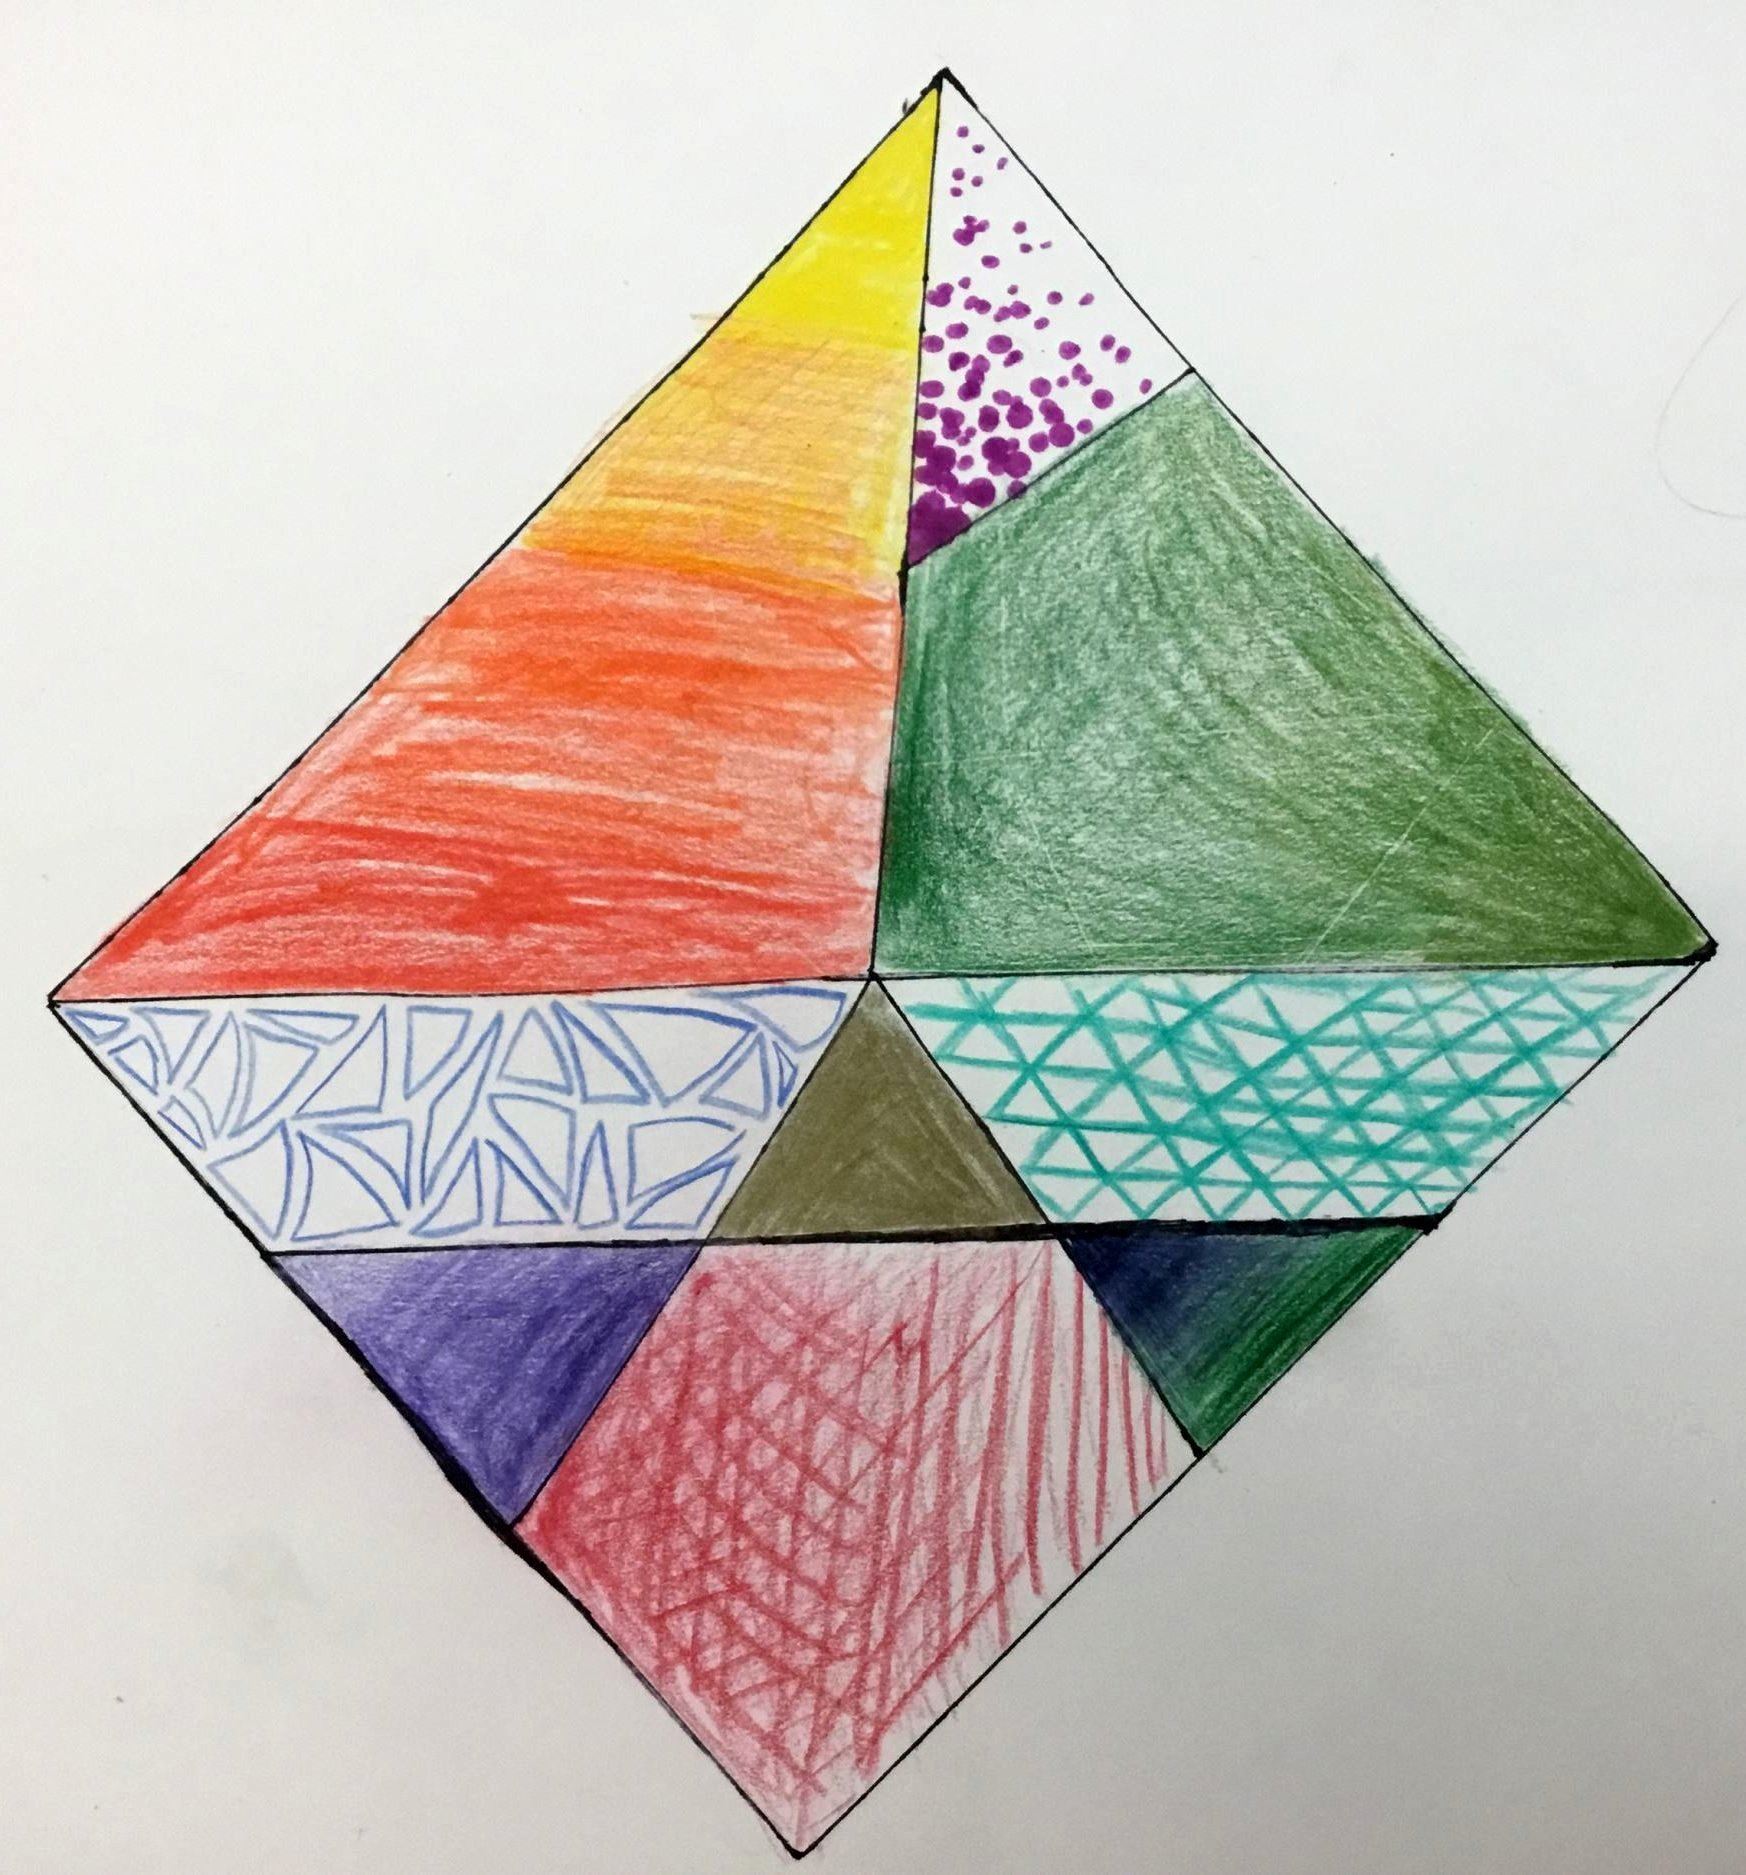
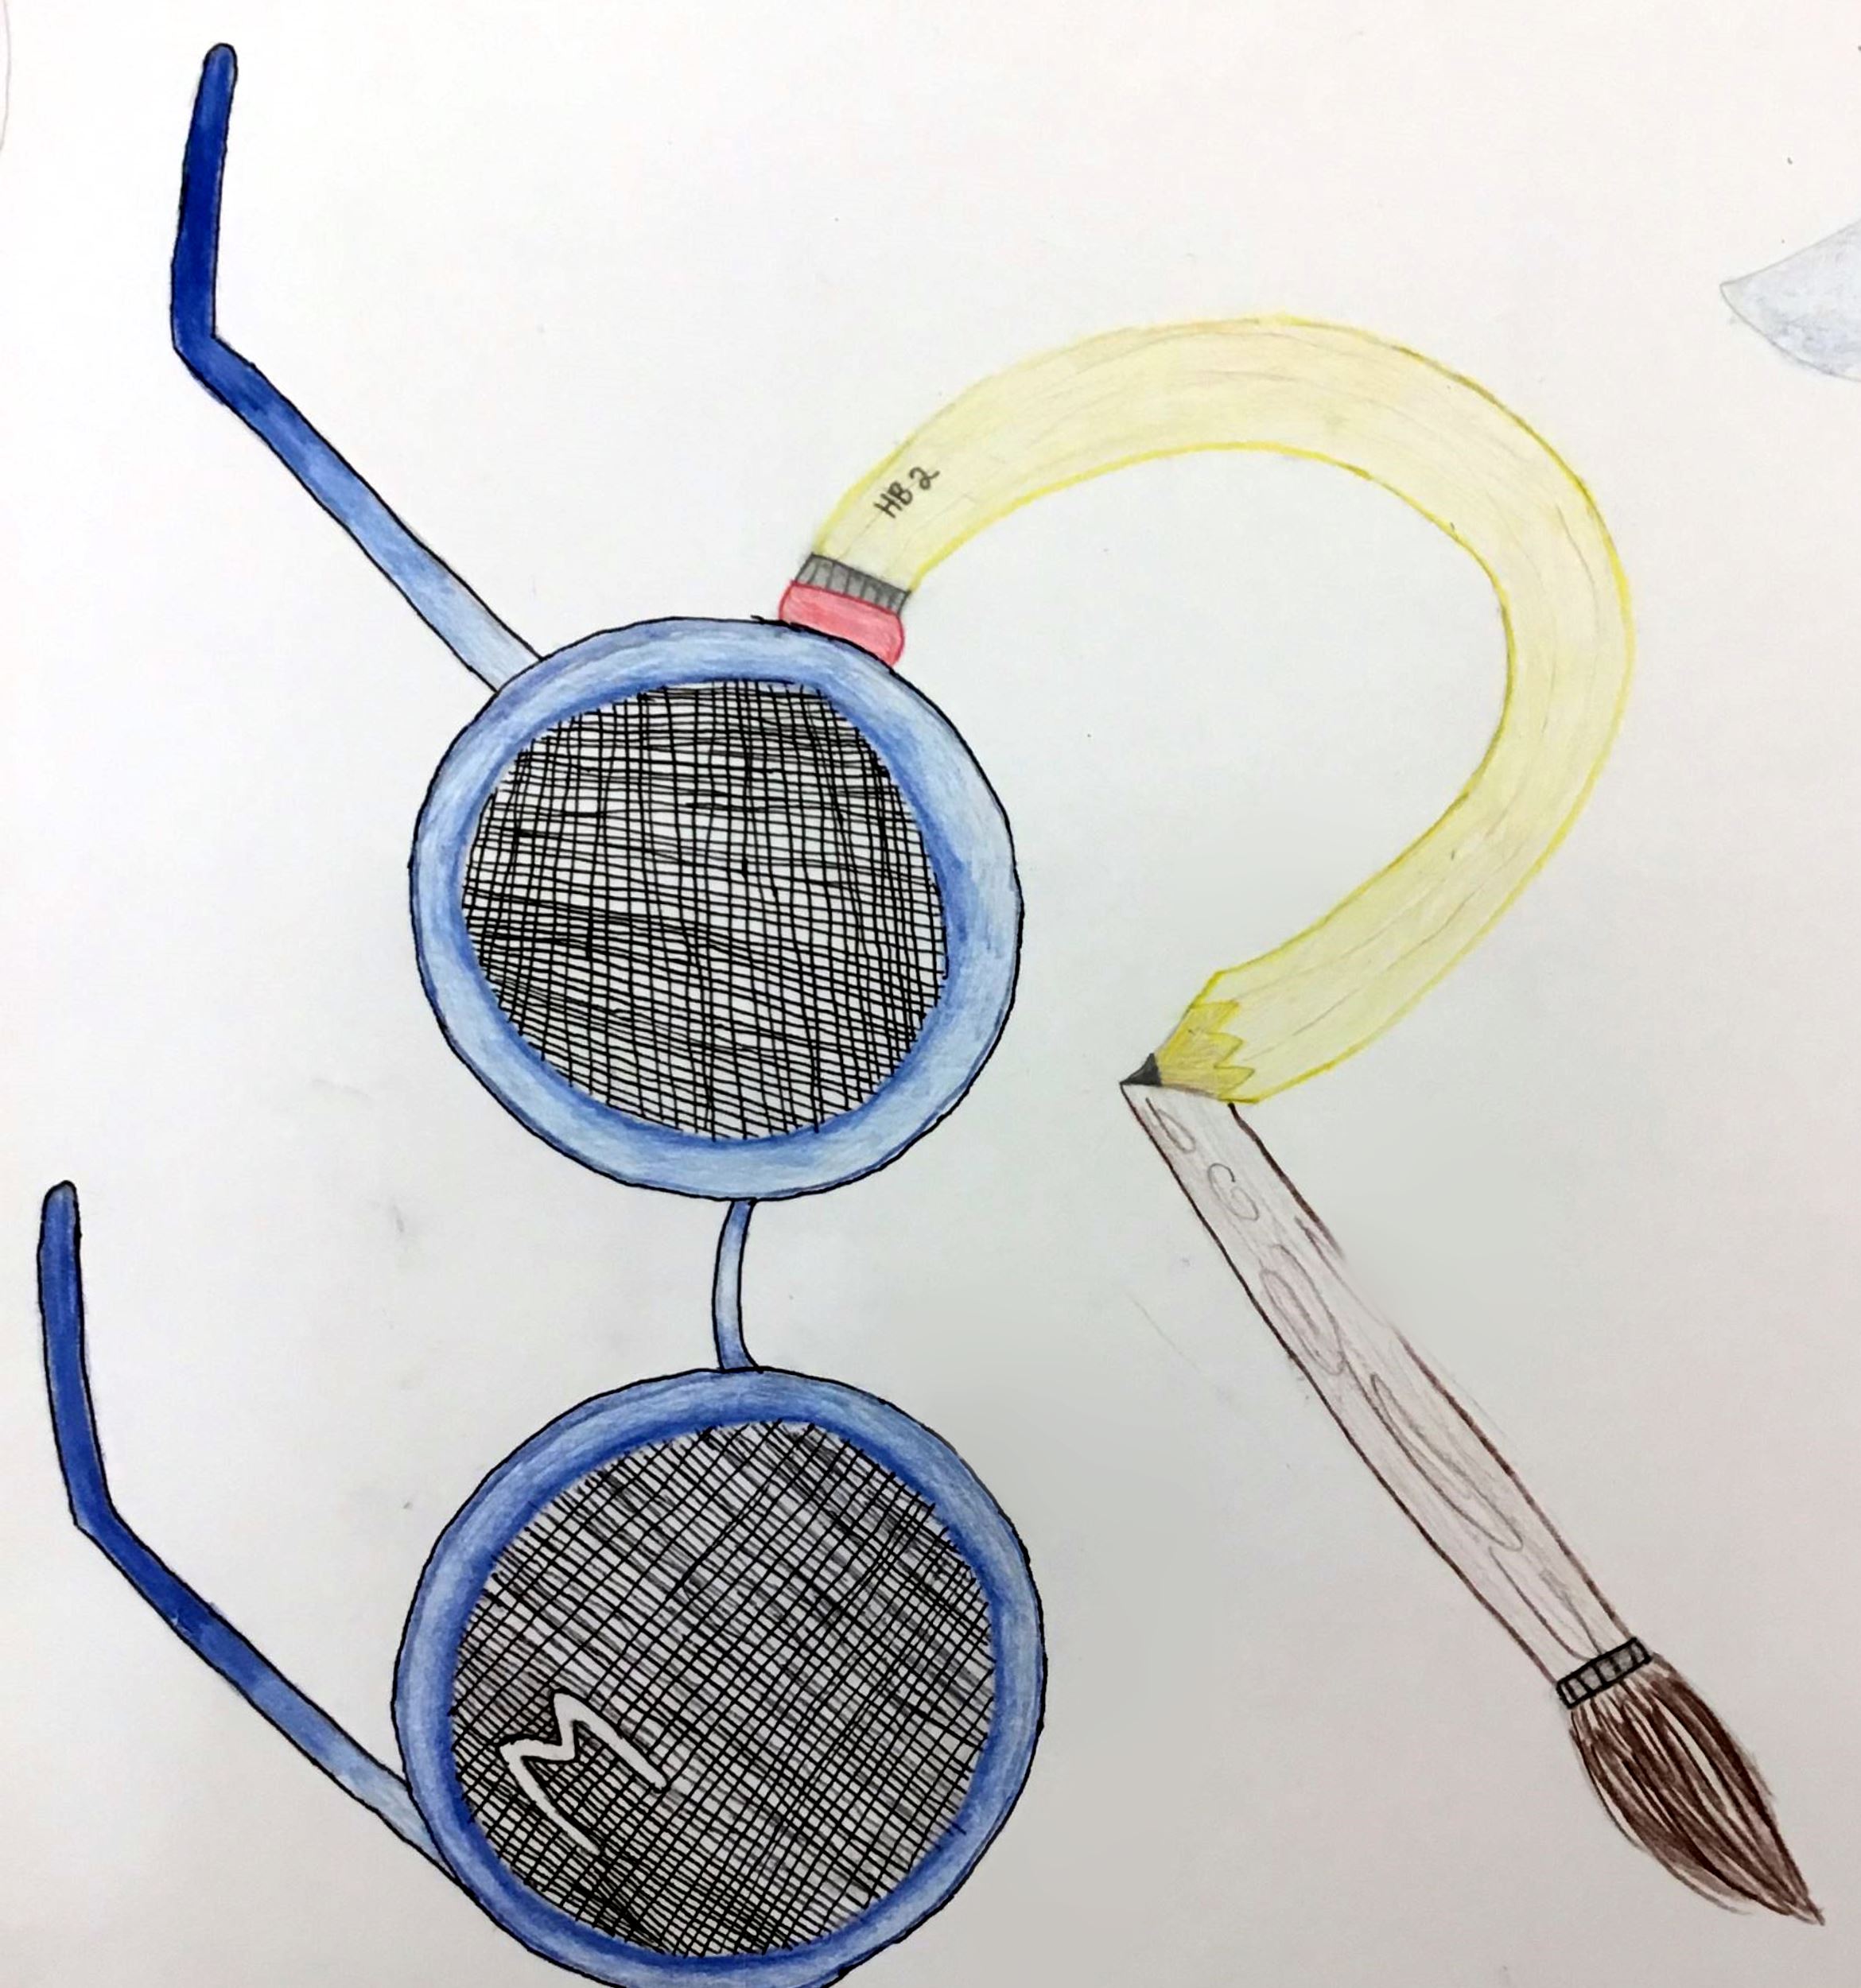
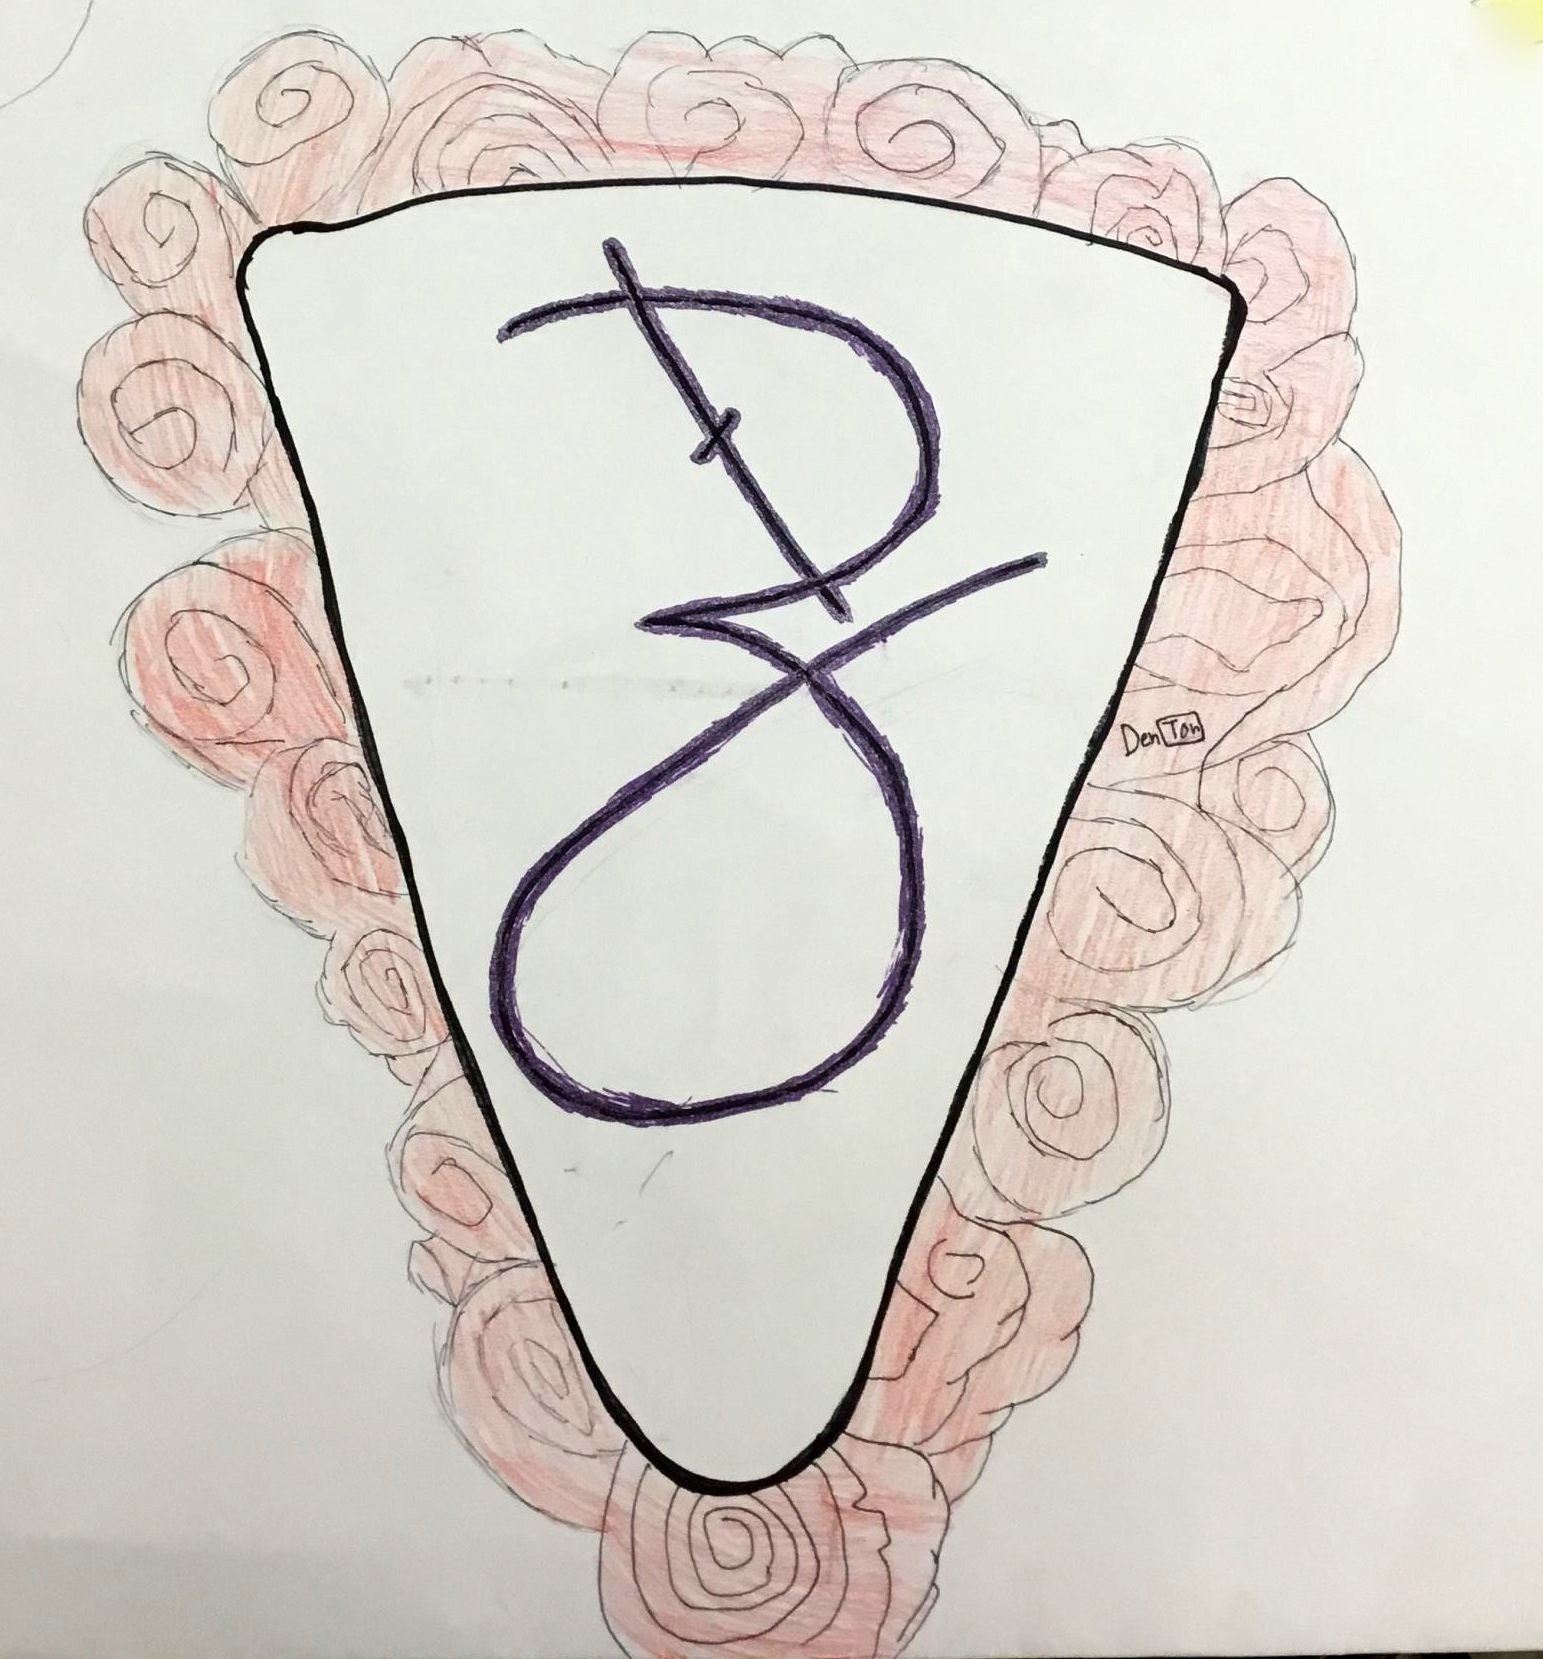
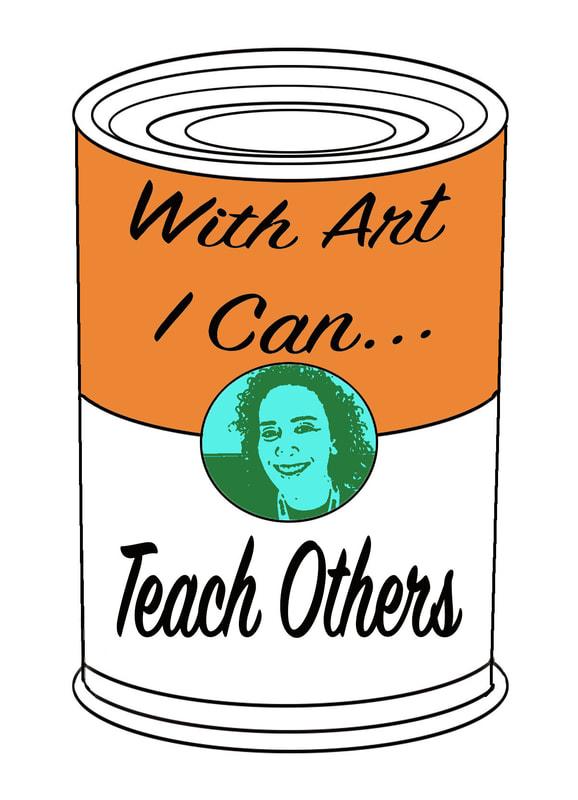
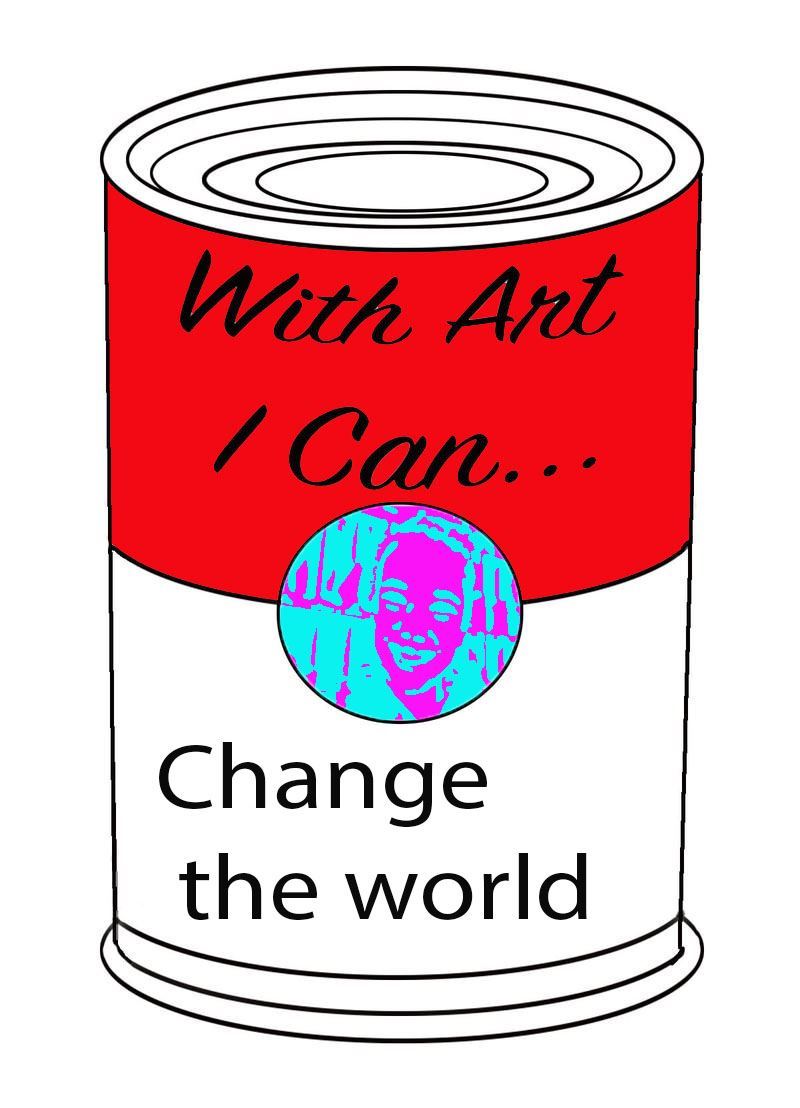
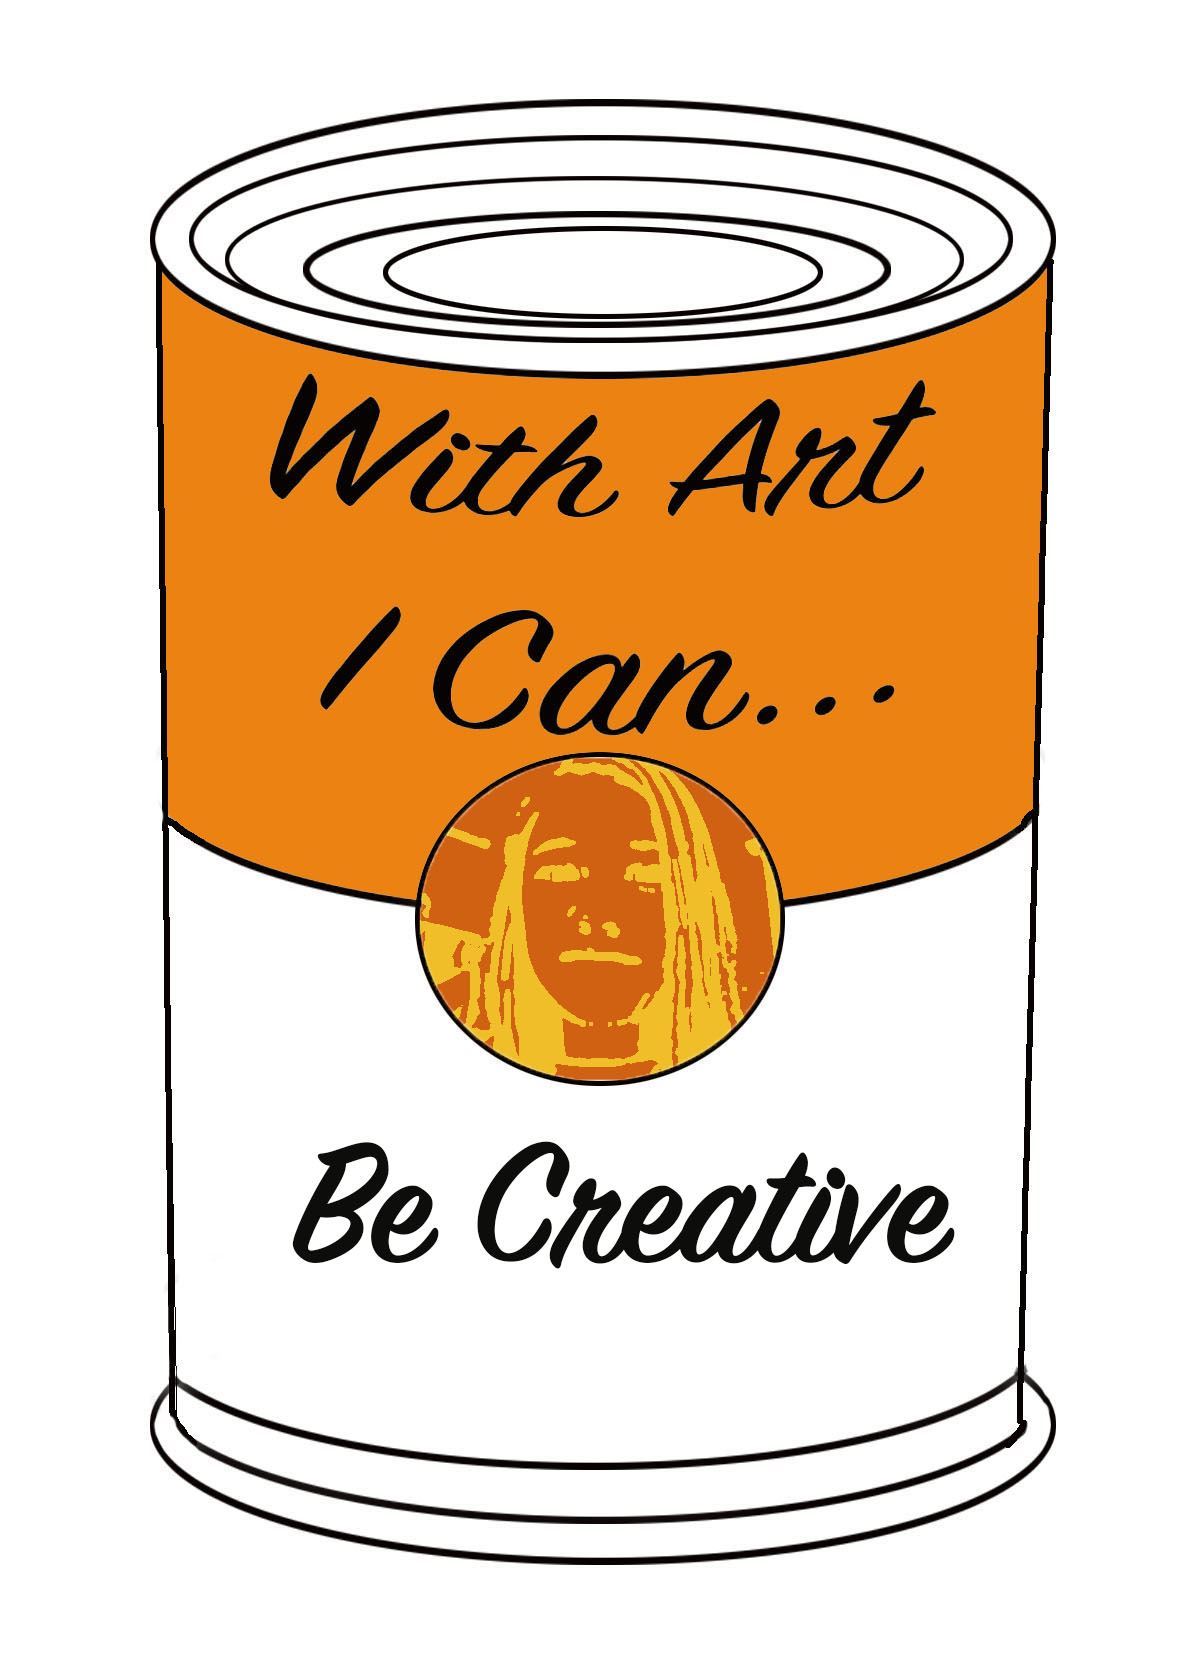
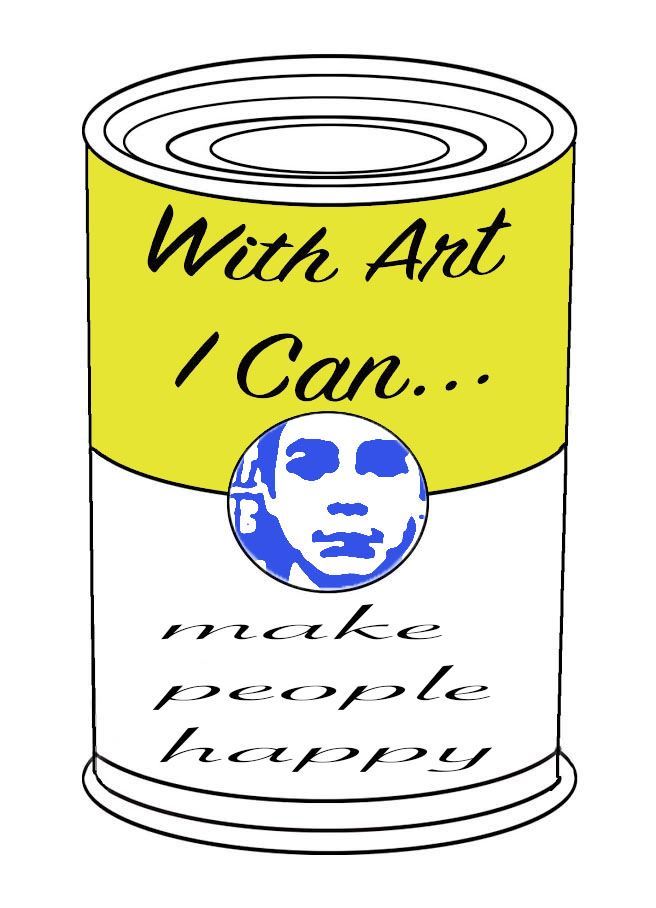
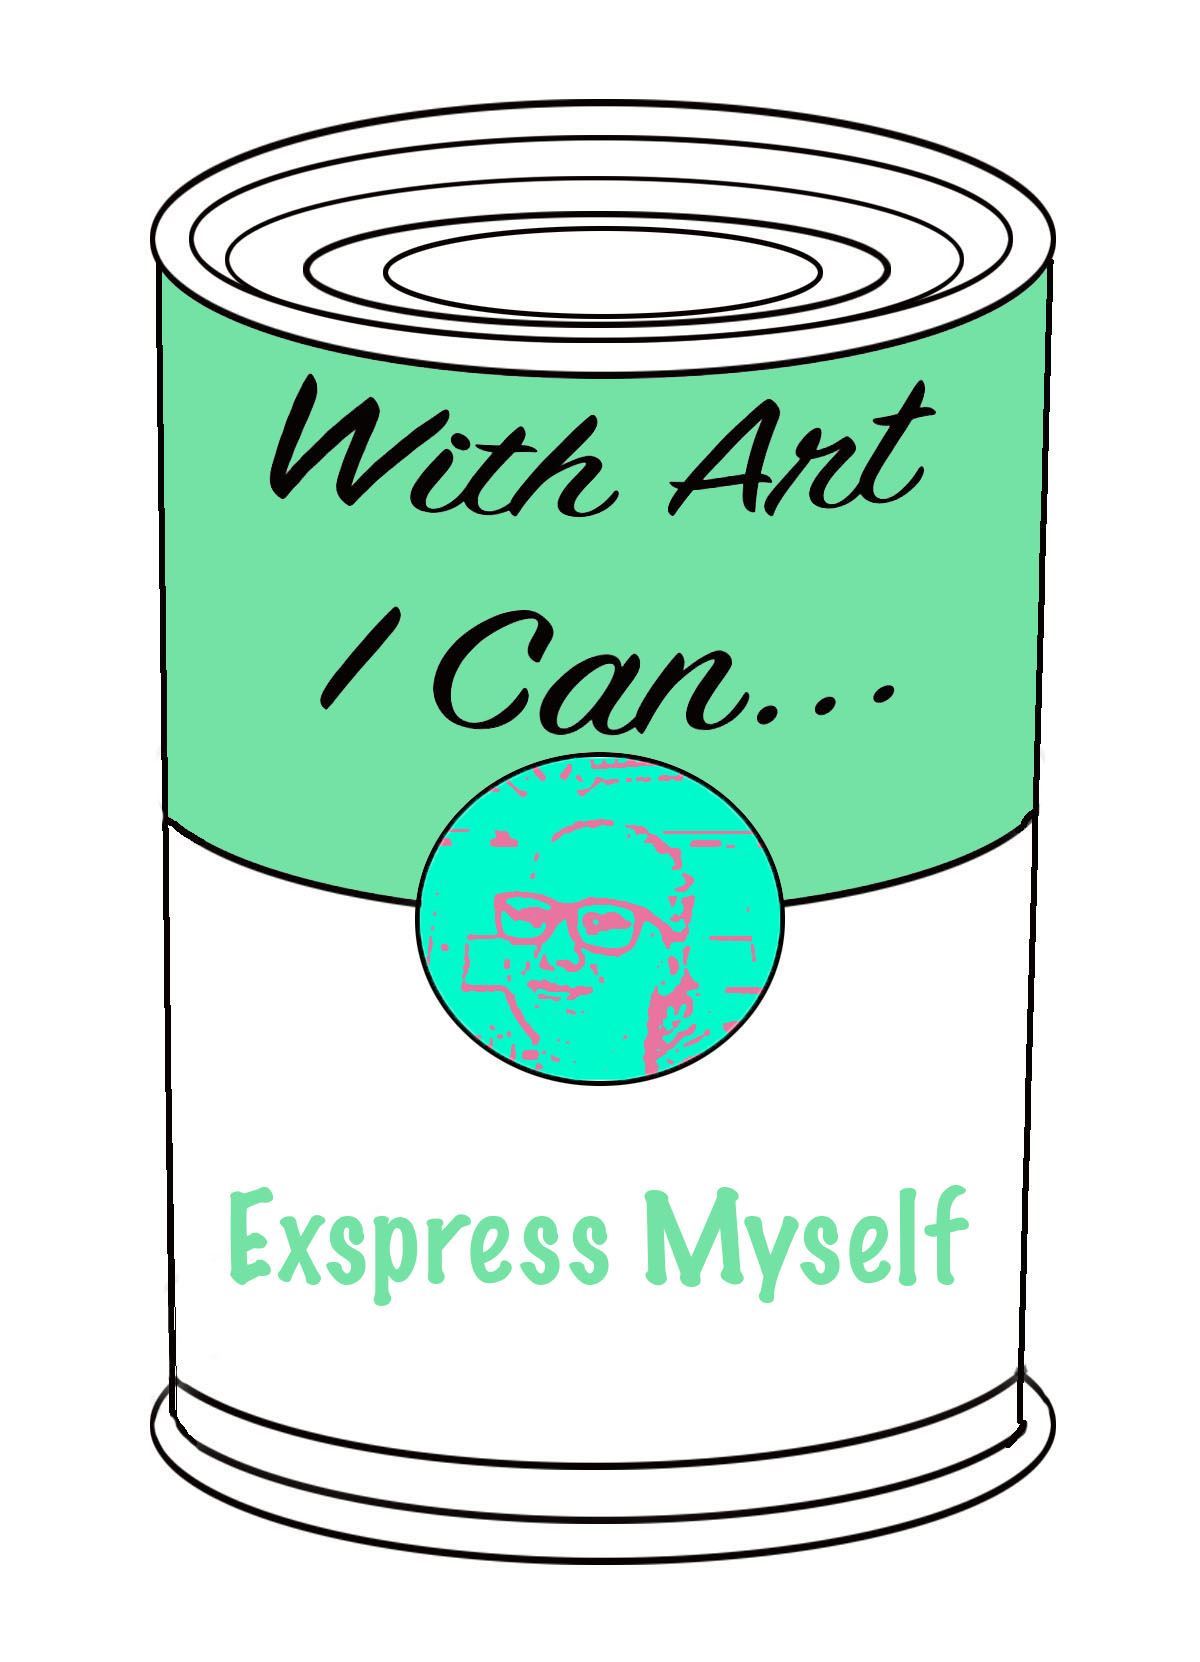
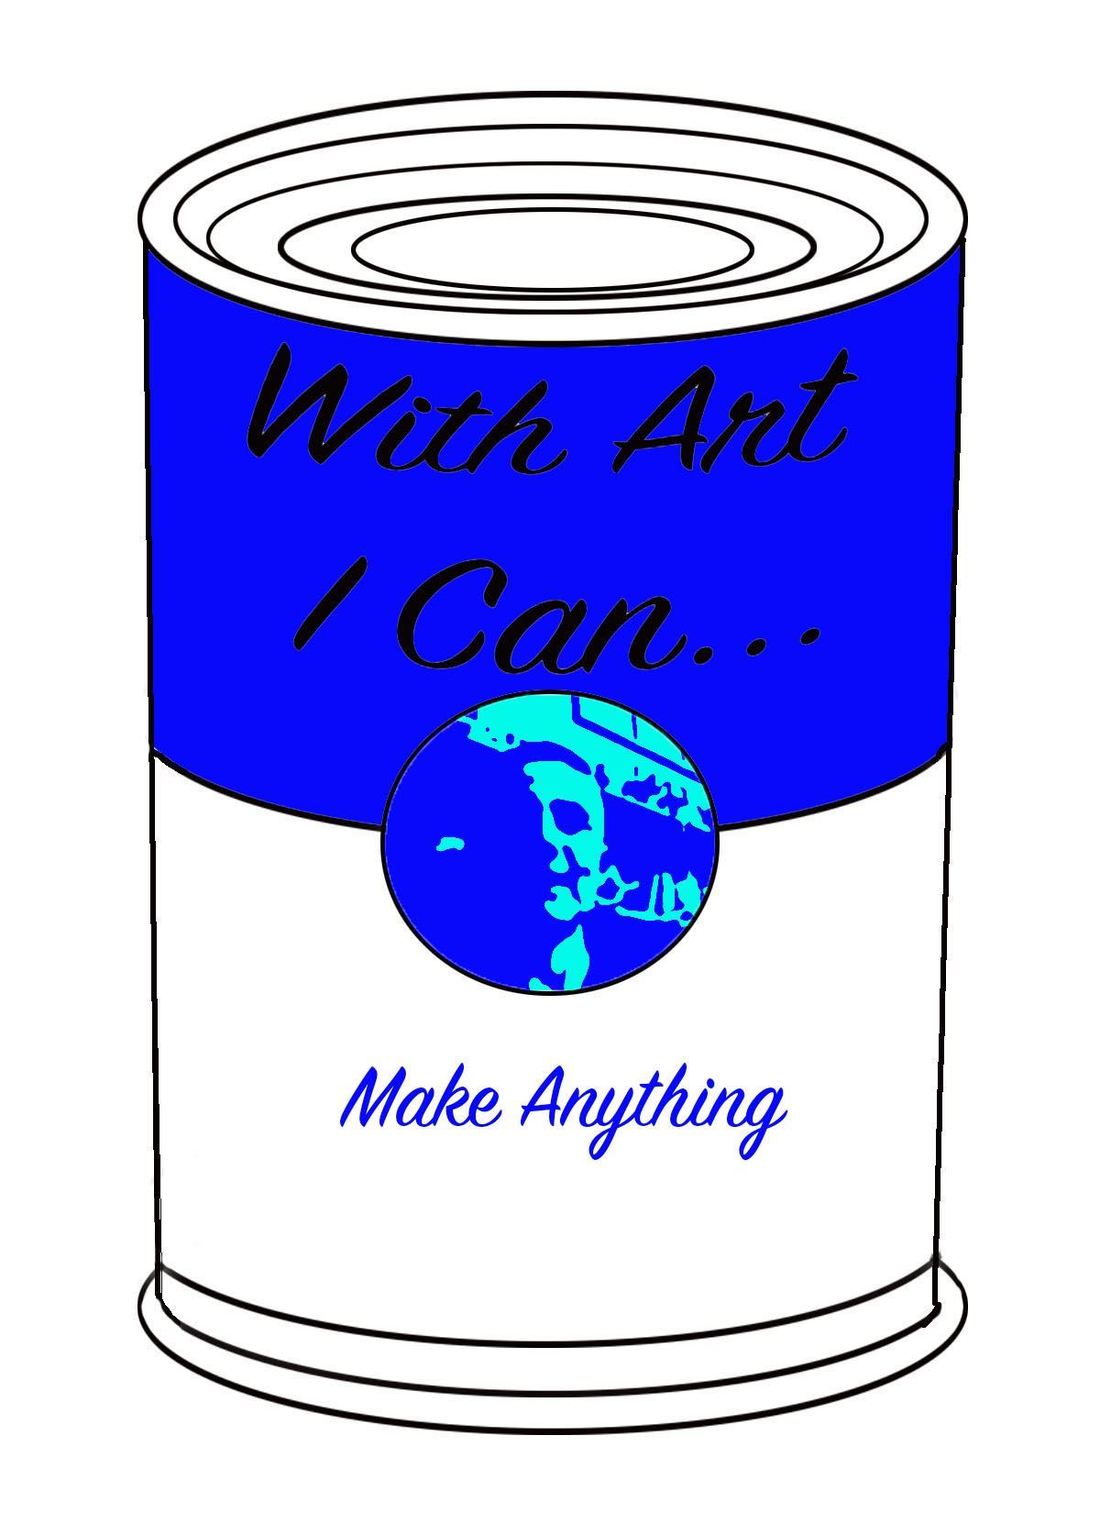
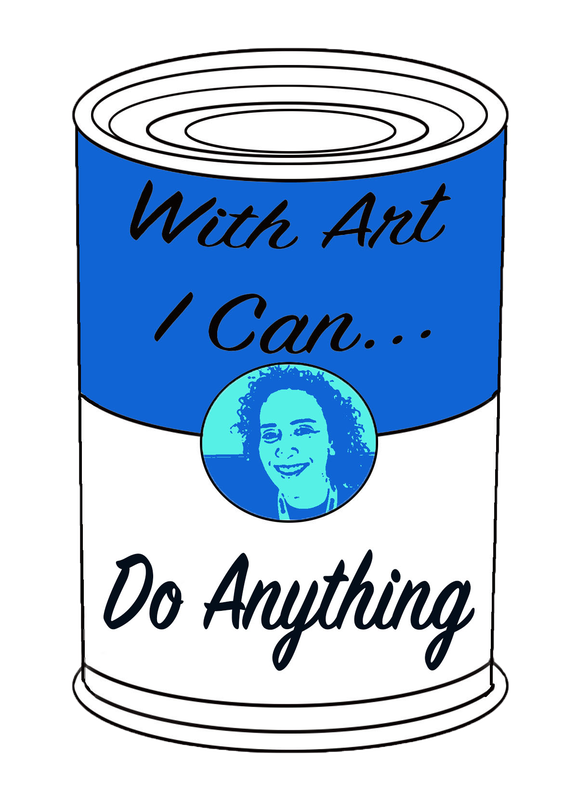
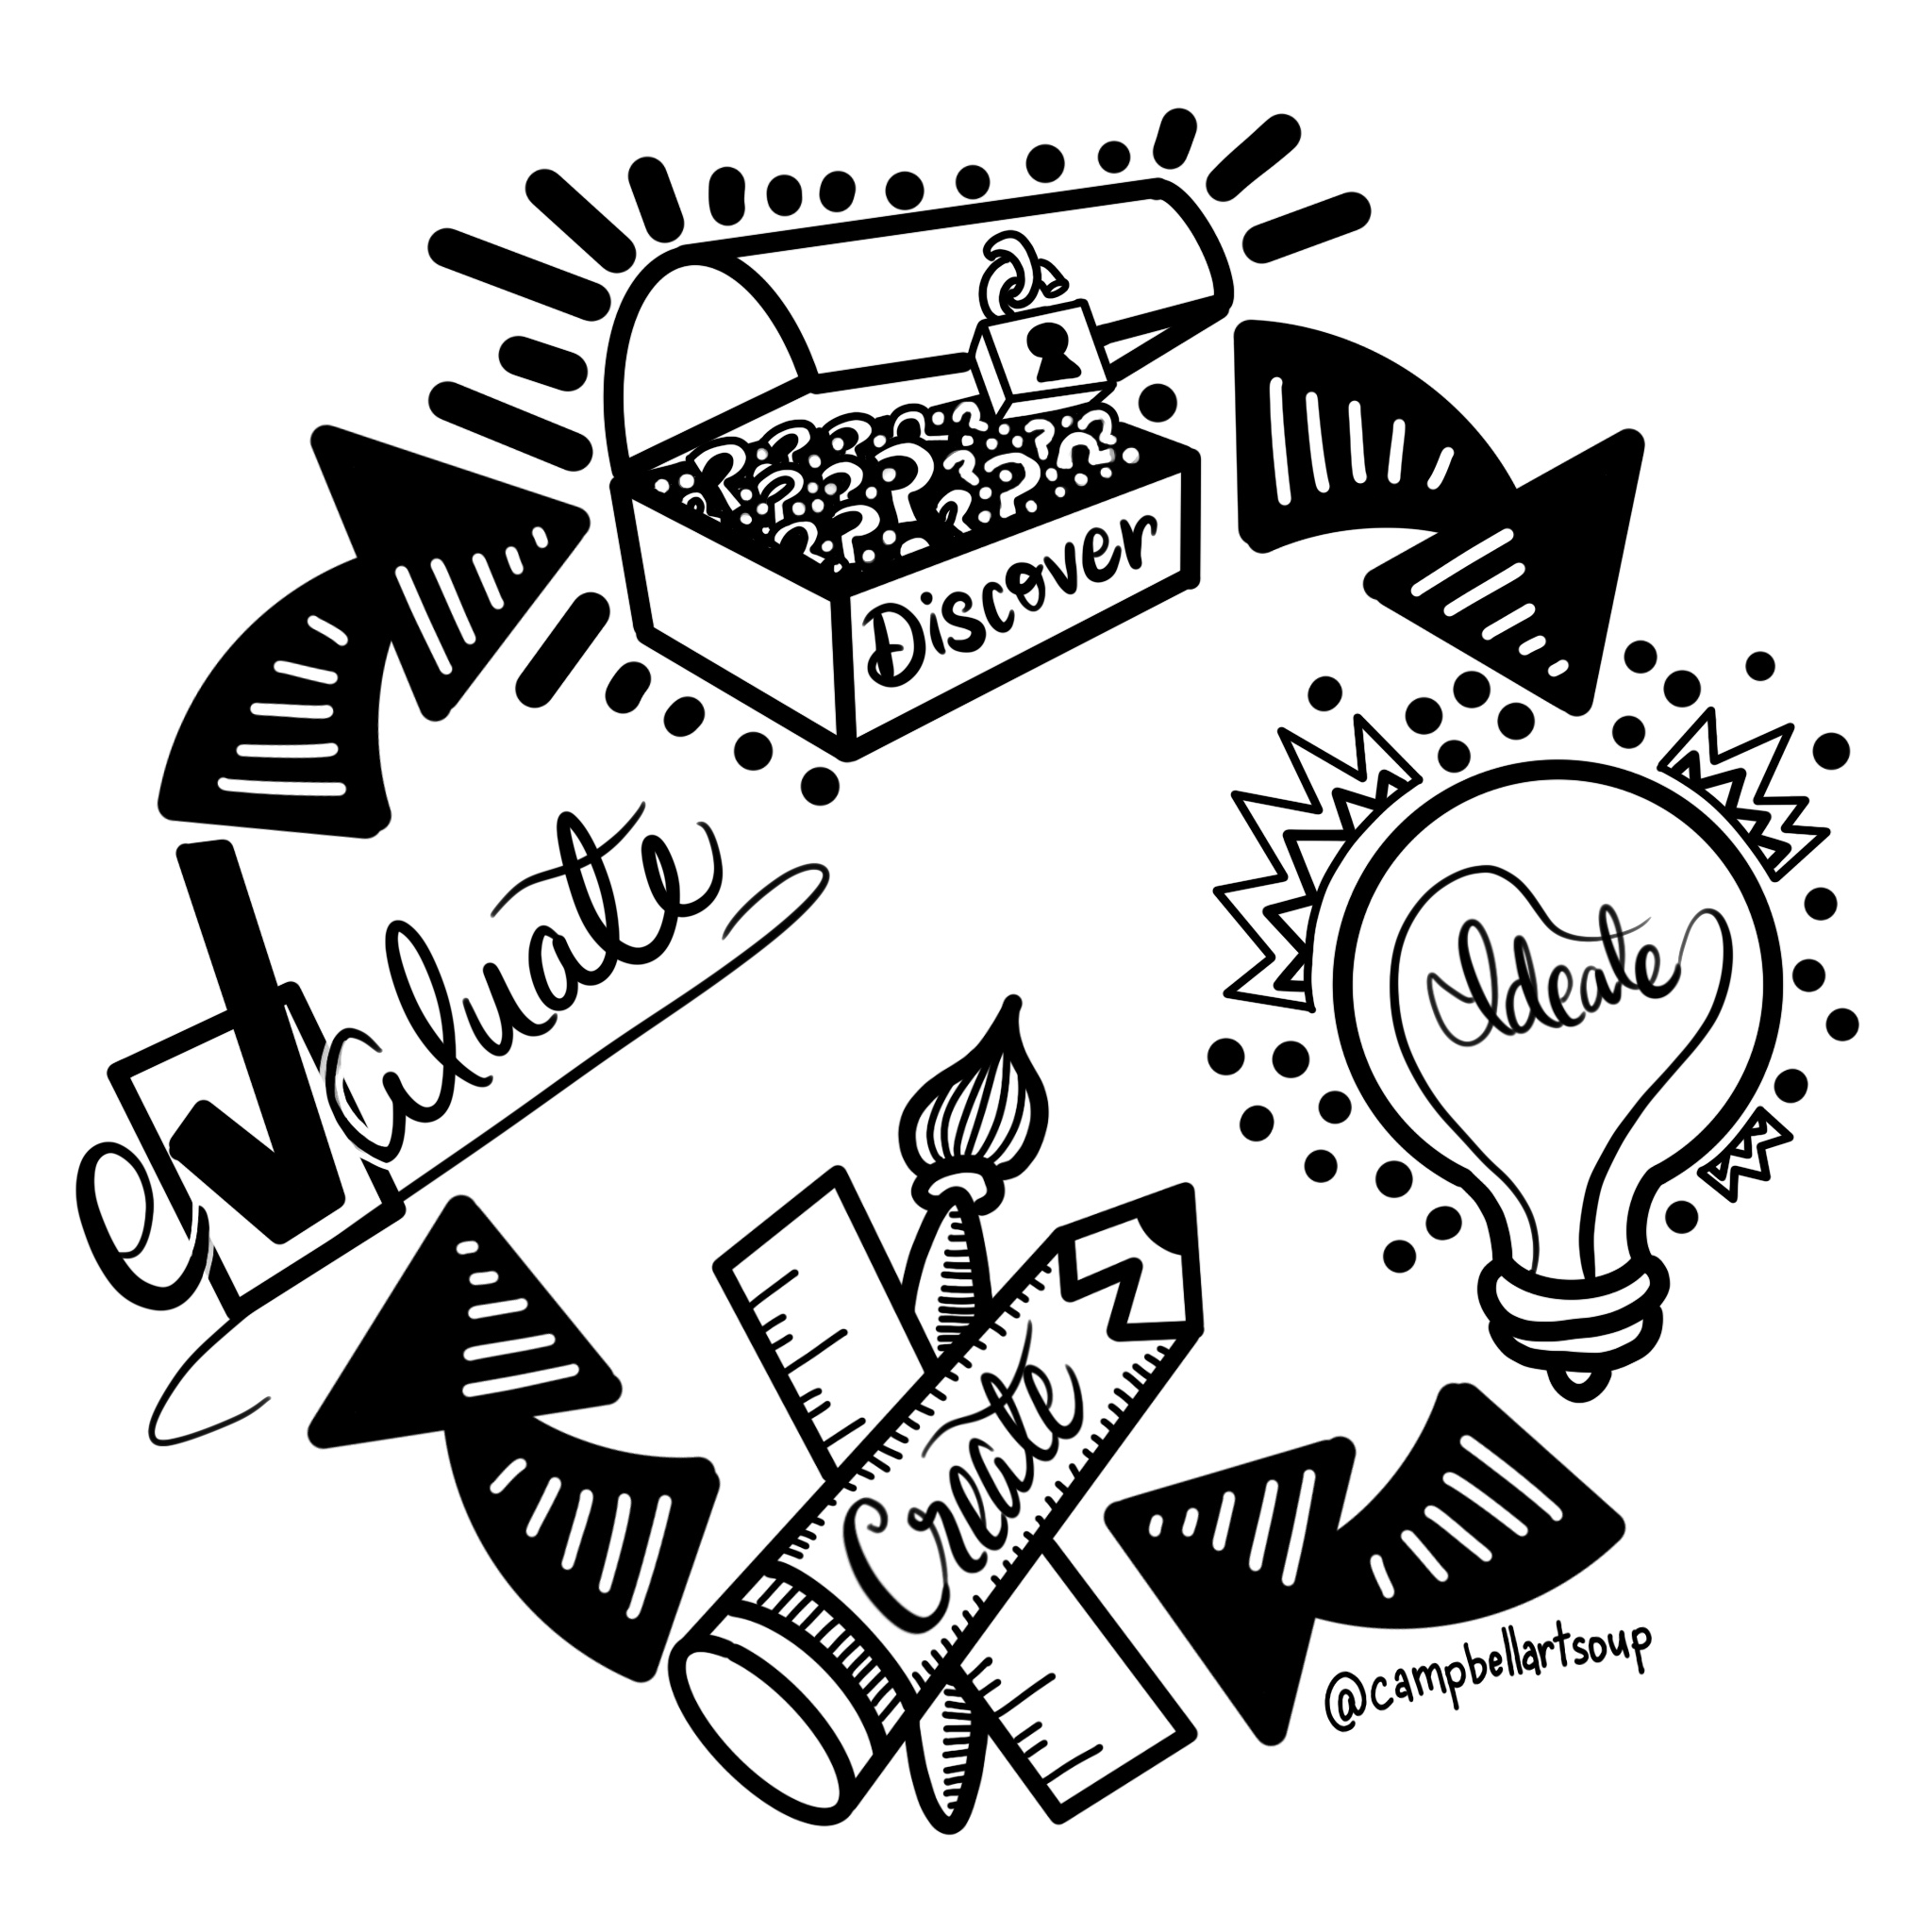
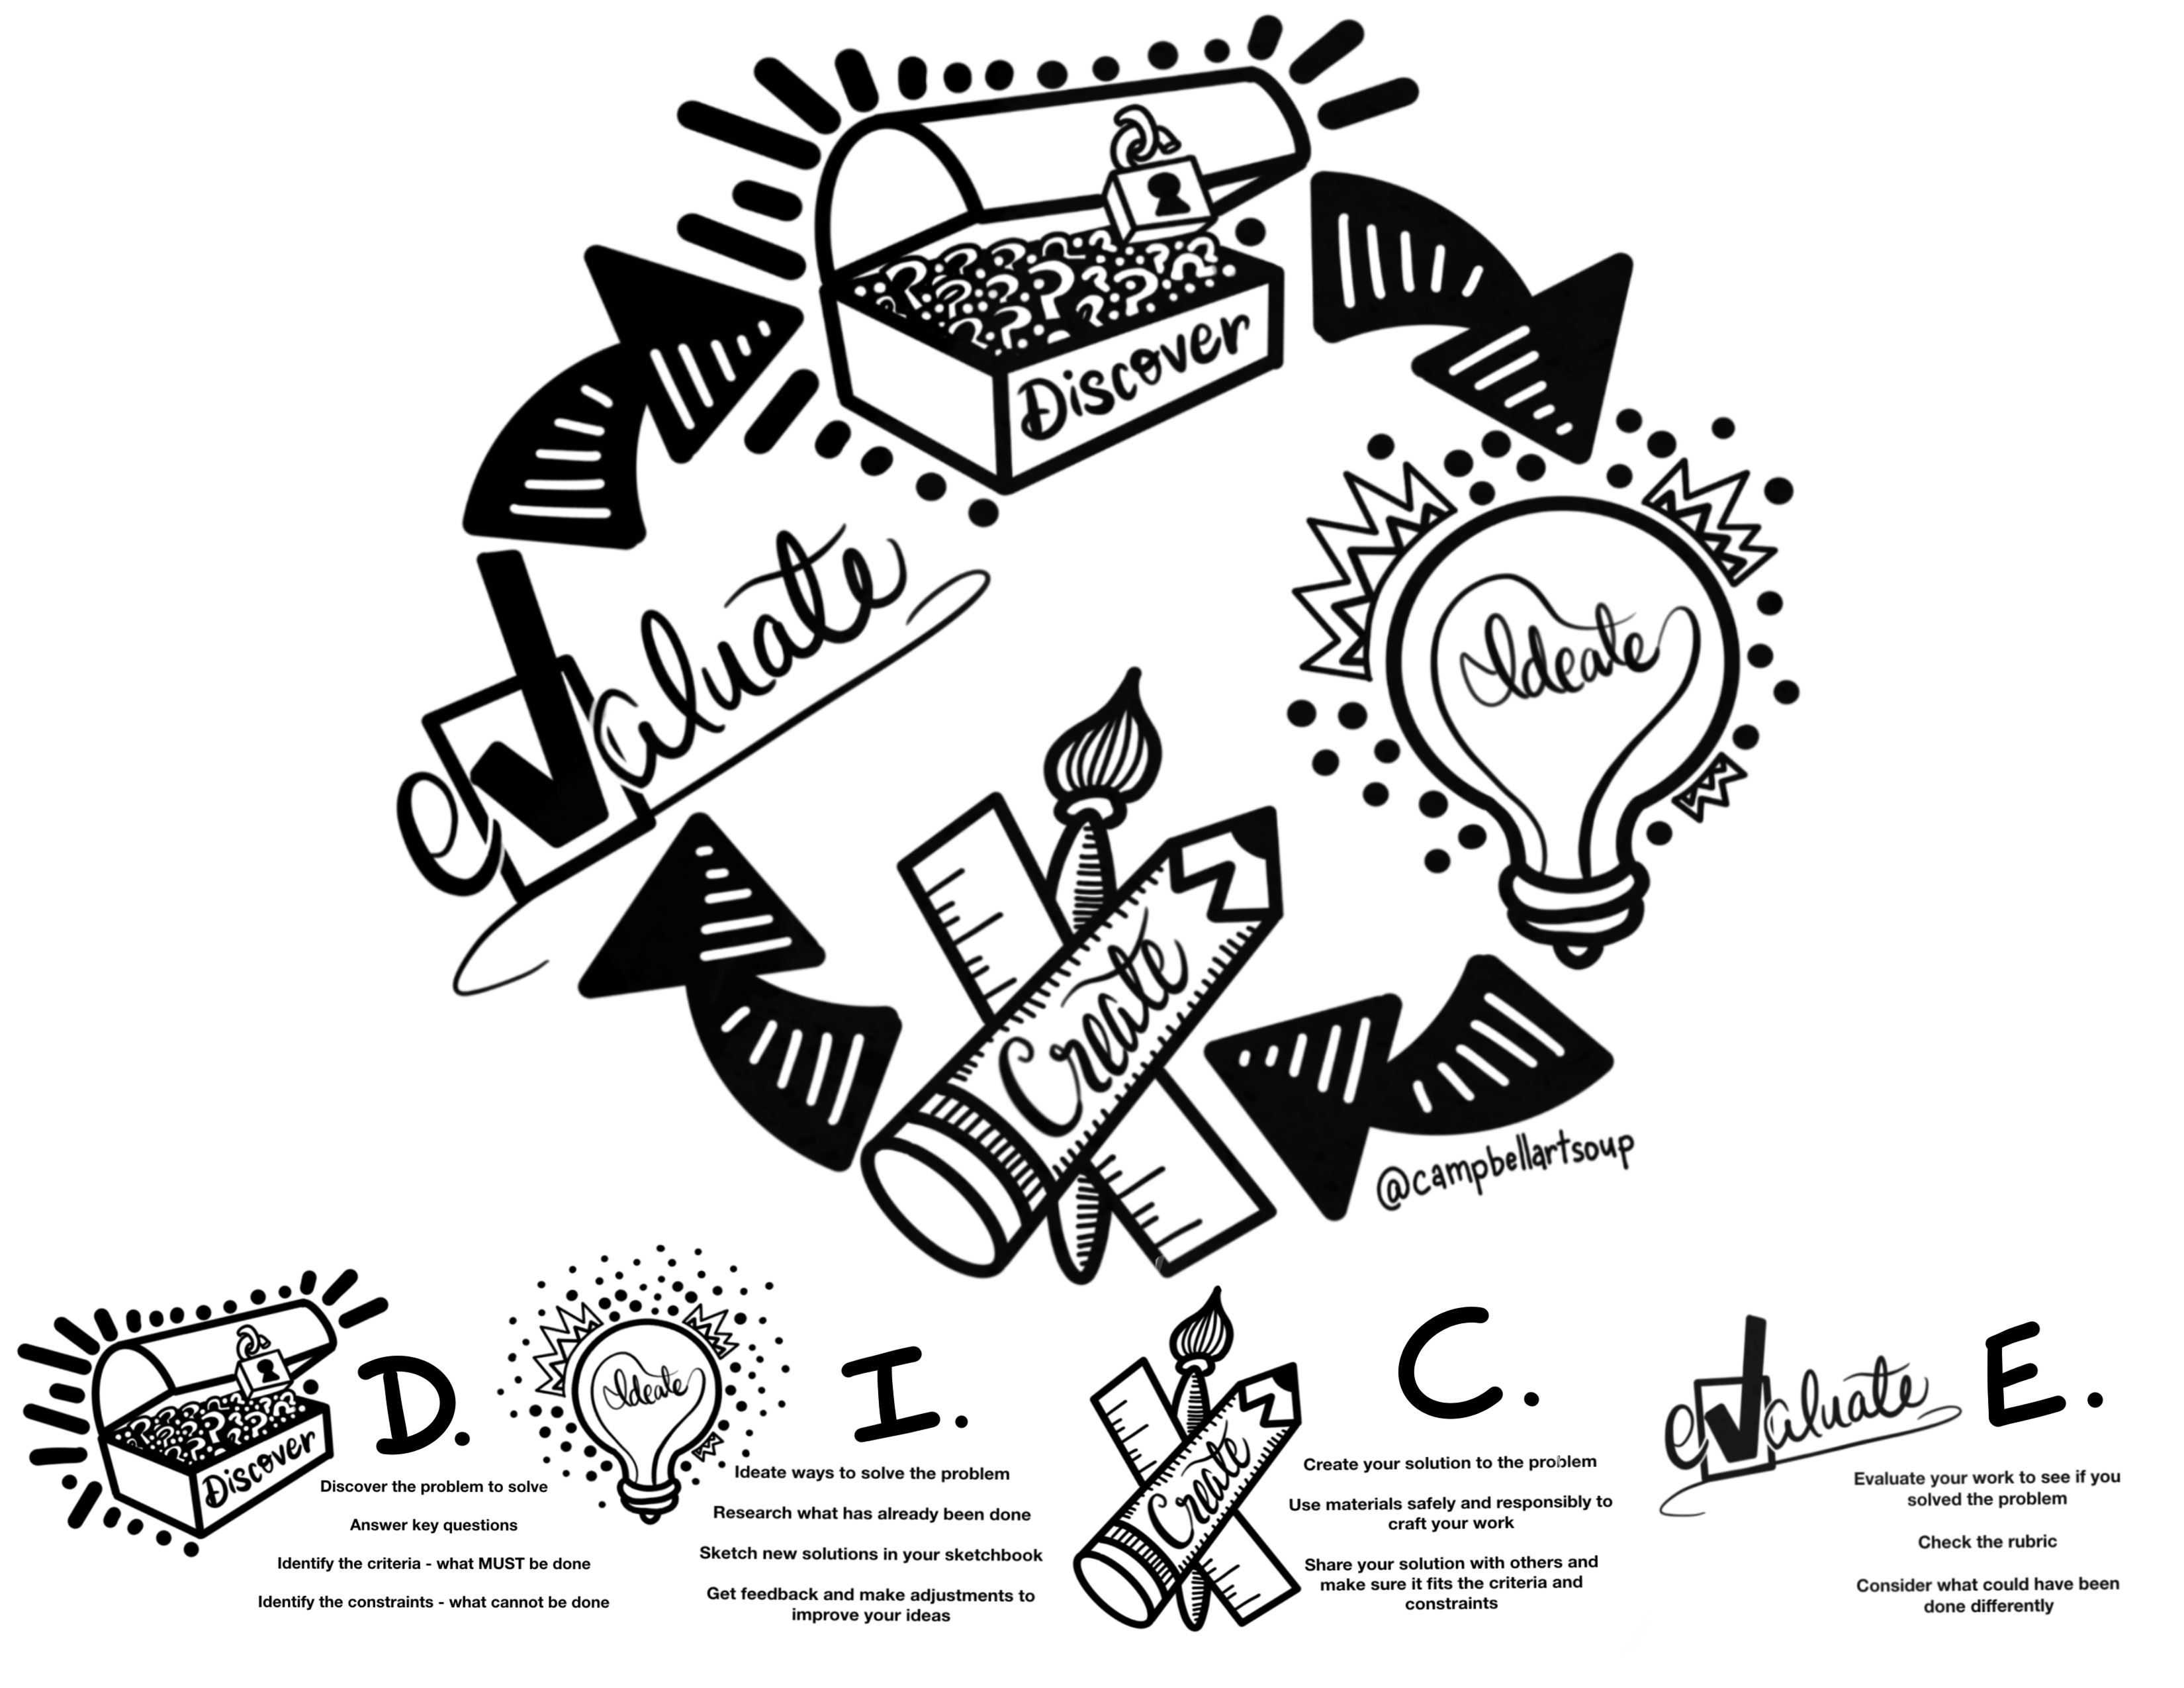
About five or six years ago, I went to MACUL and attended a presentation by D'Andra Clark that explored design thinking in her classroom. She is an art teacher who had partnered with the technology teacher and they decided they needed to come up with a common language to help students see the commonality in their classes. They used DICE (illustrated by me above and below) as a way help reframe the approach to design thinking.
I knew as soon as I heard this what had been lacking between Art and STEM all of these years at my school. We needed to adapt common practices and ways of working that would help students see a routine in the way we work and shared language in our content areas.
You are welcome to download the files and print them out or make them into bigger posters. If you do, please just credit the illustrations and do not copy and sell them. I would love to see how you do use them, so please make sure you share what you do with them, including @campbellartsoup on Twitter or Instagram.
When I had shared that I was planning to post these, many teachers said they would like to offer some kind of something for their use. If you would like to support my classroom, you can donate to our current DonorsChoose.org project or purchase my illustrated works on items in Artsonia's gift shop (20% of purchases goes back to our school). All of these were created this summer using the app Procreate with the iPad and Apple Pencil.
One thing, if nothing else, that I want to help my students understand about being creative is that you CAN DEVELOP a process for it. That if you are "bad" at art or making things or coming up with ideas that are interesting and new, you can use a process that will help you develop the stamina to push through roadblocks and find interesting solutions.
About five or six years ago, I went to MACUL and attended a presentation by D'Andra Clark that explored design thinking in her classroom. She is an art teacher who had partnered with the technology teacher and they decided they needed to come up with a common language to help students see the commonality in their classes. They used DICE (illustrated by me above and below) as a way help reframe the approach to design thinking.
I knew as soon as I heard this what had been lacking between Art and STEM all of these years at my school. We needed to adapt common practices and ways of working that would help students see a routine in the way we work and shared language in our content areas.
You are welcome to download the files and print them out or make them into bigger posters. If you do, please just credit the illustrations and do not copy and sell them. I would love to see how you do use them, so please make sure you share what you do with them, including @campbellartsoup on Twitter or Instagram.
When I had shared that I was planning to post these, many teachers said they would like to offer some kind of something for their use. If you would like to support my classroom, you can donate to our current DonorsChoose.org project or purchase my illustrated works on items in Artsonia's gift shop (20% of purchases goes back to our school). All of these were created this summer using the app Procreate with the iPad and Apple Pencil.


| dice.jpg |
| dicewithexplanations.jpg |


 RSS Feed
