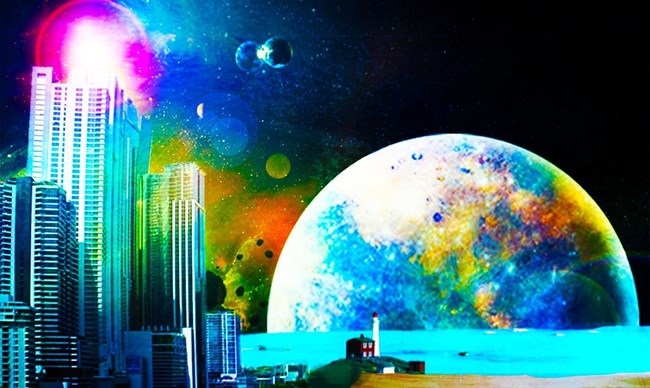
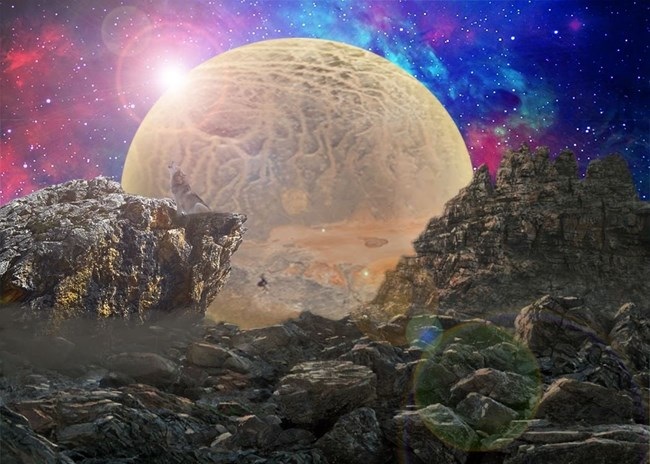
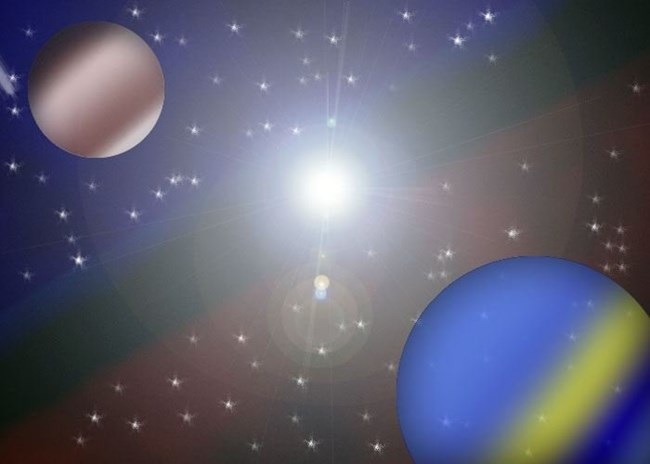
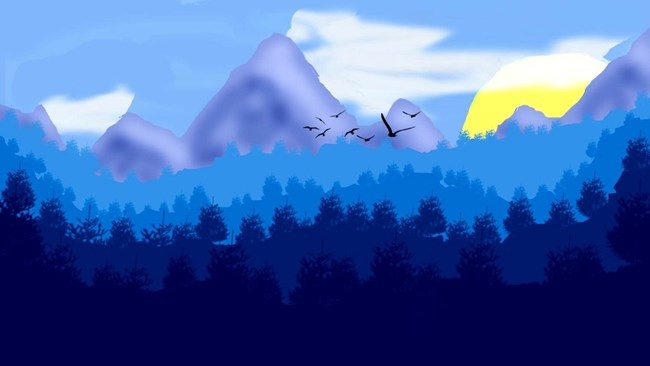
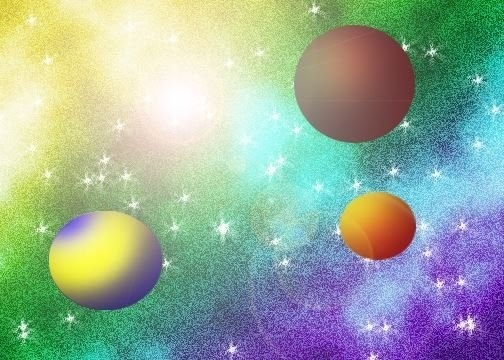
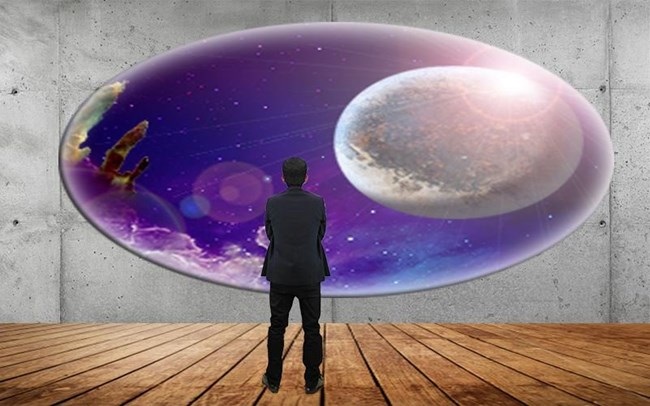
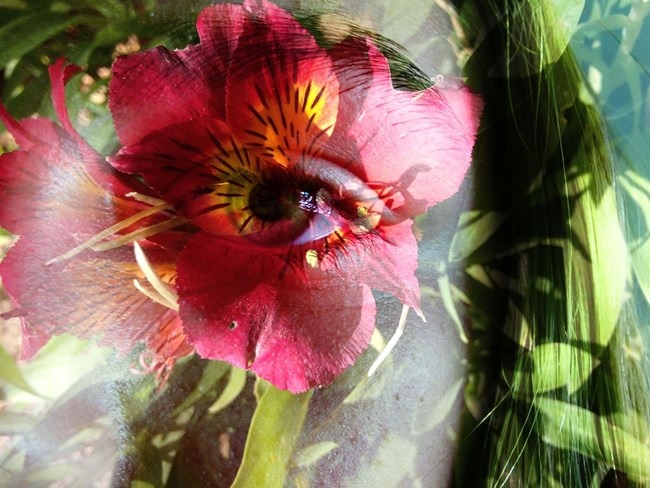
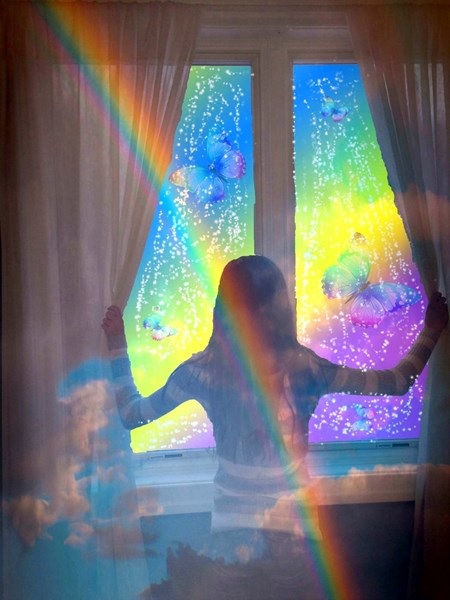
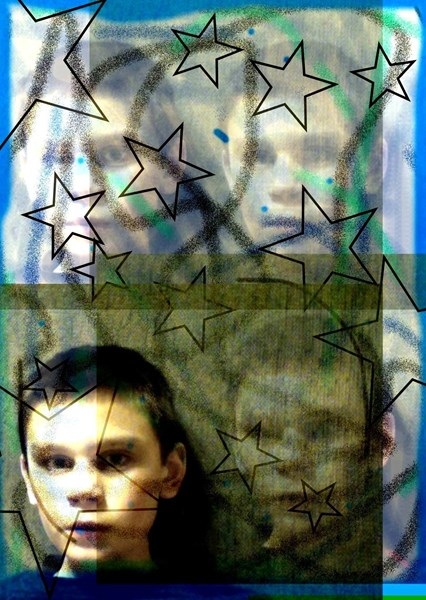
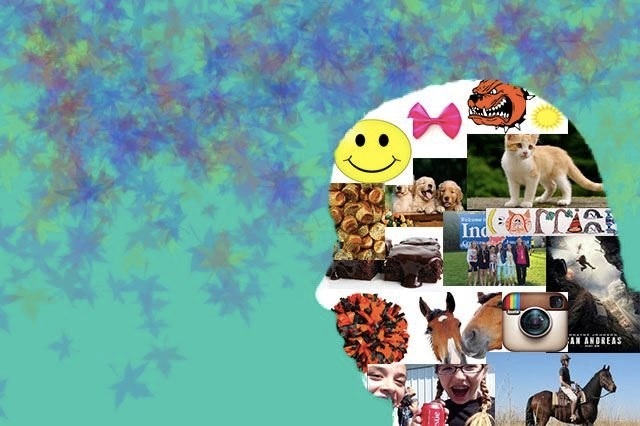
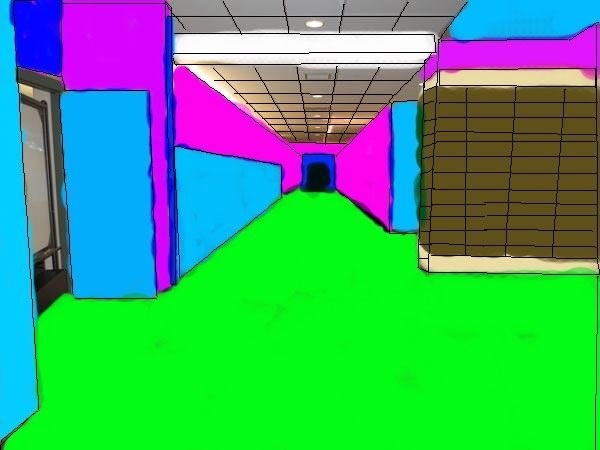
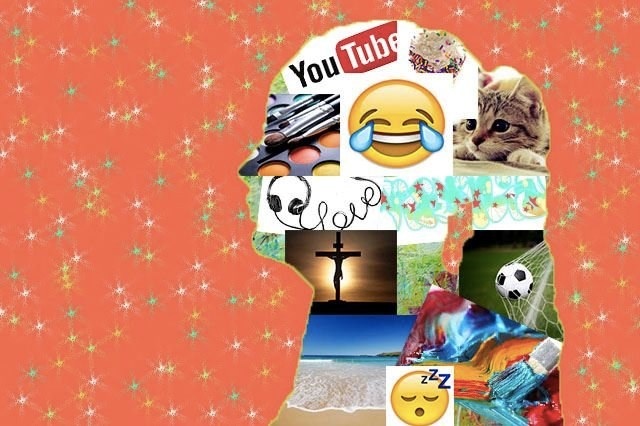
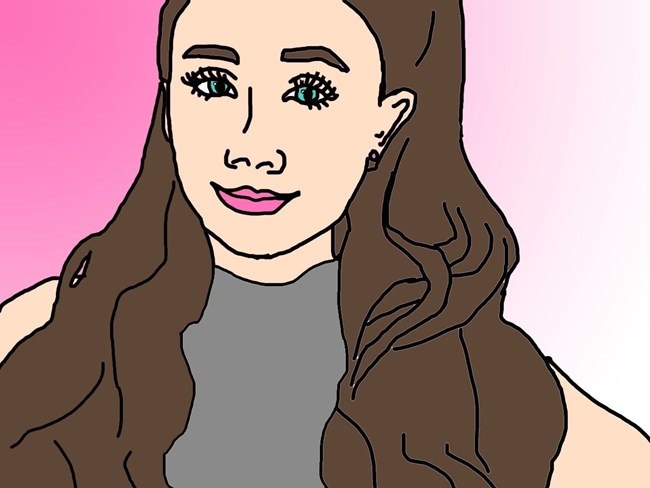
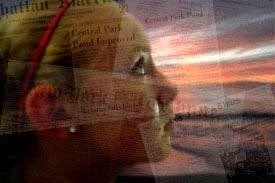
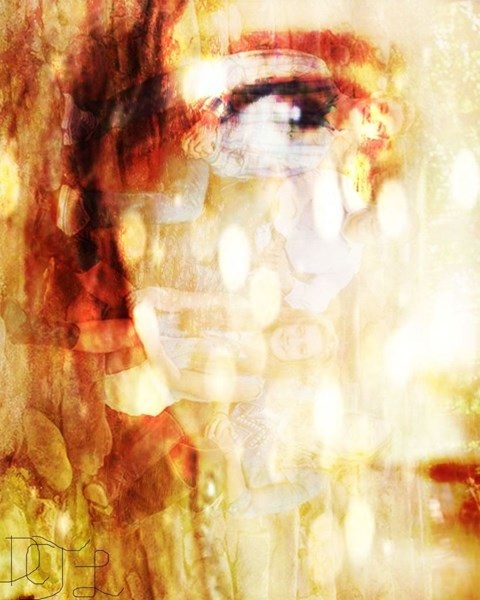
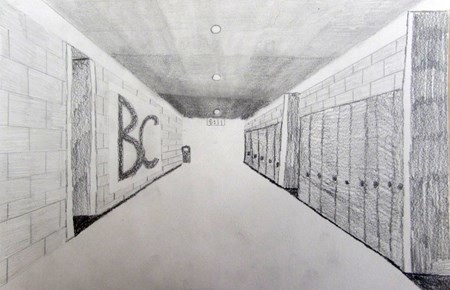
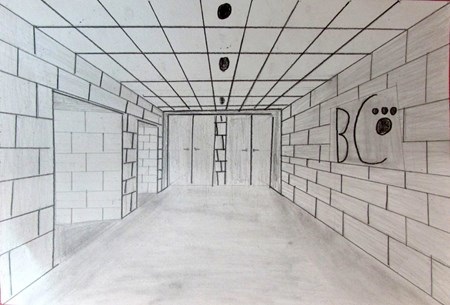
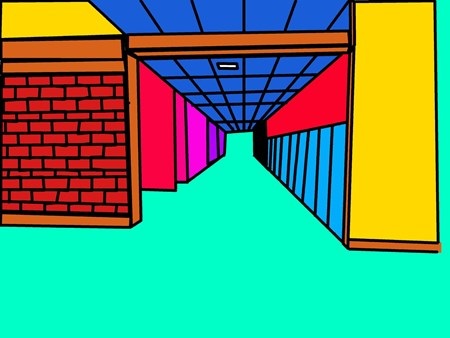
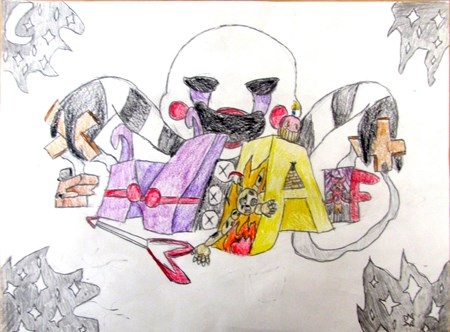
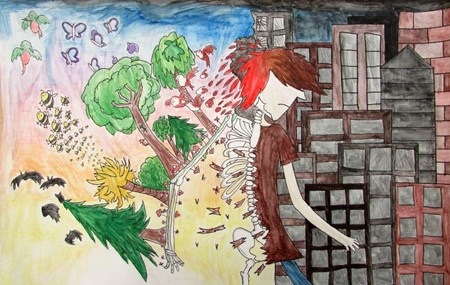
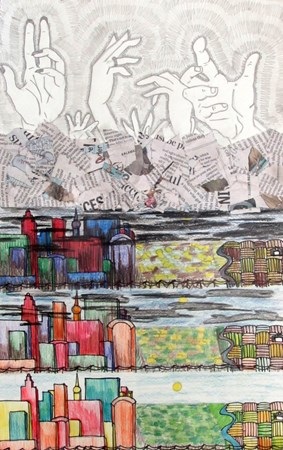
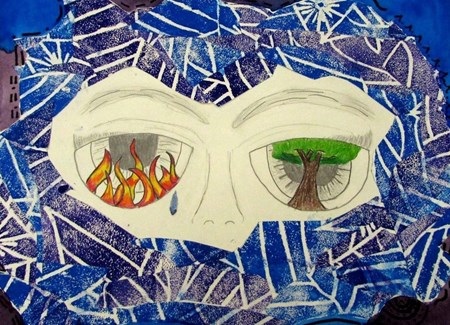
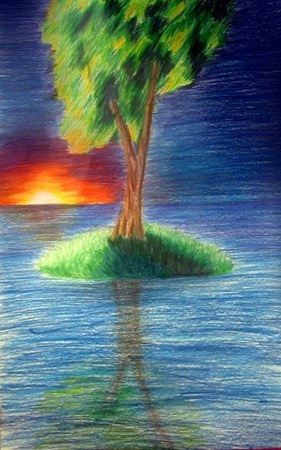
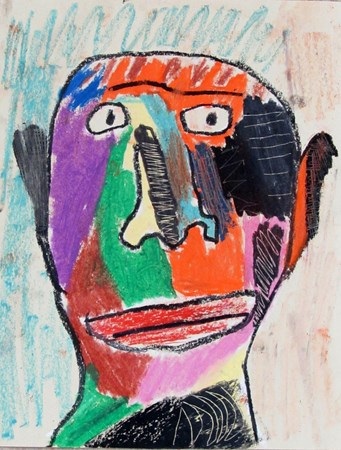
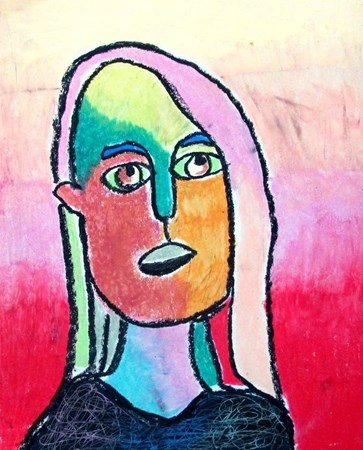
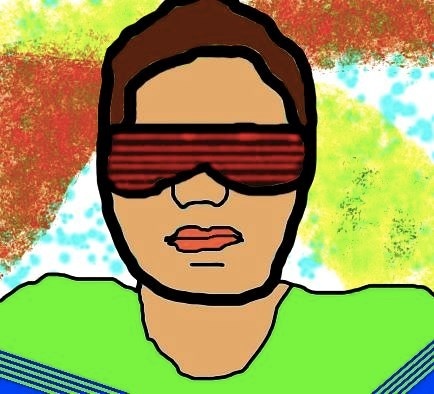
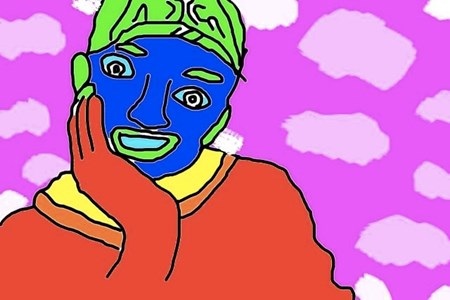
All of the above images are from the same student artist. Before I say too much about that, I want to do a small recap of why I was out of my classroom the end of last week. I had the honor of attending and presenting at the National Art Education Convention in Chicago! It was great fun to share, learn, and create with 5,500 of my closest friends... ComiCon was also at the conference center, which made for even more fun! Here are some images of my time in Chicago, learning and sharing: It is always tough to be away from the classroom. Figuring out meaningful plans for a non-art person (or anyone who isn't me) is a challenge. Luckily, I didn't need to clone myself because I had some sure-fired Photoshop Challenges ready for the kids to tackle. Some created Graffiti names and placed them on buildings: Some students redrew the hall, using perspective and the pen tool: Others decided to create some out of this world environments: And some made their own landscapes using different brushes: And then there is Matthew. Matthew decided to really dig into Photoshop and take his skills to the next level by searching out tutorials and experimenting with a variety of tools to create the above three images and the following three:
If you were to ask me about planning for a substitute teacher early in my teaching career, I would probably groan and explain that it is often MORE work to put together sub plans than to be in the classroom. I would look at the day away and know that whatever I put together was a throw-away lesson or might end in a mess because many substitutes (no fault of their own) are not trained in the magic of Art education. Since the implementation of Schoology and empowering students to be their own sources of creation through choice, I am not as worried as I once was about losing a day of instruction when I happen to be out of my classroom. Using Youtube tutorials, step-by-steps, as well as giving students options, I know they will be engaged in the work when I am gone. Since many of these students have never used Photoshop before, I decided to have their first Photoshop Challenge involve various portrait options. That way they can see the overlap between this injected activity and their current project theme. Some of them have even expressed interest in changing their media of focus since they now have an idea of what can be done when using Photoshop. Students uploaded their completed images to Artsonia, but here are a few highlights from what was completed with the substitute teacher yesterday: ![]() Samantha: While creating this piece through photoshop I used many different tools. I think that the tool I used the most was the crop tool. I used this tool for every single picture to delete the white around the picture. I also used the paint bucket to create the background and I adjusted my layers by using the drag arrow tool. All of the objects shown in this creation mean something to me for example. The dog at the top represents my dog Mia that I love so so much. The disney tsum tsum's represent me because I am a Disney mega fan. I also included a picture of my favorite animal, foods, and I also included pictures of dancers, their shoes and their awards because I have been dancing since I was 3. That is what is included within my picture. ![]() Avery: What I did to create this was I opened up this picture and then I opened up iPhoto and drag and dropped the picture on a new layer and did "command t" to make it the size of the paper. I then used the overlay settings and saved it in JPEG to my desktop. I chose to do this because not only can you see things with your eye but also with all if you, it ties in with make the unseen seen because it shows that you can see things with more than just you eye. ![]() Noah: This project was a little frustrating. Photoshop didn't work for a little while, and I have not really ever done Photoshop. I tried to make it look 3 dimensional by lowering the opacity of some of my pictures more than others. Due to the low opacity of the of the images, they took mostly the color of the abstract background I created. One of the things I like about teaching art is that learning is visible. Students show you what they know through the works they make, manipulating media to say things that could never be said with words. I used to teach Photoshop in a very traditional manner. I would be at the front of my classroom and walk students step-by-step, until we all basically had the same type of image at the end. That would then be the project and we would move onto the next thing. Now that I have moved my classroom into a Thematic Unit structure, I was struggling with how to still teach Photoshop skills in a way that I would be able to see if students understood the skills. That is where the Photoshop Challenges have come into play. Instead of these exercises being a specific project, I grouped together a set of similar types of mini-lessons that relate to the current theme we are working on in class. They are organized with video tutorials (usually of me) and step-by-steps for students to get a better understanding of how the tools can be used in their other theme-based images if they so choose to use this as a medium. Students were asked to complete one from each set of three, but these two students did all six, which makes them the Photoshop Challenge Champions. Their prize is a fun eraser making kit. Corinne: 7th grade Winner! Virginia: 8th grade Winner!
This week we transitioned from thinking about what makes us who we are to exploring the places we inhabit. With the theme Environment, Space, or Place in mind, students examined various works by artists throughout history before coming up with their own ideas on how they wanted to tackle the topic. One resource we used to help us along the way was this video from The Art Assignment. In addition to this video, which explored the importance of the figure/ground relationship, we also did some demonstrations on one and two-point perspective, color mixing, as well as a few Photoshop Challenges that explored how you can create the illusion of space. It was fun to see students Here are some of those works: SpacescapesI can never thank Ian Sands enough for sharing this tutorial online. It has helped me in so many sick-day situations and I have continued to use it as a quick and easy tutorial to get kids to understand that Photoshop can be used for more than Google grabbing and pasting. Graffiti Name This is a very easy lesson on how to make your name on Graffiti Creator, screen shot it, and place it on something else in Photoshop. Photoshop HallwayThis exercise helps students understand how they can use the pen tool in Photoshop and also demonstrates the use of perspective in a digital way. It has been really rewarding to see students go through processes and select the materials and ideas that they want to explore with this theme in mind. I have had to do a little more conferencing with this theme, though, to get kids to dig a little deeper and go beyond the basic landscape. Here are some images of our process so far: To coordinate with our theme (and celebrate Halloween), I dressed up as Bob Ross today. It was fun to see the reaction of students and teachers alike!
Today was the first day back in my classroom since last Thursday. I was busy presenting to teachers at the MAEA Conference in Grand Rapids as well as student teachers at Aquinas College on Monday. Even though I was away learning and sharing ideas with other educators, I knew my students would be hard at work in the classroom thanks to our use of Schoology, Camtasia, and Scholastic Art Magazine. As I often do when a sub comes to my room, I shift art-making activities to a material that is less messy in nature: Photoshop. Since we are working with the theme of Identity, I pooled together the resources I have compiled from over the years that seemed to lend itself to exploring those ideas. I am a believer in giving students choices, which is why they had three of them: Profile Collage, Exquisite Corpse, or Making the Unseen Seen. If students wanted to, they could do all three. Here are examples from each of the choices. Profile Collage![]() Christina: I decided to make a profile collage for my photoshop challenge. I used many tools to create this. A couple of the many tools I used were the gradient tool for the background and I also used a profile picture of myself and took the selection tool and deleted to rest of the background. The pictures that I have chosen to use for my picture are things that I like and I also added my name which was inspired from the video showing all the steps to create this. I also chose not to crop out the background to each picture because I like the lines that make it more clean. ![]() Kolton: One basic tool that i used for this collage is the Quick selection tool. This tool allowed me to select the background of the image and therefor delete it in order save room and show the image i really wanted instead of the background. Another tool that i used in this collage is the Move tool. The Move Tool allowed my to drag and place the image after it was cropped into the spot i wanted it to be placed in. Also in a way in order to conserve room so i could fit the images i wanted into the collage. The meaning behind the images that i chose was the basketball, and football represents my passion of sports. Also the MSU, Lions, and Tigers sign shows my teams that i cheer for. Lastly the remaining pictures show the food and resteraunts that i love and love to eat at with family. Exquisite Corpse ![]() Jewel: It was very interesting using Photoshop once again. To be honest, I'm not terribly great at Photoshop but I am actually pretty proud of this piece. I used My face, Dylan O' Brien's face and Arden Cho's faces to create this girl in the photo. I had a lot of fun making this piece until my who thing deleted by accident, now I know better and need to save my artwork! My favorite part of "Drifting Slowly" is definitely the hair. I love the texture and balance of different colors I used, exploring different features in Photoshop. ![]() Nick: To make this exquisite corpse, I used the element of color. I tried to use colors in the body to make it the most realistic. However, I created the background with many different bright colors. I also used the principle of pattern to create this piece. In the background, the different colors are in different patterns. For example, there are patterns of lines created by different colors. Finally, I used the element of shape to create this. Many different, odd shapes were used to create his head and face. I also used a few shapes in the background. Making the Unseen Seen ![]() Corrine: n the background photo, I took it on my way to school one day, and the focus was great, and I knew it would be a great photo for this project. Next, the bird silhouette was found on Google under "labeled for reuse" under search tools, so I am allowed to use it. In Photoshop, I made the silhouette transparent and put it on top of the farm image. This is my finished product, and I am proud of it. ![]() Denver: created this image by placing picture of my family and things I have seen. Then I overlaid them all and it created this, a mountain of bright colors and things that are apart of me. It created something beautiful something that is in my head all the time. This shows a partial part of it. The texture is my favorite part. It makes it look ruff and emotional, but also makes it soft and sweet. Students worked on more perspective this week as we ventured out into the halls to capture what we encounter every school day. It was fun to see students revisit this concept in a new way and then digitize it in Photoshop. Below are some of the results and the full gallery can be see on our Artsonia page.
Being that is was Earth Day this week, 7th grade students delved into their own planetary wonderings by creating the spacescapes seen below. This is a fun and quick Photoshop exploration, thanks to the help of Ian Sands. Students also explored the illusion of space through 1 and 2-point perspective drawing. Here are some examples of names created: Students also finished up their Sooper Art entries, which I will be dropping off today! ![]() Emily: Everything living, whether it's a bug or a human, dies and then decays. Animals decompose into the ground, and eventually become apart of the environment. Not only that, but in the bible it talks about how the earth and the plants and animals were created, and from that came humans. In the circle of life or from evolution or however else we humans came to be, we are all apart of nature and our natural environments. So, if that's true, then shouldn't we try to keep our environment clean and preserve nature? Shouldn't we protect our environment, if it is one of the things that is so involved in the human race, that we will all come to rest in when we die? ![]() Ethan: So, this is a image that is supposed to show the beauty of nature and how pretty things that aren't polluted can look, I decided to do this, because: one, I love to draw trees, and two, it was something new, that I hadn't really done much of before, like the sun, and the grass shadow, and water reflections. I feel that this fits in the competition because it's (as I said before) supposed to show the beauty that non-polluted nature can have/show. I have more 7th grade classes than 8th grade classes this term, which means that I am employing more traditional teaching methods than I did first semester. I am new to these students and learning where they are at both in skills and concepts. Because I am still getting to know them and their abilities, it is always fun to throw a few collaborative drawing exercises that prove both anyone can draw and it is fun trying! First, we had a portrait party where students created continuous blind contour line drawings. From there, students selected the one they liked most and then modified it on another sheet of paper, with oil pastels. Here are some results: After experimenting with abstraction using oil pastels and drawing methods, students then applied those concepts to collaborative drawings on Photoshop where they combined several faces to create a new one, like these examples: It is always fun to work on skills and concepts without the worry of it having to look "real." Abstraction is a fun way to experiment with line and color and we had a lot of laughs working on these portraits.
So many things have happened this week, it is kind of like the semester is just blurring right past me! First, I am excited to say that Empty Bowls is only three weeks away. We finished the big bowl to be auctioned off at the event to the highest bidder this week with signatures from the BCWMS team. Students are also finally glazing their bowls, which will be given away at the event as a reminder of those we are helping. Students also finished their videos and animations this week, in preparation for the Meijer Great Choices Film Festival and Digital ID PSA competitions. This project was funded as a result of a MACUL grant. Here are some of the student pieces: 7th grade students also worked on the computer this week, learning more about how to use Photoshop as they shared their interests and likes in their profile collages (see a full gallery of images here): ![]() Nick: I used more than one brush tool with different colors because I thought that by doing that, I would make it unique. I tried to make my background different from anybody else's. I also used the stroke tool so I could make the outline of my face more prominent and so you could make it out better. I choose the things I did because they represent things that I like. I put some teams that I like, some foods that I like, and some things that I like to do. For example, I put a MSU logo because that's my favorite college and I put Kentucky because I know a kid on their boy's basketball team.
![]() Nichole: I used a couple tools while working on this project. One of those tools is the quick select tool. You use this tool to select the background of an object. After you have selected want you need you can either change the background or delete the background. Another tool I used was the fill bucket tool. You use this tool to fill large empty spaces with a color of some sort in stead of taking a long time to use the paint brush tool to color it in. Ok so I put a lot of things in well "myself". First I put a picture of Nik Stauskas because he is my idol. I put a cross in me because I love going to church and learning about god. Then of corse I put a maroon 5 thing because they are my favorite band. Then my last one I put the quote "Teamwork makes the dream work" because this quote always keeps me going and It is so true too.
8th grade students started planning out their first major project on Identity this week by learning about artists who employ this theme, seeing past student work, and sketching out their own ideas. We also worked on some drawing methods that they could use, too.
|
Archives
August 2018
Janine CampbellTeaching Visual Arts since 2004 and making images since picking up a crayon. Categories
All
|